We only got a few things done this last weekend, but even a little progress is progress. So, here it is:

First, we sanded down the screw holes to smooth them out, preparing them for the wood filler.
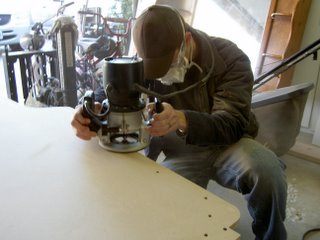
But, first we needed to do the routing for the t-molding. I got the slot cutter and assembly from
MLCS Woodworking. It was $16 and shipping was free. I was told this was the best place to find it. After adjusting the router and testing the cut on some sample pieces, we were satisfied and laid the cabinet on its side and made the cut.
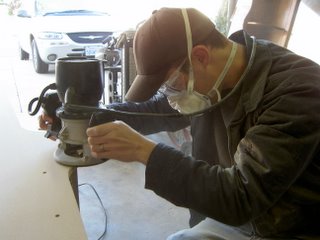
I had never used a router before, but it was pretty easy to use.

I should have taken my jacket off before I covered myself in sawdust though.

The router basically runs itself, I just needed to keep it level.
Looked good...
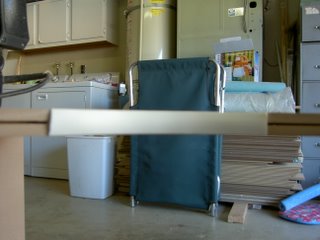
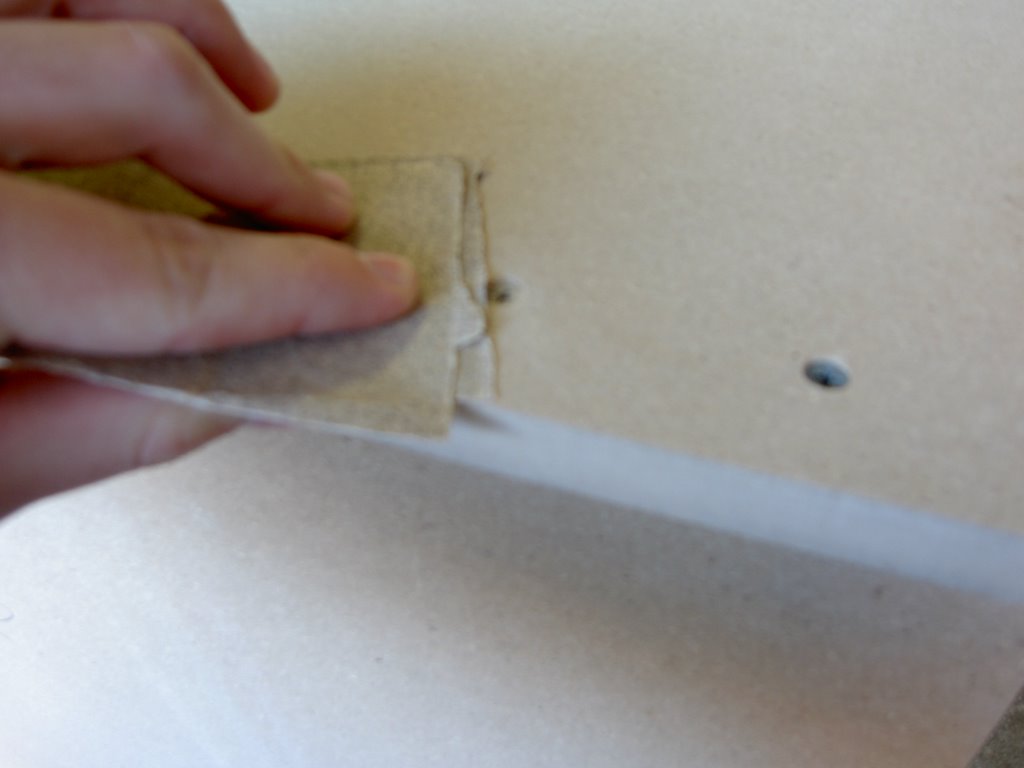
We fit our 5/8" sample from
t-molding.com and it was perfect.

We tested it in a couple different locations, still looks good.
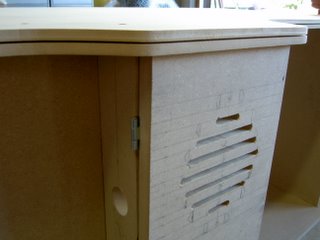
I made one little mistake where I didn't keep the router level. You can see in the picture that right around that corner the slot is thicker. However, this is a minor mistake and the t-molding will hold there just fine.
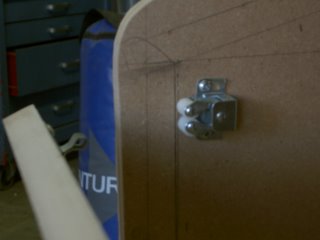
Our next step was to attach these little cupboard latches to the speaker grill piece which opens to allow for a keyboard drawer.
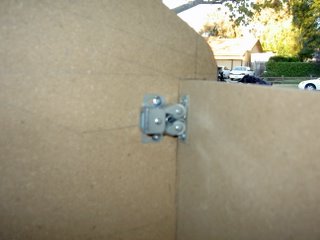
The latches hold really well, so the piece will never open unintentionally. We'll use the same latches to hold the control panel in place since it will also swing up for access to the wiring.
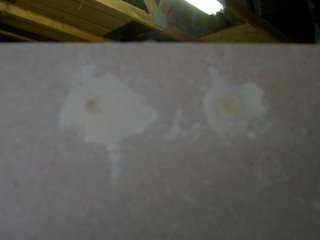
Last, we filled our screw holes with wood filler. We'll have to apply again because the holes aren't flush with the wood. Plus we will make a couple more holes when we attach the monitor shelf. Hopefully we can begin priming next week, but there's still the monitor shelf and the keyboard drawer to do, so we'll see. I have everything I need to complete this except the artwork and the blue paint, so hopefully this project will be wrapped up within the month!

 First, we sanded down the screw holes to smooth them out, preparing them for the wood filler.
 But, first we needed to do the routing for the t-molding. I got the slot cutter and assembly from MLCS Woodworking. It was $16 and shipping was free. I was told this was the best place to find it. After adjusting the router and testing the cut on some sample pieces, we were satisfied and laid the cabinet on its side and made the cut.
 I had never used a router before, but it was pretty easy to use.
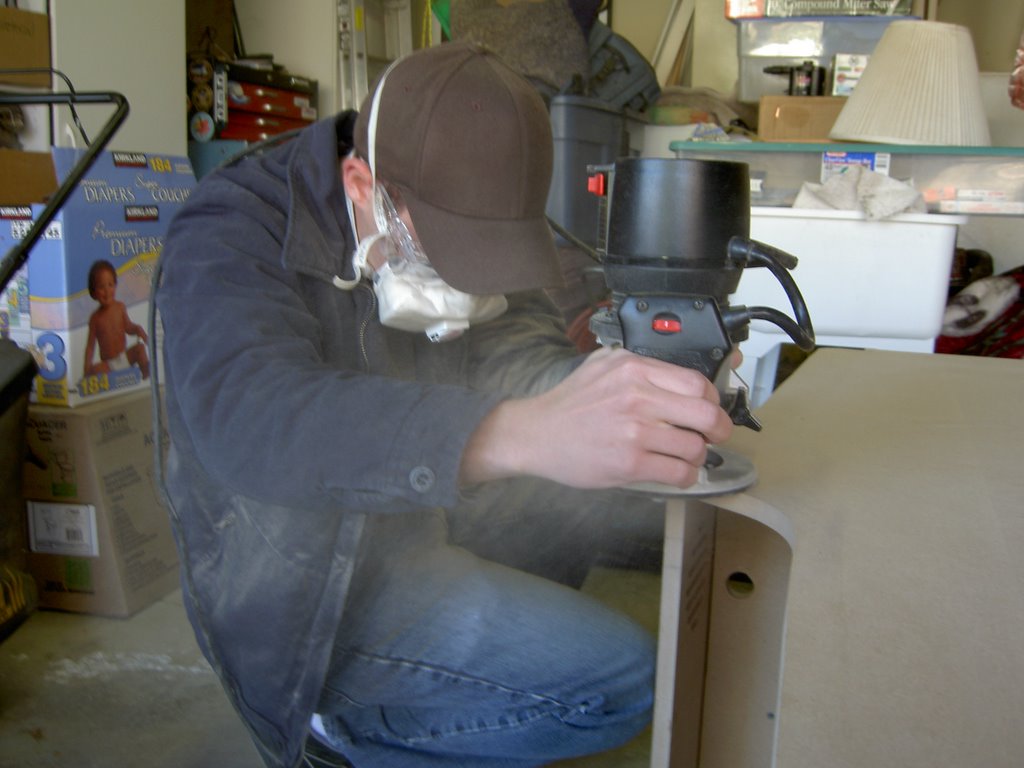 I should have taken my jacket off before I covered myself in sawdust though.
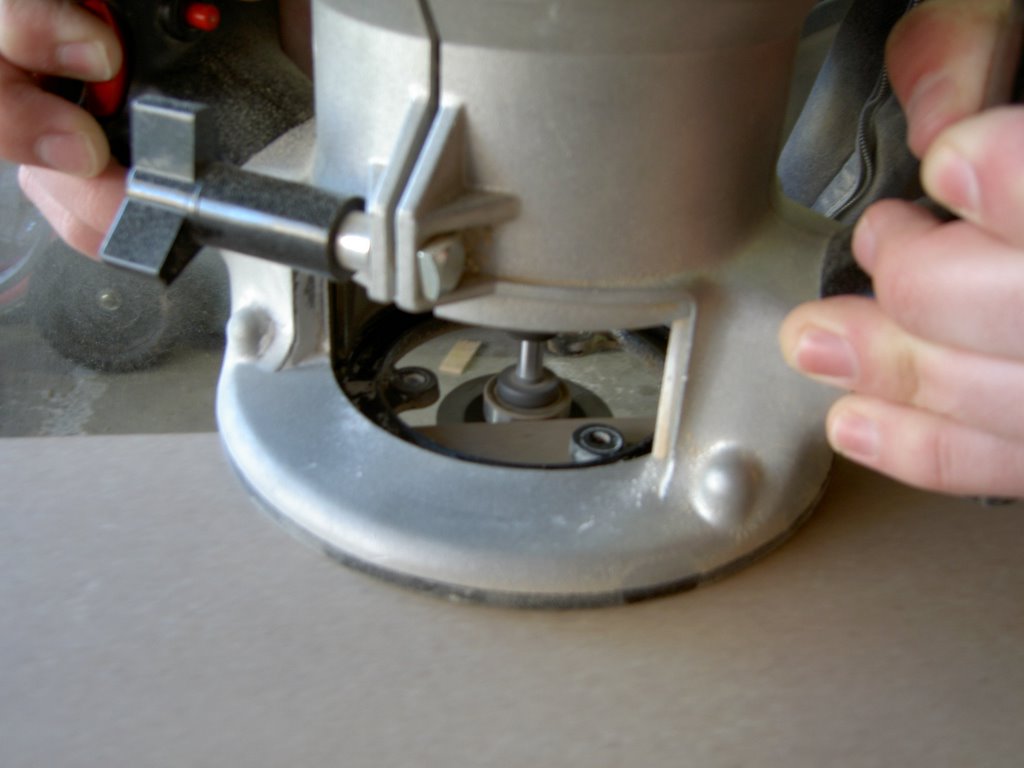 The router basically runs itself, I just needed to keep it level.
 Looked good...
 We fit our 5/8" sample from t-molding.com and it was perfect.
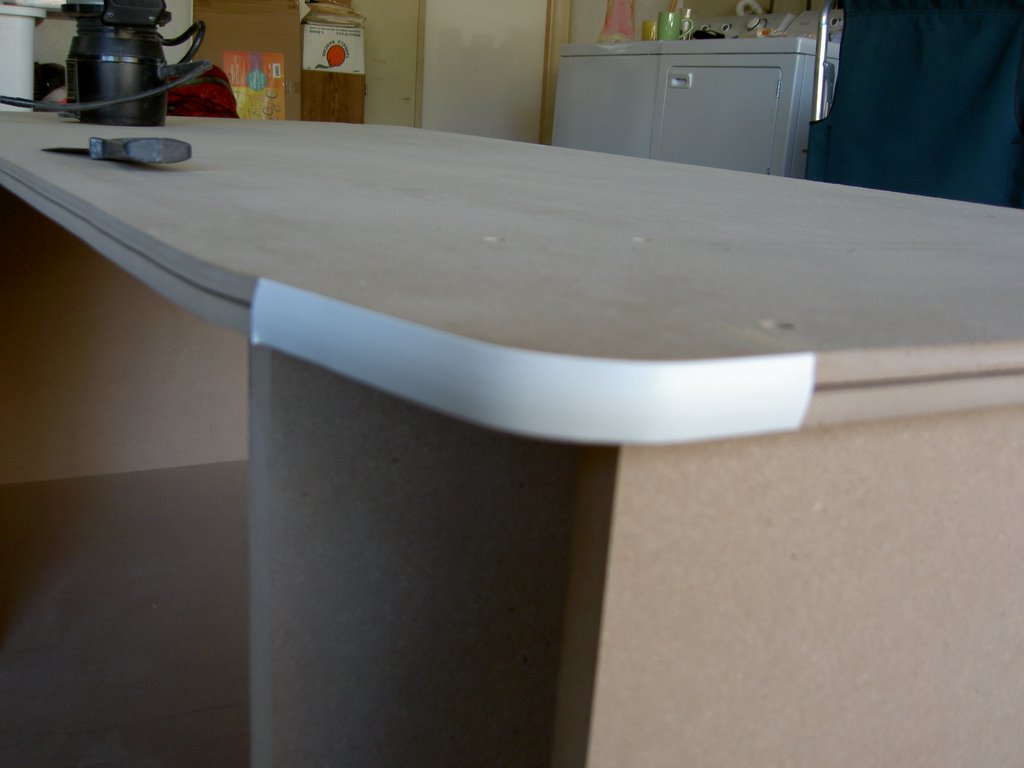 We tested it in a couple different locations, still looks good.
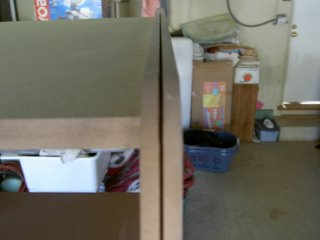
 I made one little mistake where I didn't keep the router level. You can see in the picture that right around that corner the slot is thicker. However, this is a minor mistake and the t-molding will hold there just fine.
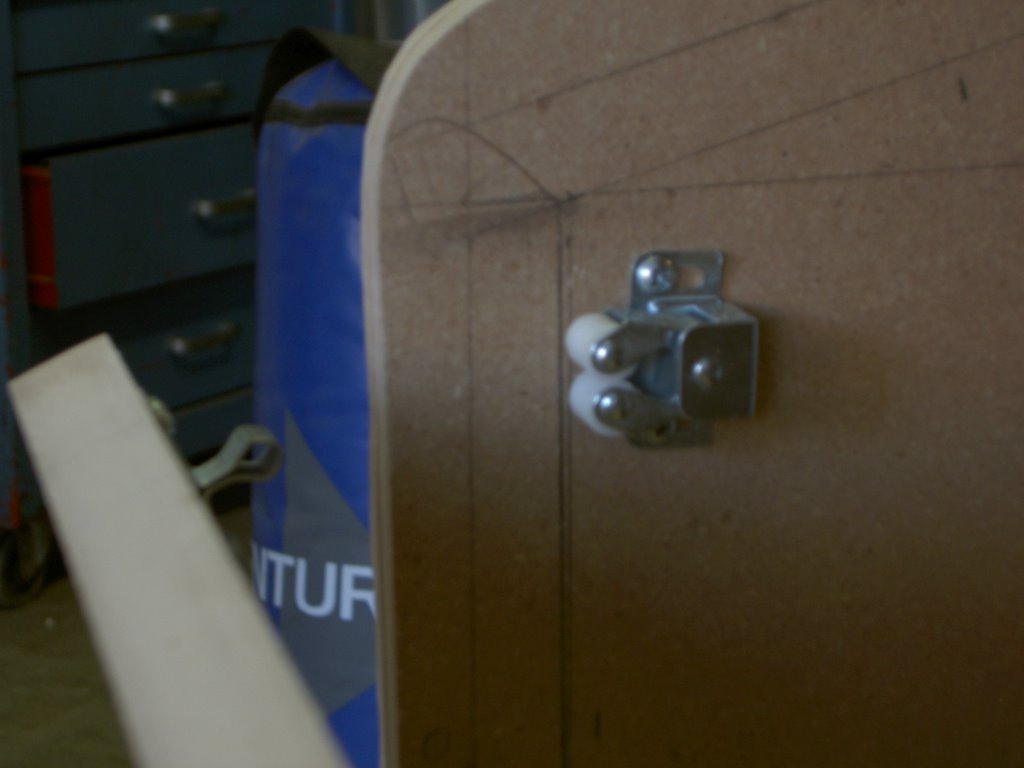 Our next step was to attach these little cupboard latches to the speaker grill piece which opens to allow for a keyboard drawer.
 The latches hold really well, so the piece will never open unintentionally. We'll use the same latches to hold the control panel in place since it will also swing up for access to the wiring.
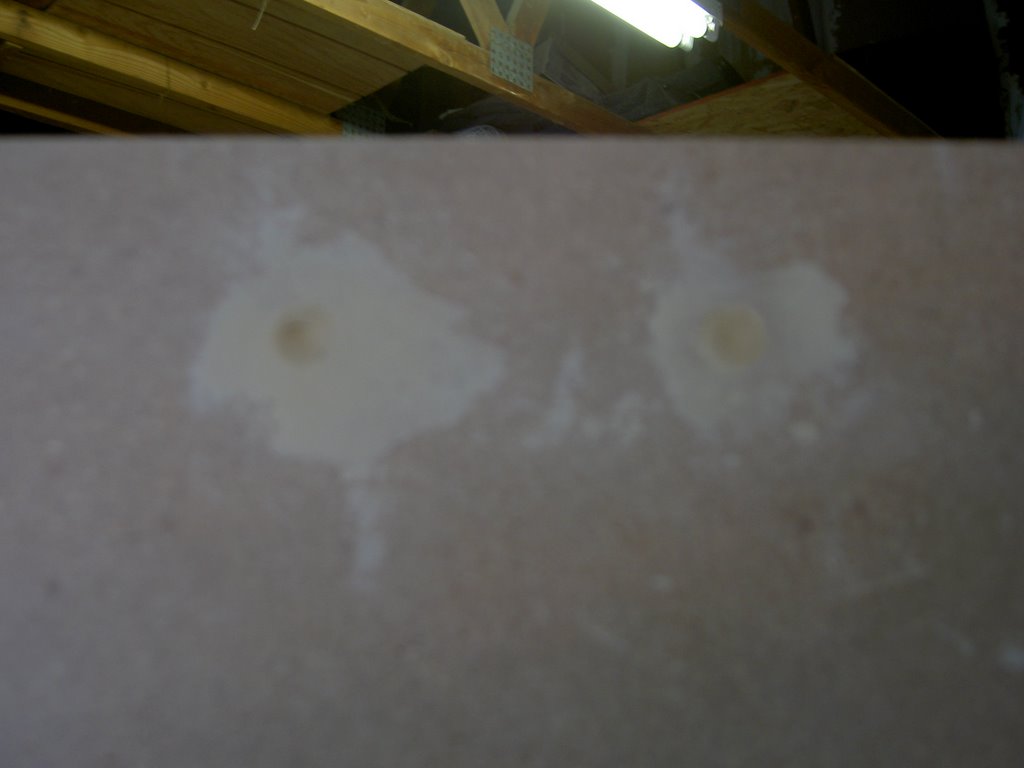 Last, we filled our screw holes with wood filler. We'll have to apply again because the holes aren't flush with the wood. Plus we will make a couple more holes when we attach the monitor shelf. Hopefully we can begin priming next week, but there's still the monitor shelf and the keyboard drawer to do, so we'll see. I have everything I need to complete this except the artwork and the blue paint, so hopefully this project will be wrapped up within the month!
4 comments:
Hi Tim. Your progress looks great. I'm planning to build a minaturized version of the Mario Bros cabinet and your blog is giving me some good ideas how to tackle to project whenever I get started on it.
Good work.
Thanks, anonymous! I love the mini cabinets, you'll have to show me pics of your progress too.
Looking good, I was just wondering what you plan on using for the monitor? I am going to try to restore a DK Jr. over Christmas, and you are giving alot of good ideas, thanks
anonymous, I'm using a 20" TV. I found one for $10 in my neighborhood. It's about as big a screen as would fit in my cabinet, and much cheaper than a computer monitor that size. Good luck with the DK Jr. cabinet!
Post a Comment