
Someone over at the www.arcadecontrols.com forum was kind enough to send me some scans of the Mario Bros. control panel overlay that were high quality. I had to piece the 4 scans together and fix the color differentiation between the pieces, but I think it turned out good. You can check out the image here
The next step with that is to modify the image to allow for my 6-button setup instead of just the 1-button setup.
I now have all the artwork images I need to apply to the cabinet. I just need to get them printed.
This site will follow the creation of my MAME arcade cabinet. I want to give it the classic look of a Mario Bros game from 1983. Check back often for updates on my progress.
Tuesday, November 15, 2005


Monday, November 14, 2005
Day 1
I was finally able to get the project underway on Saturday, November 5th. My wife had a busy day, so I made plans to work on the cabinet with my good friend Marc. He's the architect/carpenter, and I'm the electronics guy, so we compliment each other perfectly on this project. I don't have any of the necessary tools to build the arcade cabinet, so really this project was not possible without him. When I got to his place we made a list of what to get at Home Depot. Here's that list:
3 sheets of 4'x8'x.75" MDF
2 10ft 2x8s
4 2" casters (2 swivel, 2 fixed) rated at 125 lb each
3-pack of 10-tooth wood cutting jig saw blades
box of 200 2" coarse thread drywall screws
We were going to get the primer as well, but we knew we weren't going to get that far in one day, so we'll get that on the next trip. The total came to $104 even. We got started by setting up a table outside and placing the first sheet of MDF on it for tracing.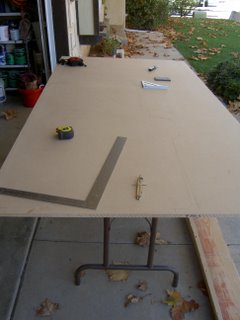 I got the plans for the Mario Bros cabinet (not the wide-body version) off of www.jakobud.com and with a square, t-square, and compass, we were able to get the precise measurements traced. This took a looooooong time, but we wanted perfection, so we were very careful with the measurements.
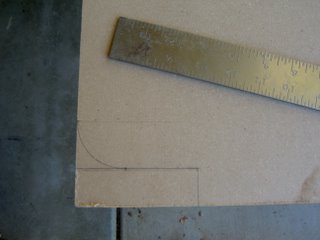
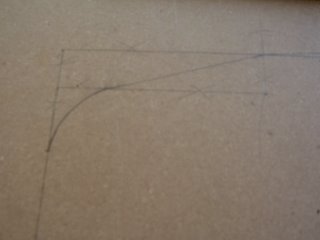
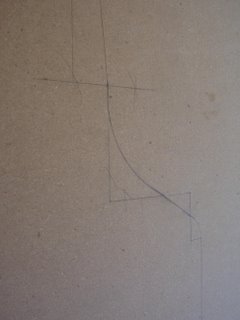 I didn't trust myself with the jigsaw (after 2 hours of tracing, I didn't want my $22 sheet of MDF to go to waste), so I had marc have at it and he did an excellent job of cutting out the cabinet.
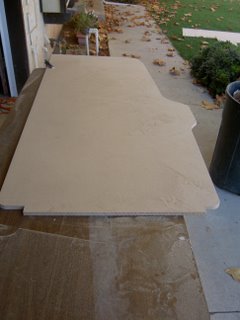
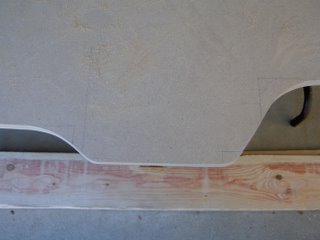 The next step was using the first side of the cabinet to trace the second side. This was obviously so much easier than going by the measurements again, and also more accurate. This took a matter of seconds and we were soon cutting the second piece. After the second piece was cut, we lined the two up and they didn't quite match. This was to be expected, so we clamped the sides together, lined up the back and bottom (the sides we didn't cut), and began sanding the pieces until they sat flush with each other. This was a great idea since it's more important for the sides to be accurate to each other than to a drawing.
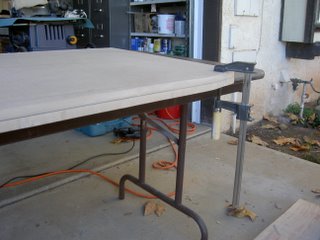
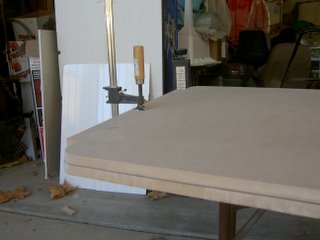
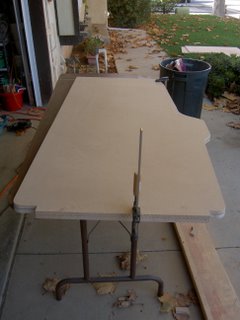
The cabinet isn't a very large cabinet, measuring only about 5'6", so witht he scraps from the first 2 sheets of MDF, we were able to cut out the remaining pieces of the cabinet. This included:
Top
Bottom
Coin Door Section
Control Panel Bottom
Control Panel Front
Control Panel Top
Front Rail
Monitor Bottom
Marquee Rest
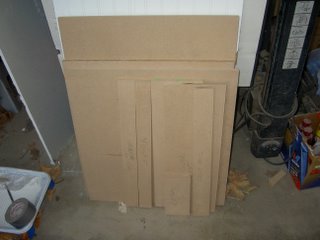 The back of the cabinet I'm going to worry about later. I may use something lighter for that since it's not as important. So, I might take back one of the sheets of MDF, I only really needed the two. And so, after almost 8 hours of planning, purchasing, tracing, cutting, and cleaning up, we had our cabinet pieces cut out. Seems like a lot of work for little results, but doing it right and being happy with the results was more important to me than finishing it quickly. It may take a few months, but I'm excited to see the final product. The next step is to order more parts since I can't work on it again until Thanksgiving weekend. I'll post my purchases in the meantime.
3 sheets of 4'x8'x.75" MDF
2 10ft 2x8s
4 2" casters (2 swivel, 2 fixed) rated at 125 lb each
3-pack of 10-tooth wood cutting jig saw blades
box of 200 2" coarse thread drywall screws
We were going to get the primer as well, but we knew we weren't going to get that far in one day, so we'll get that on the next trip. The total came to $104 even. We got started by setting up a table outside and placing the first sheet of MDF on it for tracing.
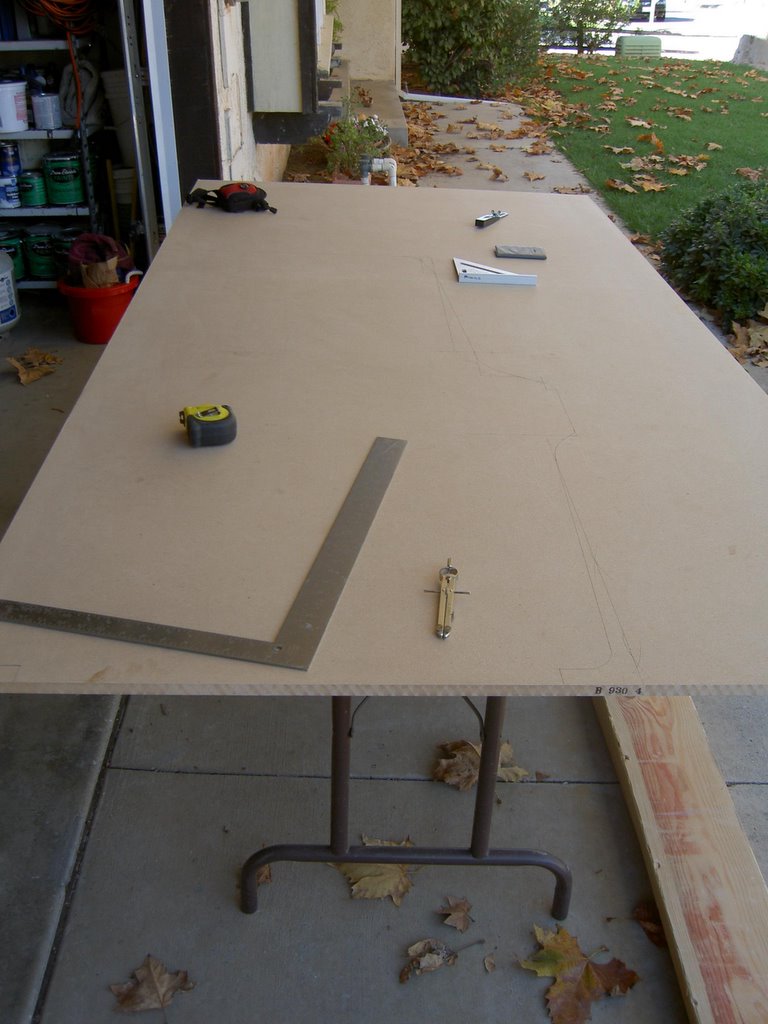 I got the plans for the Mario Bros cabinet (not the wide-body version) off of www.jakobud.com and with a square, t-square, and compass, we were able to get the precise measurements traced. This took a looooooong time, but we wanted perfection, so we were very careful with the measurements.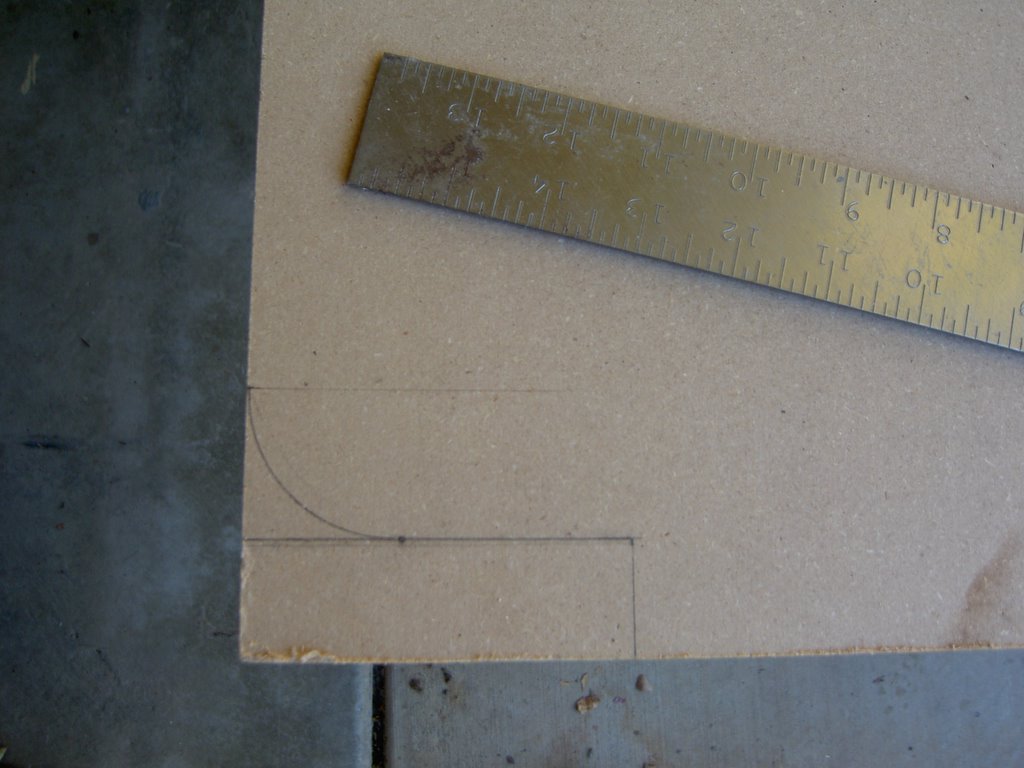

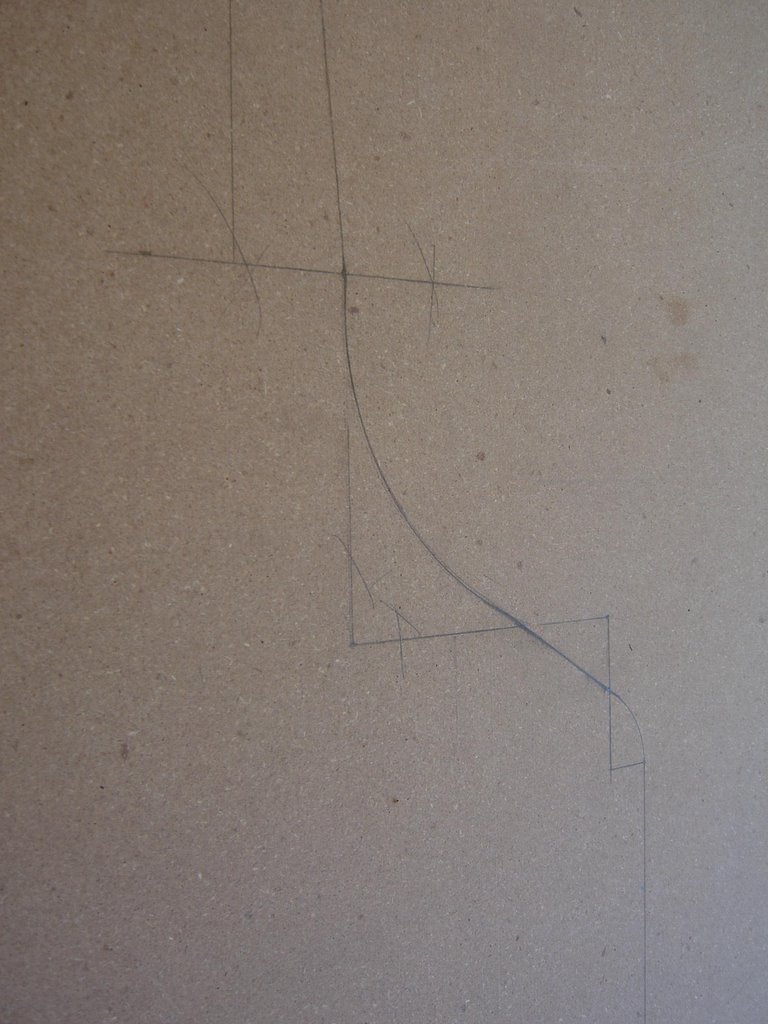 I didn't trust myself with the jigsaw (after 2 hours of tracing, I didn't want my $22 sheet of MDF to go to waste), so I had marc have at it and he did an excellent job of cutting out the cabinet.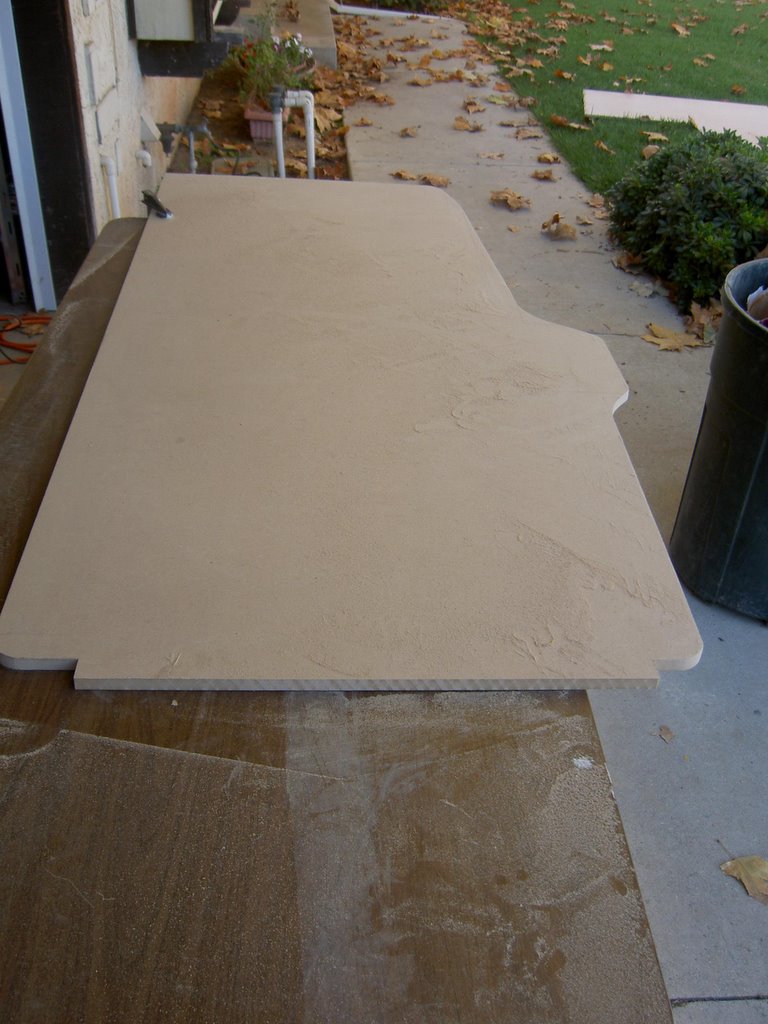
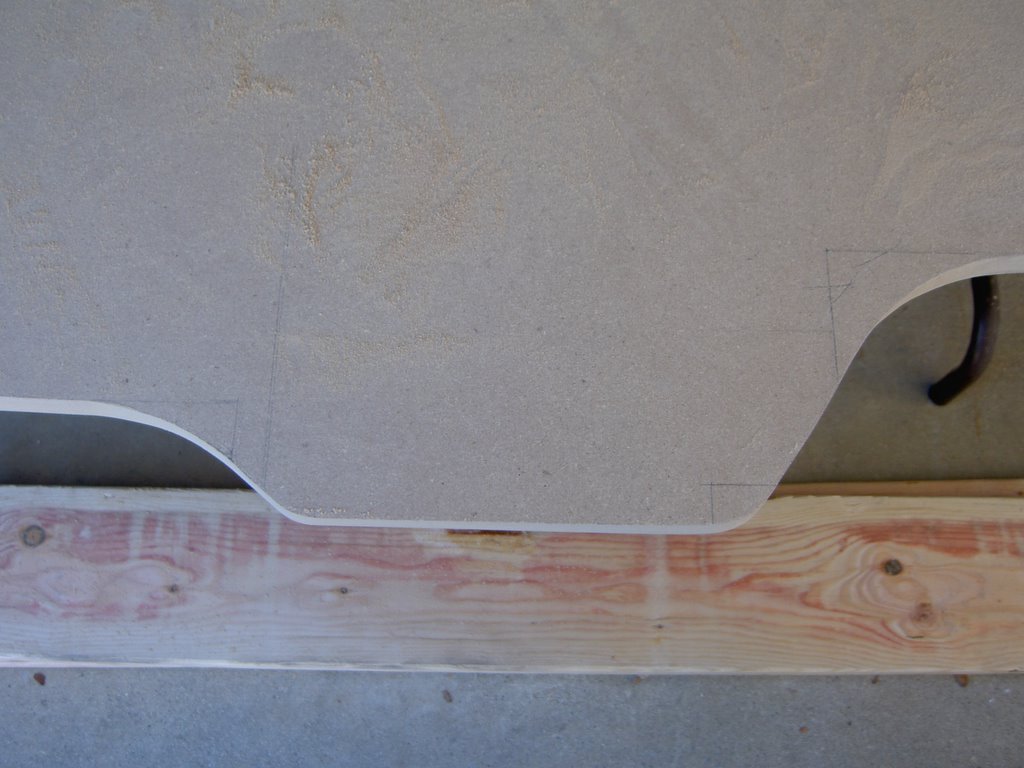 The next step was using the first side of the cabinet to trace the second side. This was obviously so much easier than going by the measurements again, and also more accurate. This took a matter of seconds and we were soon cutting the second piece. After the second piece was cut, we lined the two up and they didn't quite match. This was to be expected, so we clamped the sides together, lined up the back and bottom (the sides we didn't cut), and began sanding the pieces until they sat flush with each other. This was a great idea since it's more important for the sides to be accurate to each other than to a drawing.

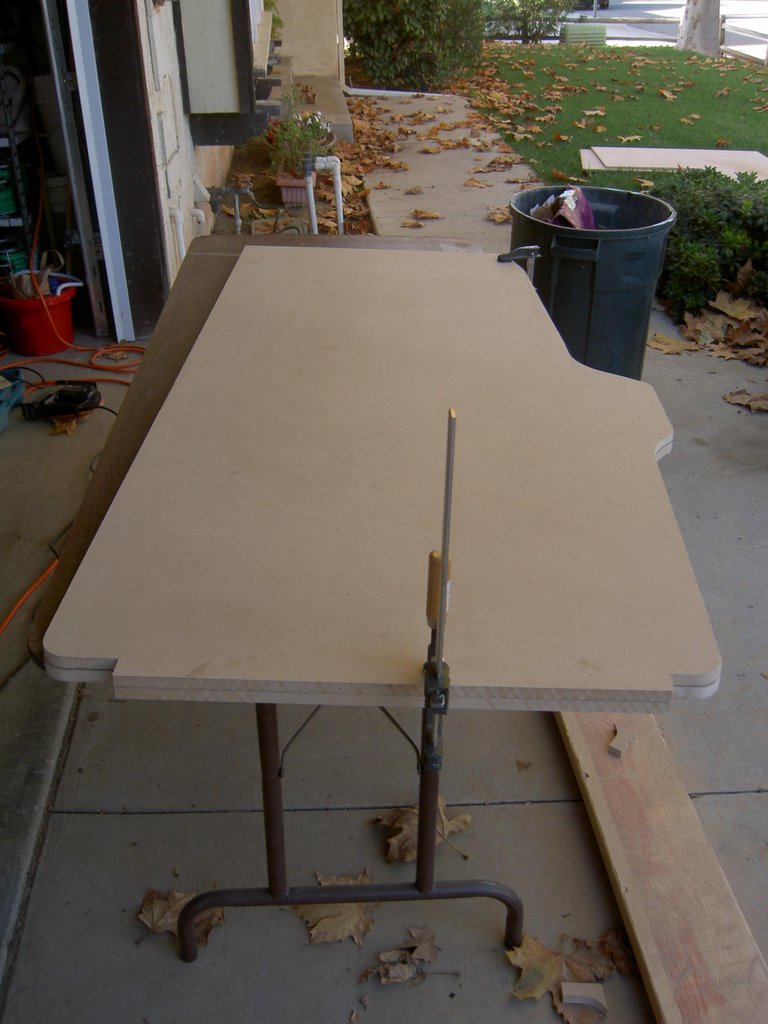
The cabinet isn't a very large cabinet, measuring only about 5'6", so witht he scraps from the first 2 sheets of MDF, we were able to cut out the remaining pieces of the cabinet. This included:
Top
Bottom
Coin Door Section
Control Panel Bottom
Control Panel Front
Control Panel Top
Front Rail
Monitor Bottom
Marquee Rest
 The back of the cabinet I'm going to worry about later. I may use something lighter for that since it's not as important. So, I might take back one of the sheets of MDF, I only really needed the two. And so, after almost 8 hours of planning, purchasing, tracing, cutting, and cleaning up, we had our cabinet pieces cut out. Seems like a lot of work for little results, but doing it right and being happy with the results was more important to me than finishing it quickly. It may take a few months, but I'm excited to see the final product. The next step is to order more parts since I can't work on it again until Thanksgiving weekend. I'll post my purchases in the meantime.
Monday, November 07, 2005
The Idea
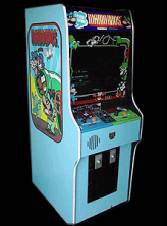
I needed a project. I had always wanted a MAME arcade machine, but until recently I wasn't motivated enough to do anything about it. Well, after much research and thought (and consulting my wife), I decided I was going to have one. One possibility was buying an existing arcade machine and modifying it. I decided against this because of the price of buying a machine, the difficulty in finding one I liked, and the (not very fun) work involved in renovating the cabinet. Then there was the idea of buying a kit or even a premade cabinet designed for MAME. That was way too expensive and there wouldn't be too much to be proud of in that option. I decided I needed to build it from scratch. It could be customized to my exact specifications, I could build at my own pace, and the cost would be minimal. Plus, when it was finished, I would have the satisfaction of knowing that this was my own creation. I was excited to begin and prepared for lots of hard (but fun) work. And so, there were decisions to make...
I really had no idea where to start. A good place to get ideas, I found, was www.arcadecontrols.com. It's not the prettiest site I've ever seen, but it has a great collection of articles/links that can help get you started. So, as I started collecting ideas for my machine, I came across an auction on eBay for plans to build your own arcade cabinet. Perfect! It looked pretty complete and included plans for a ton of different cabinets; plus it was only $7. What I didn't know was that the arcade plans were freely available at www.jakobud.com. It's okay though, there is a price for information, right? So after much deliberation, I decided I was going to build a 1983 Mario Bros. cabinet complete with sideart, marquee, bezel, and control panel overlay. I really considered doing a cocktail cabinet, but that will have to wait for a future project. I knew what I needed to get started building this thing, so I made plans to start on Saturday, November 5th. More to come on how day 1 went...
Subscribe to:
Posts (Atom)