Tuesday, November 28, 2006

Donkey Kong 3 Update

I know it' been awhile, but I've finished my Mario cabinet and will be back soon with some pictures of the finished product. Meanwhile, my brother's DK3 cabinet is wrapping up nicely. This weekend he finished the control panel, applying the CPO, adding buttons, and attaching the hinged CP to the cabinet. Take a look!

Here's the top-down view with the competition-style buttons.
The color scheme he chose works well I think.


Here's an angled view showing the speaker grill panel.
Both pieces are hinged for access underneath.
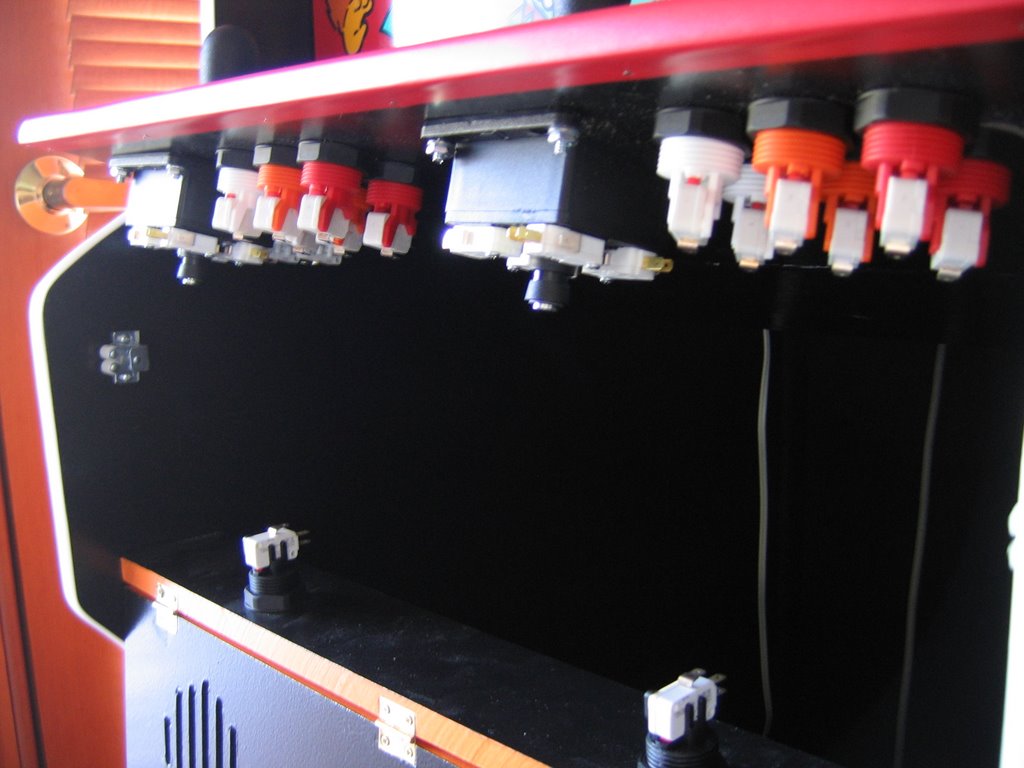

Here's what's under the hood. The next step will be wiring the buttons.
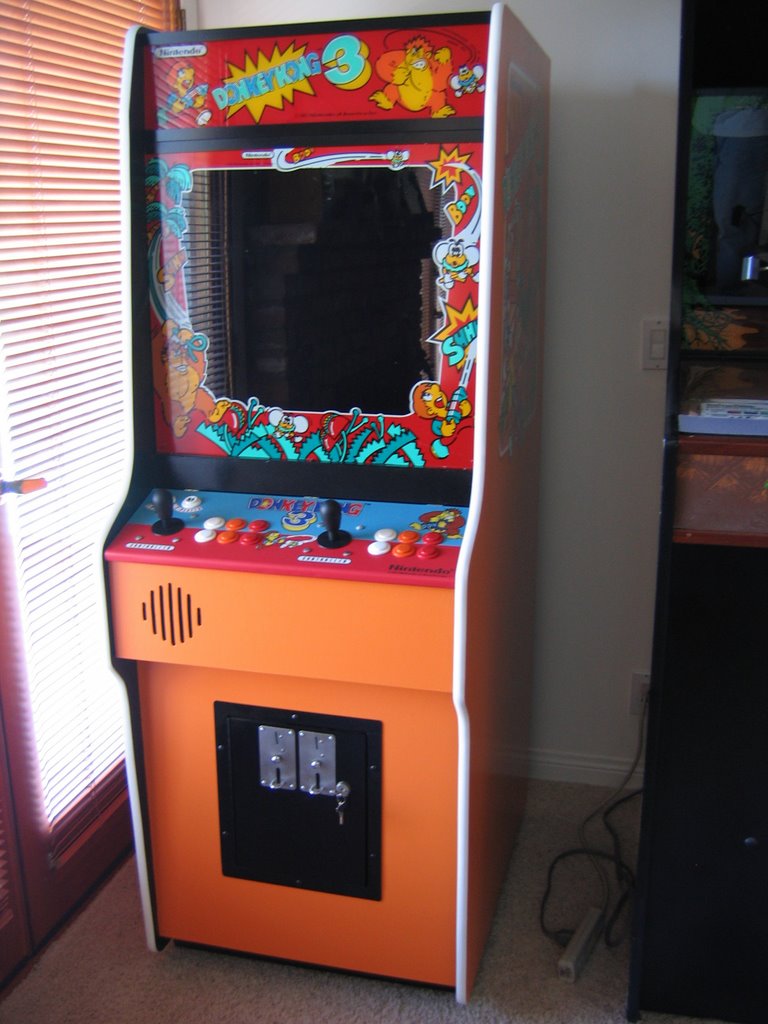

And here's the whole cabinet. Isn't it a beauty?

Wednesday, September 13, 2006

Fully Functional Arcade

While the project is not 100% complete, I was able to get it up and running by finishing the wiring and putting the computer together in the cabinet. Unfortunately my free 20" monitor has some problems (some loose connection makes the colors come in and out), so I am forced to get rid of it and use my 17" CRT for now. This will not be permanent, but it will suffice for now. The good news is that with the cabinet put together, the end is in sight. A solution for the speaker grill panel is the final step. Once this is done I'll post pictures of Mario's final home.

Tuesday, September 05, 2006

I'm Still Alive!

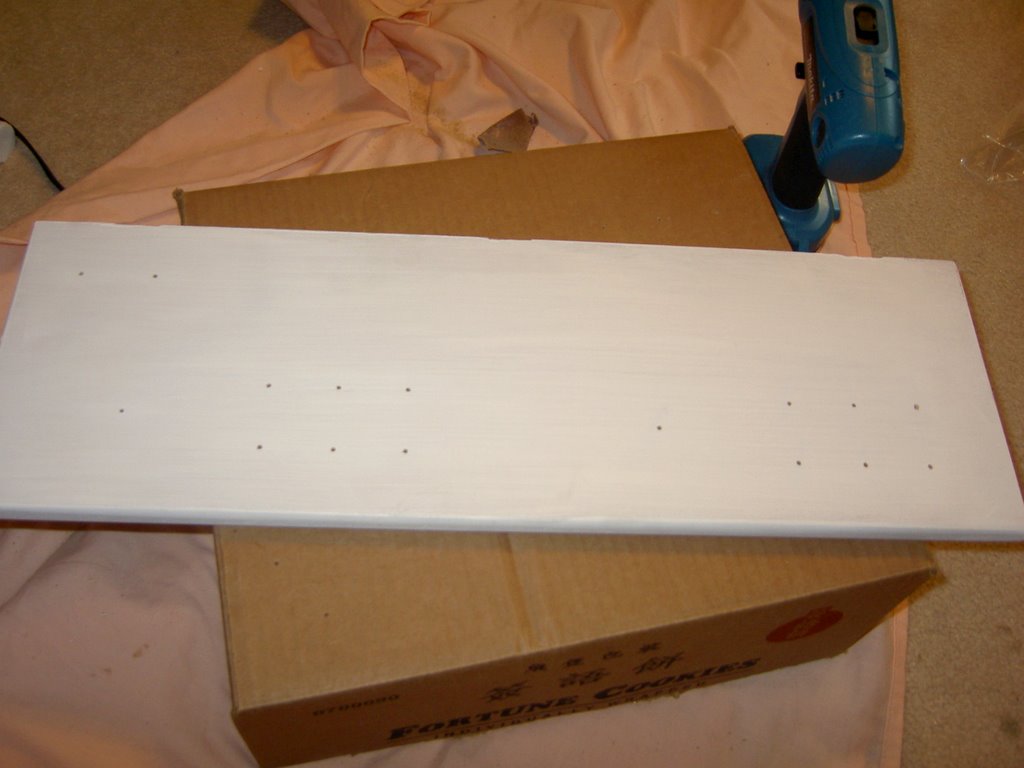
Sorry it's been so long since I've updated. Progress has been so slow that updates were almost not warranted. But I have done some work since last updating. The control panel is attached to the cabinet with buttons and joysticks installed. The CP is hinged and can be raised about 30 degrees for better access to wires. It doesn't go up as much as I'd like, but there would have to be a noticable gap between the CP and the cabinet had I wanted to make the wiring more accessible. I've wired most of the buttons up, and that's where I ran into a problem. I placed the buttons/joysticks too far 'down' on the CP so that with the switches and wires connected, the front speaker panel hits the wires. This is unfortunate because fixing the problem means either extensive Dremel-ing or redoing the CP. I don't want to redo the CP because of the cost of printing a new overlay, so I'm going to try to Dremel the speaker panel so that the wires no longer hit. Anyway here are some pictures of drilling the pilot holes in the CP. I lined up the artwork where I wanted it and drilled small holes where the crosshairs for each button and joystick hole were marked on the artwork. I was careful not to drill too quickly because that can tear the artwork. Later I drilled the real holes with a 1 1/8" bore drill bit. Then I attached the sticky CP overlay to the wood (again careful to line it up). Finally I cut the excess from the overlay that was over the newly drilled holes.


Wednesday, June 07, 2006

Donkey Kong 3 Update

My brother has made significant progress on his cabinet, so I thought it deserved a pictorial update. His next step will be installing the keyboard tray and applying the side art.

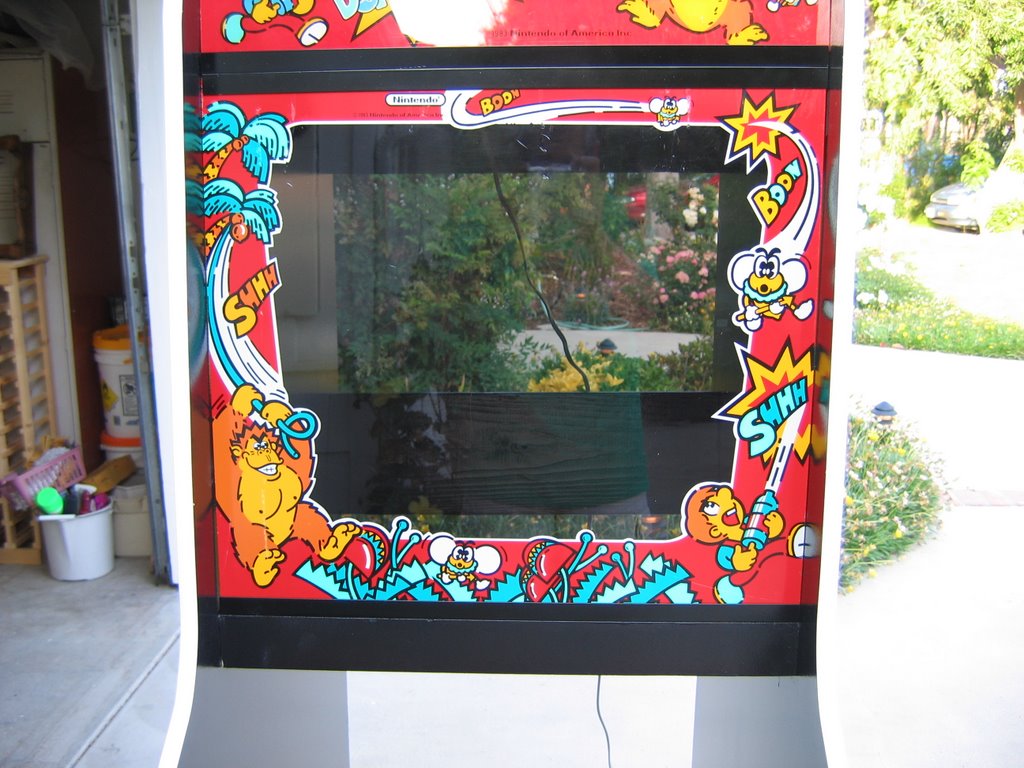
This is taken from the inside of the cabinet. He used small L-brackets like this to secure the bezel from the inside (3 of them, one in the center at the top as shown, and 1 on either side near the top). This differed from my approach as I used thin pieces of wood painted black along the sides. Either way works fine, I just think my way eliminated the gap between the bezel and the cabinet so no light would shine through.


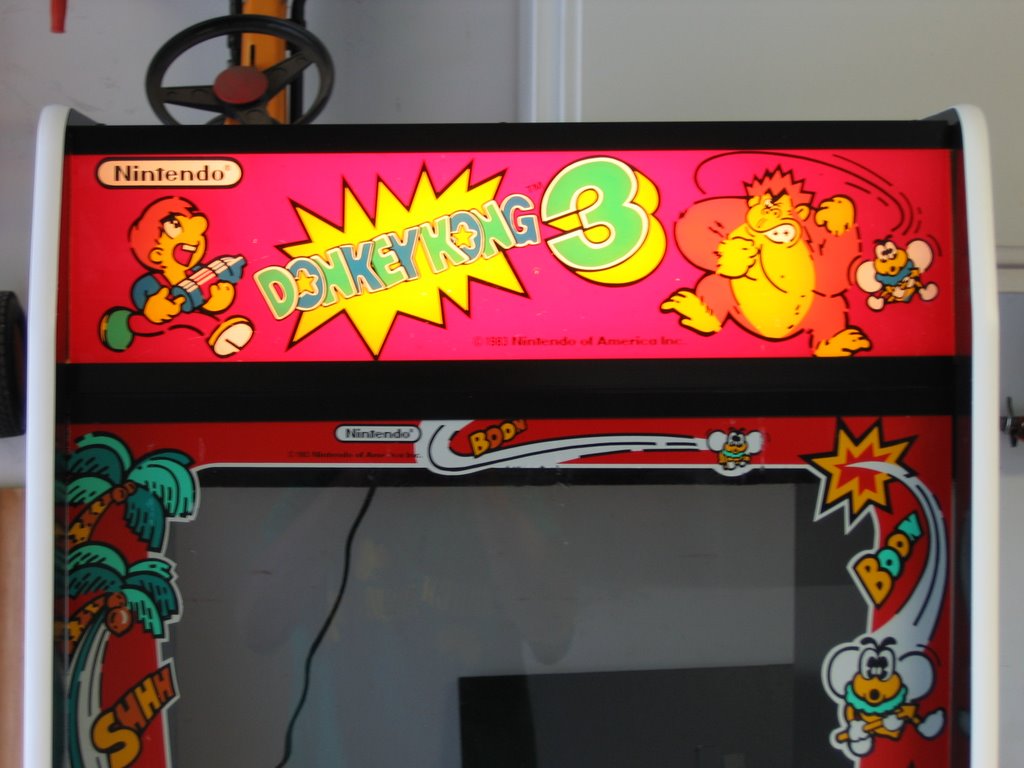
Here's the marquee installed. Great artwork on this cabinet.


Here's the bezel installed.


Here's the marquee with the light on.


And finally, the whole cabinet. Coming along!