Monday, April 10, 2006

Finally Some Real Progress

Well,
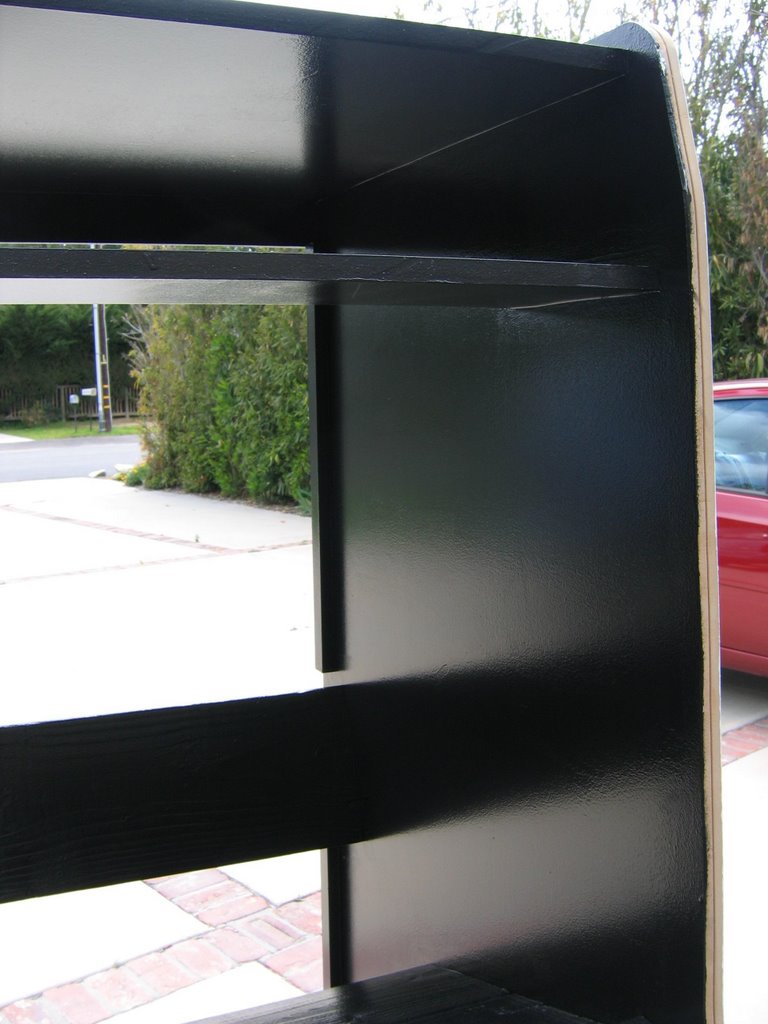
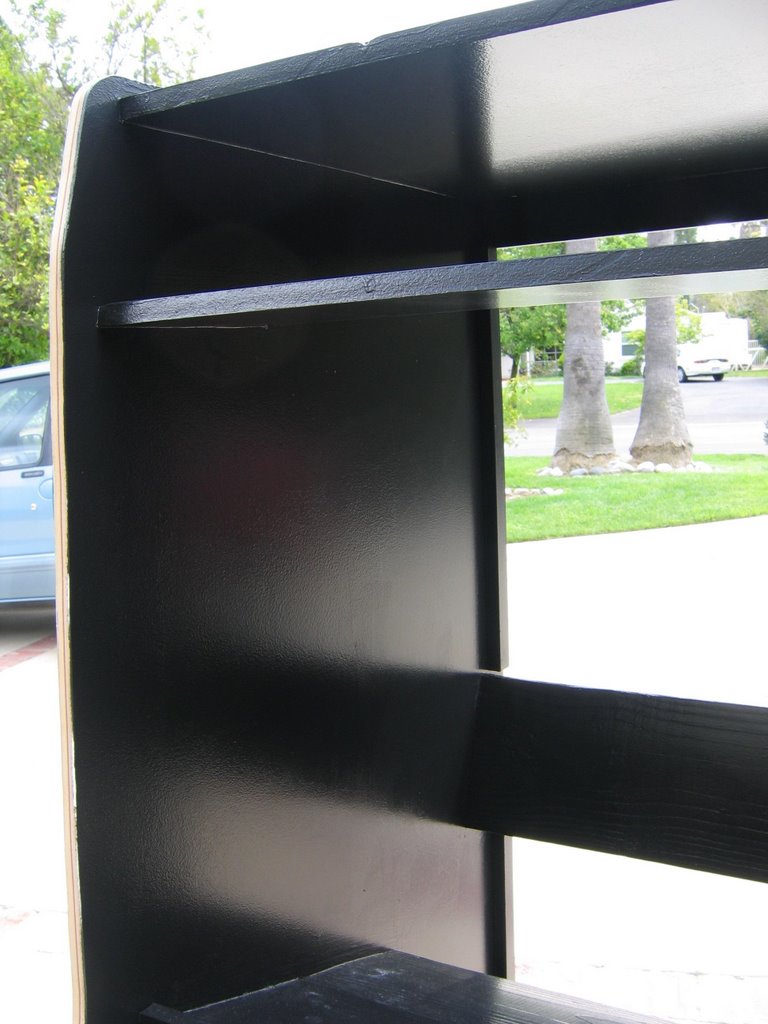
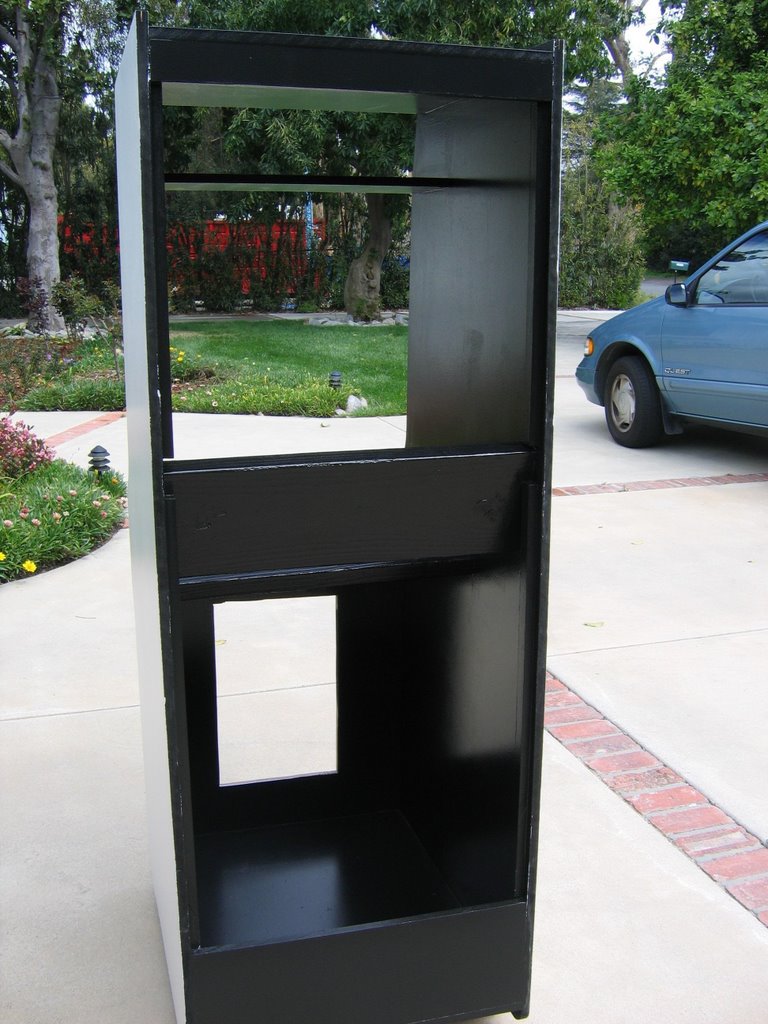
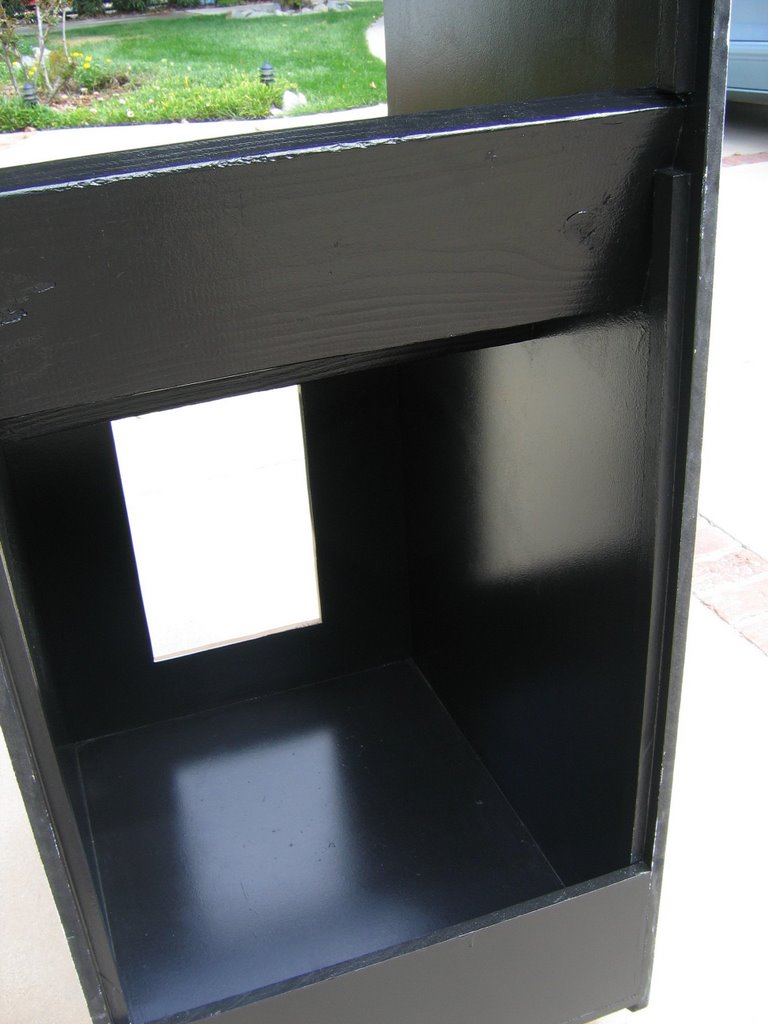
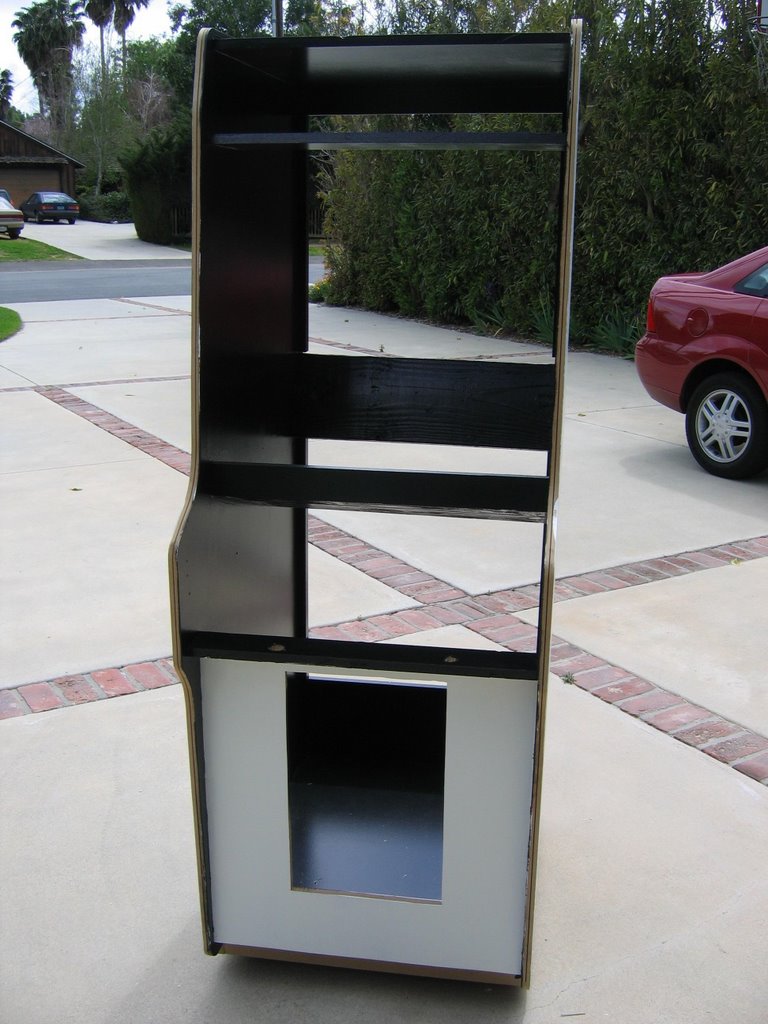
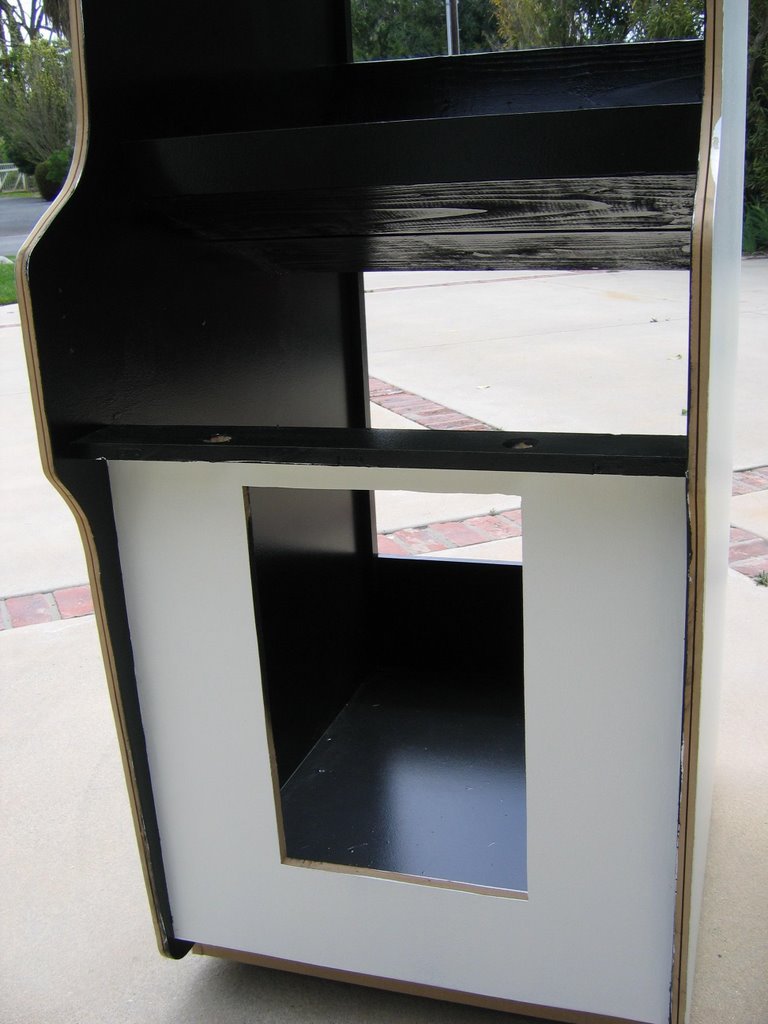
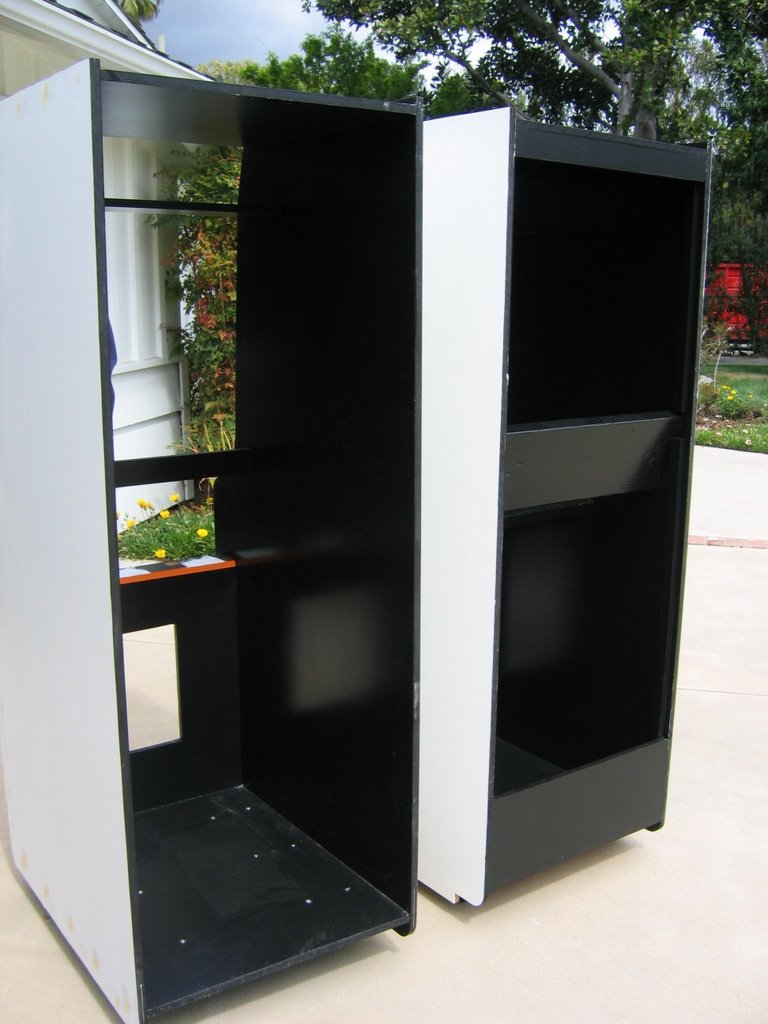
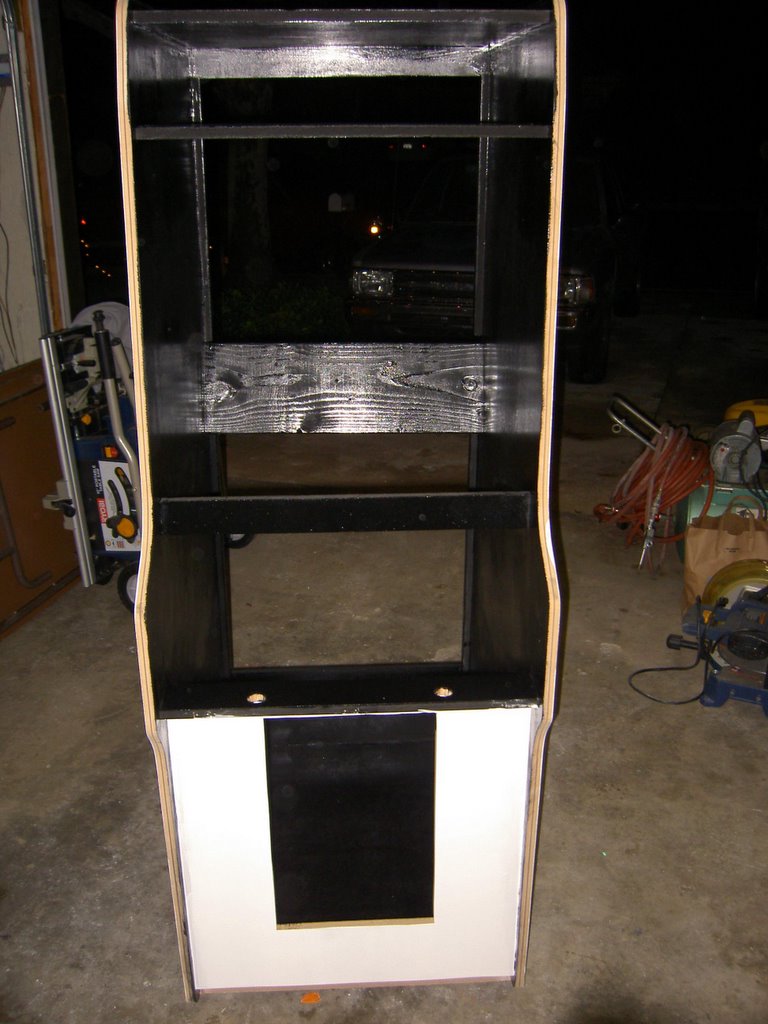
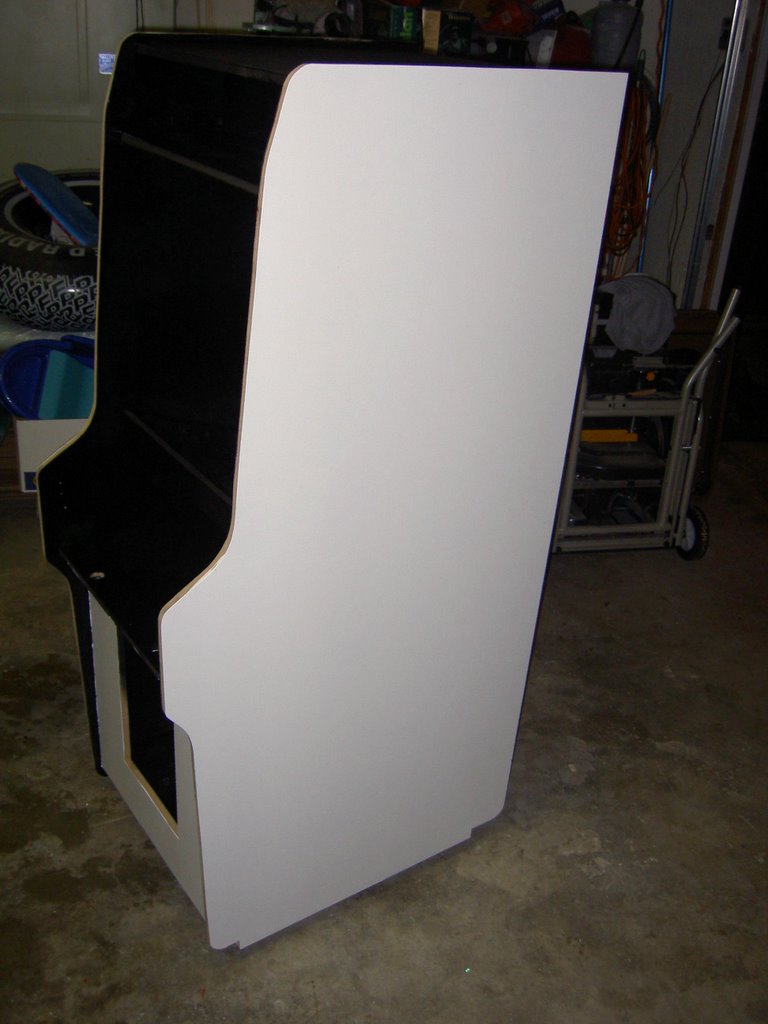
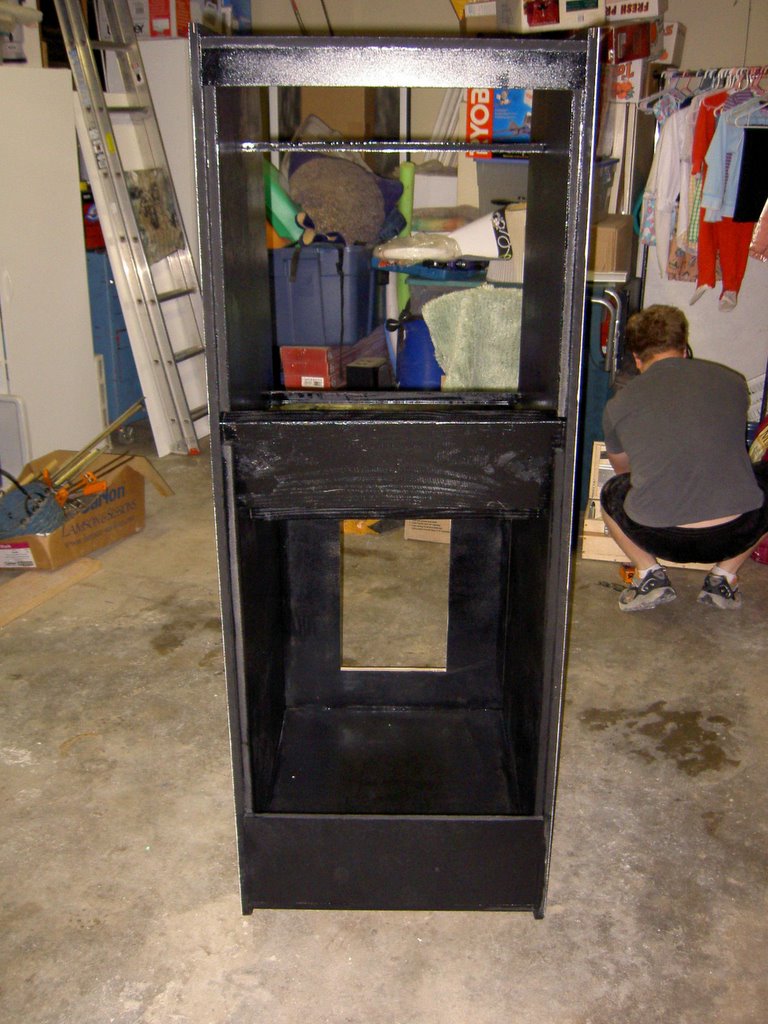
I had all day to work on the cabinet this Saturday and actually got a lot done. More done on my brother's cabinet than my own, but nevertheless, progress was made. The black paint I had used originally was a disaster. We had used what Marc had handy, which was 10 year-old black enamel paint. It was really horrible to work with and held us up with making any more progress. So to remedy the problem, we primed over the black enamel and painted 2 coats of Dunn-Edwards black semi-gloss. Now it looks great! Meanwhile, we built my brother's cabinet which had been painted beforehand. It came out great as well except I made a mistake screwing in the bottom of the control panel section to the coin door section and the screw came out the front. That really sucked because they had done about 6 coats of orange on that piece, and now have to redo it. Anyway, the blue paint comes next for me and then the cabinet is pretty much done, just some electrical work to do and it'll be good to go. Here's some pics of the black on my cabinet and the two cabs side by side.


Monday, April 03, 2006

It's Been Awhile

No, I haven't forgotten to work on the cabinet...it just seems to rain every weekend. I've moved the cabinet out of Marc's place (he's moving soon and is a pretty busy guy), and into my parents' garage which has become an arcade assembly plant. See my brother is building his Donkey Kong 3 cabinet there as well and he also recently bought a nice Street Fighter II: Championship Edition - Hyper Fighting Turbo machine (that's a mouthful) for $150!!! It was a steal, I'll post some pictures. Anyway, I'll be working on the cabinet this Saturday if it doesn't rain and should be close to finishing up.

Thanks to Marc for all the help and the storage space for the cabinet!

Thursday, January 19, 2006

Small Step, Just Waiting for the Weather...

We had wanted to paint the cabinet this last weekend, but it rained Saturday, so we couldn't. We actually did prime the cabinet on a day it rained (which was stupid) and the black enamel took 4 days to dry! It didn't matter because it was a first coat, but for a final coat, we need good weather. So, I only have one picture to go along with this post. It's Marc running a sheet of particle board through the table saw for the back of the cabinet. I had an extra sheet of MDF I was going to use for the back, but my brother is starting to build a cabinet just like mine (but he'll do Donkey Kong 3), so I decided to let him have the extra MDF, and we'd split the sheet of particle board for the back of our cabinets. This worked out nicely because the particle board is about half the cost of MDF, and you don't need anything special for the back. Most commercial cabinets are made of particle board (if I'm not mistaken) and they hold up just fine, so realize that if you want to save money, you can build your whole cabinet with particle board. MDF will just hold up better in the event of a nuclear attack.

Anyway, we used my cabinet to trace Davey's side pieces for his cabinet (much faster than measuring all over again). We got those pieces cut out, matched, and routed, and since then he's cut out all other required pieces. If I don't paint soon, he may catch up!

Monday, January 02, 2006

We Finally Primed!!!

Alright, we made a good amount of progress on New Year's Eve. The Nintendo coin door I bought off eBay arrived, so we cut the hole for it, attached one last piece, and went for the paint. Here are the pictures:
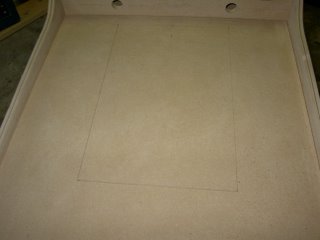

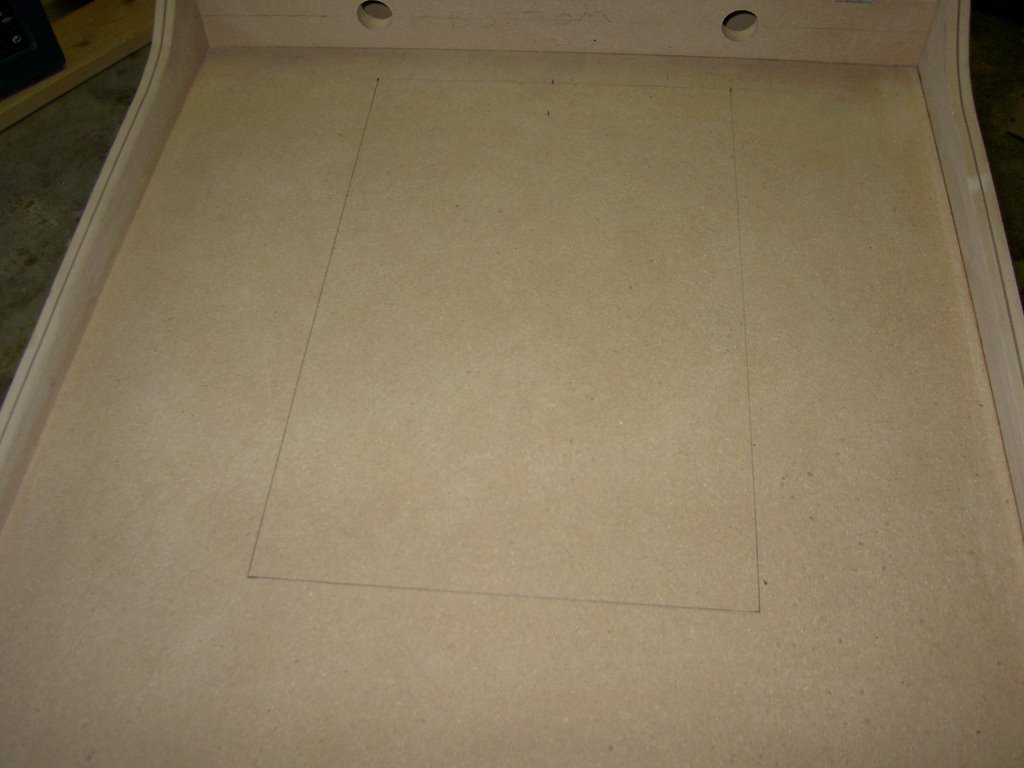
First we centered the coin door and drew the outline of where it should go.
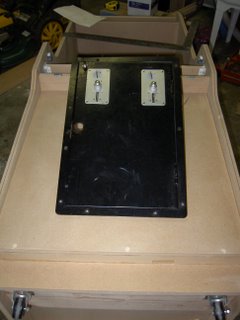

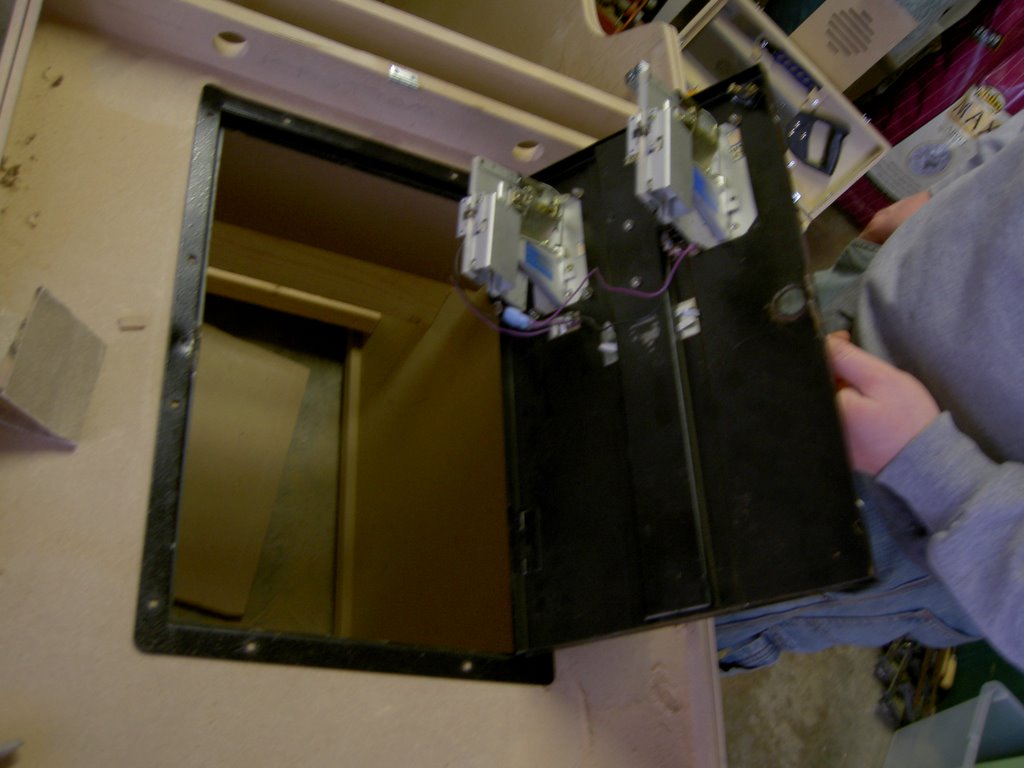
There's the original Nintendo coin door. It needs some restoration work, but for now we can at least cut the hole for it in the cabinet.
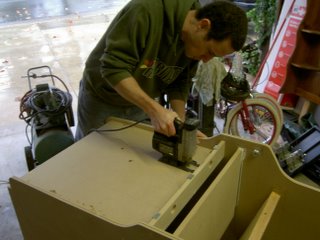

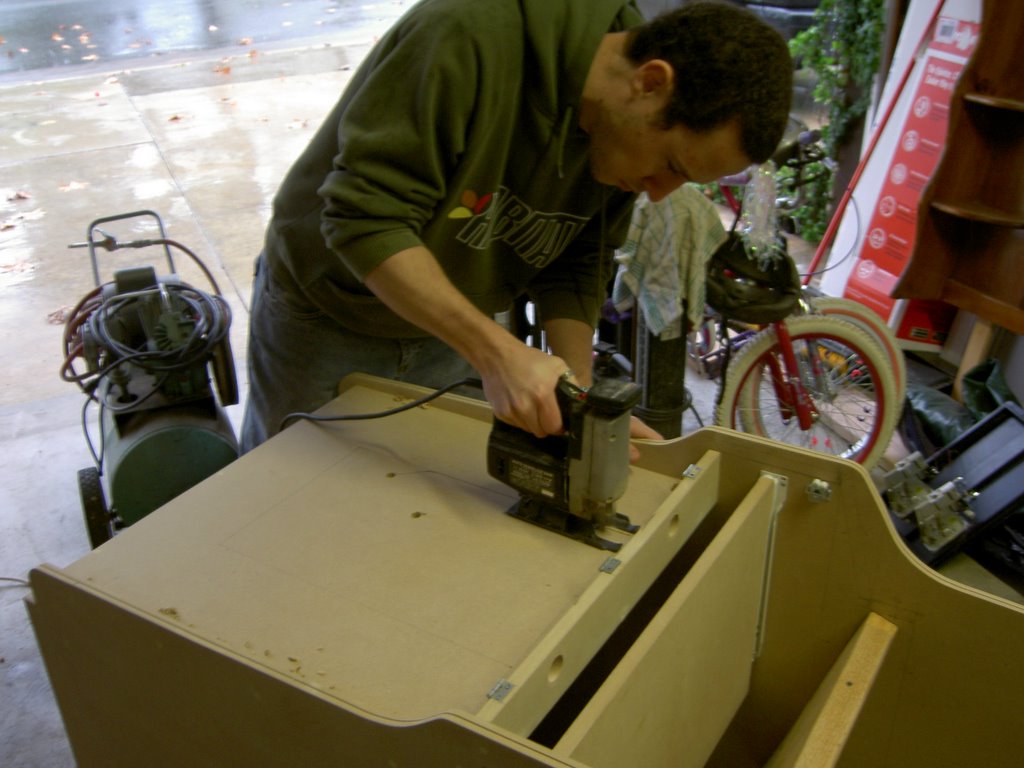
Here's me cutting the hole. Marc could have done it in half the time.
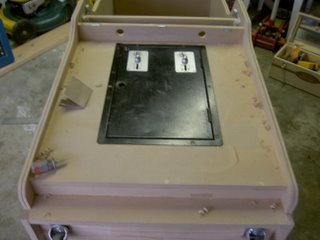

Fits like a glove.
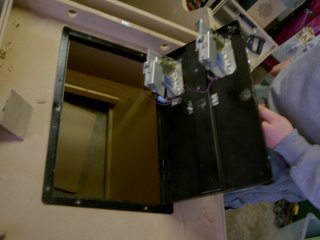

The door has the coin mechs in it which means it'll be more than decoration when I'm through.
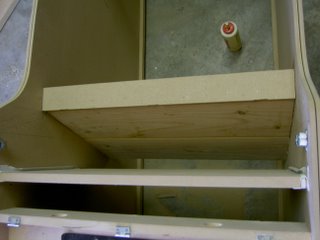

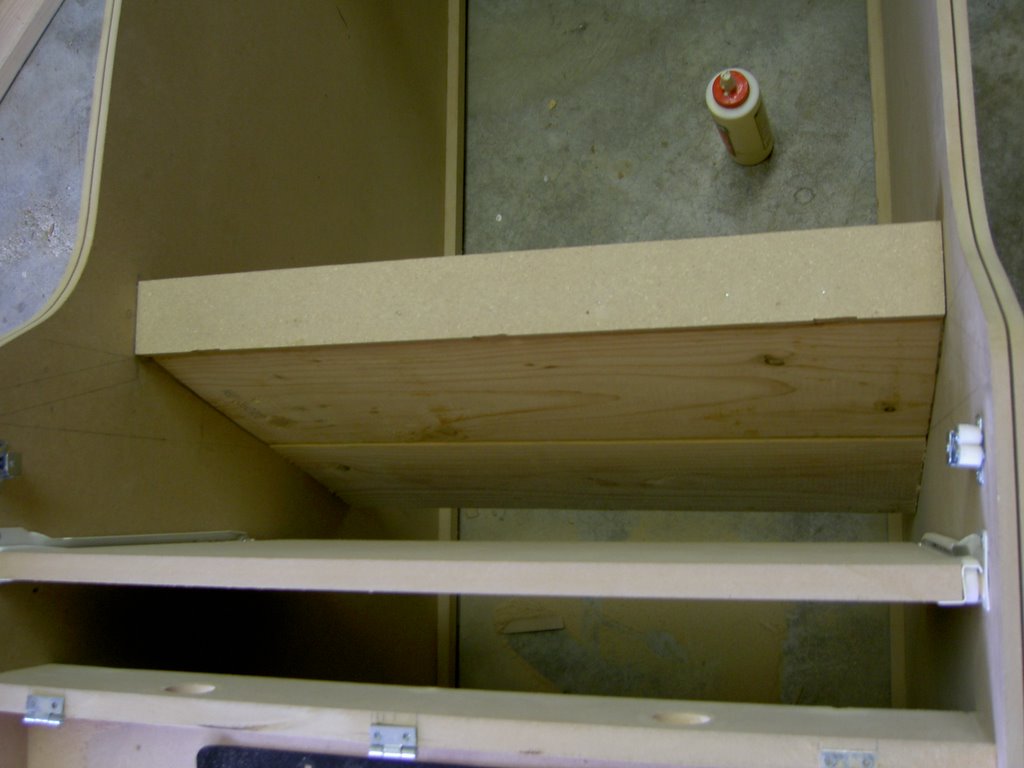
Before we primed and painted, we had one final piece to attach. This small thin bar that acts as a spacer between the control panel and the bezel. We had originally tried to attach it like all the other pieces, by screwing it into the sides, but because it's a small piece, it split. So we just used wood glue to secure it to the sides and back (the monitor shelf comes right up to it), and then used a nail gun to secure it firmly to the monitor shelf.
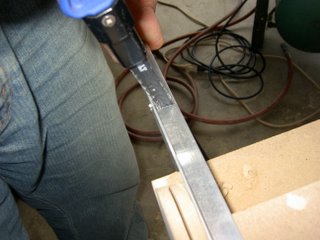

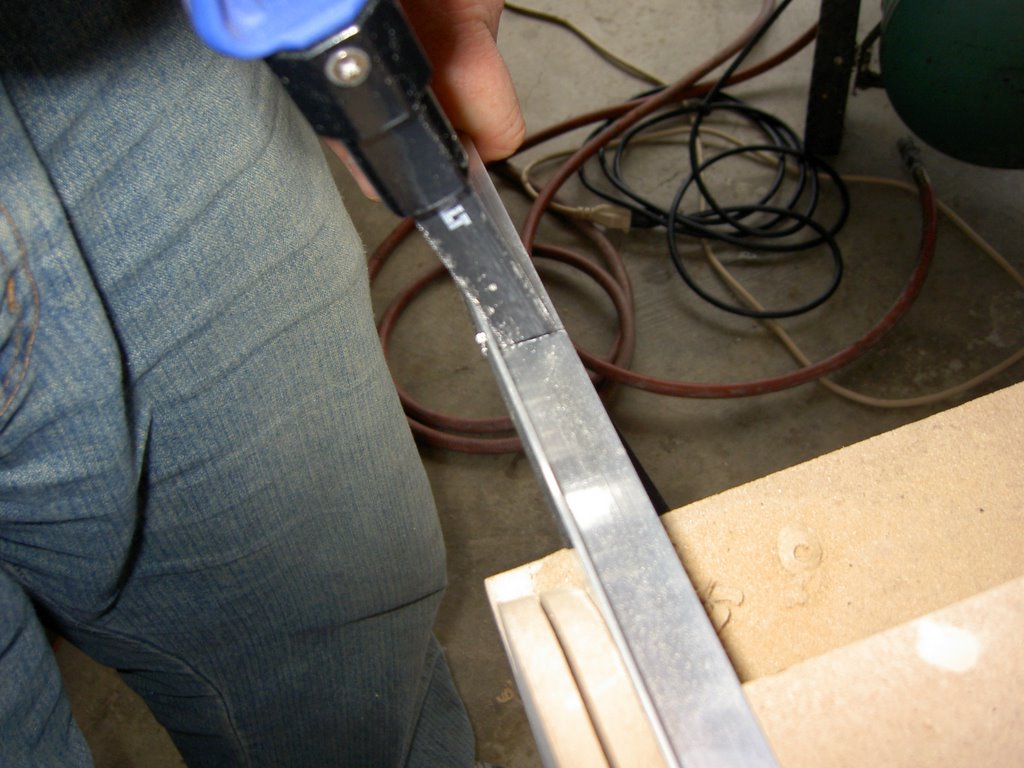
Random picture of Marc cutting a bracket that we will use to hold the bezel and marquee.
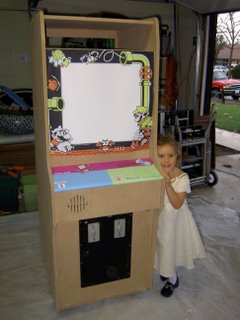

I had printed out a copy of my modified control panel artwork that I'll use to place the joysticks and buttons, so we taped it to the actual control panel wood. Then, since I also had a print out of the bezel (because I haven't bought a real one yet), we decided to put it all together and imagine that the cabinet was blue. Then, Marc's little sister was outside, so we added her for the cute effect.
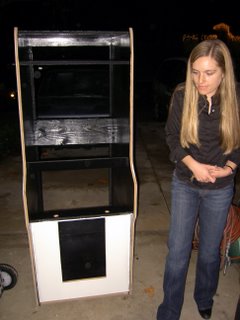

Also cute, but in a different way, is my beautiful wife who was trying to stay out of this picture of the cabinet primed. We didn't take any pictures of the cabinet while we were painting, for obvious reasons. The inside is all black enamel Dunn-Edwards paint applied with a brush for cutting the corners and a small foam roller for the broader parts. The black that will be visible from the outside of the cabinet will require a second, more careful coat for a smoother look. The white primer required two coats as it didn't cover well in some areas. It was applied with a standard roller with short nap for smooth surfaces. We will sand down the primer with 400 grit sandpaper before applying the final blue coat.
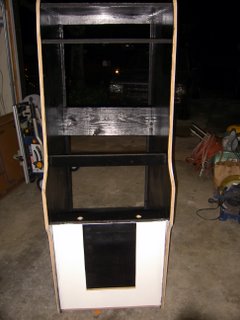

Here's a front view that's not as nice because my wife isn't in the picture.
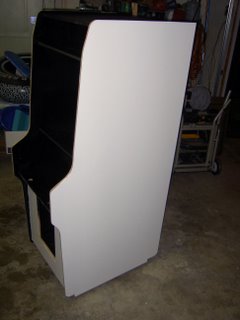

Side view.
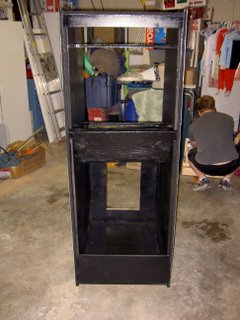

Rear view, no pun intended Marc.
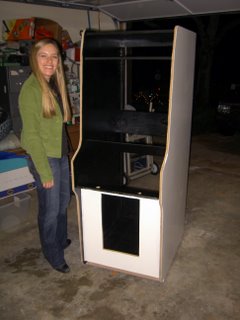

Another beautiful shot, and the cabinet too.