
 Left side view.
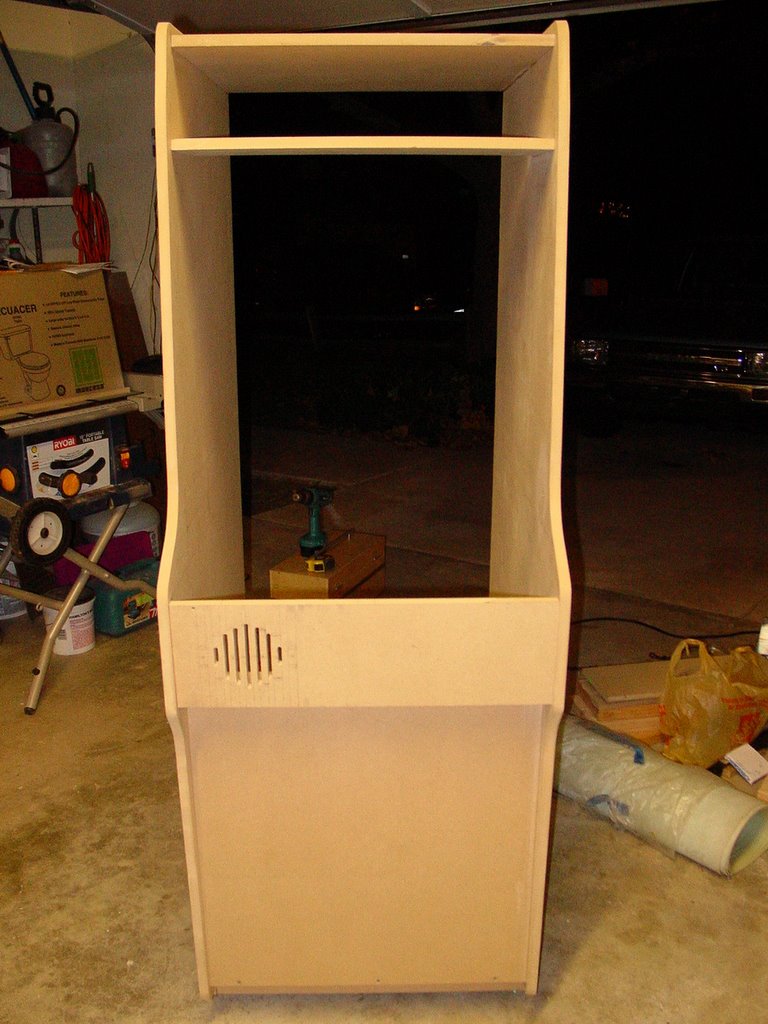 Head-on view
 Right-side view
 Opened...
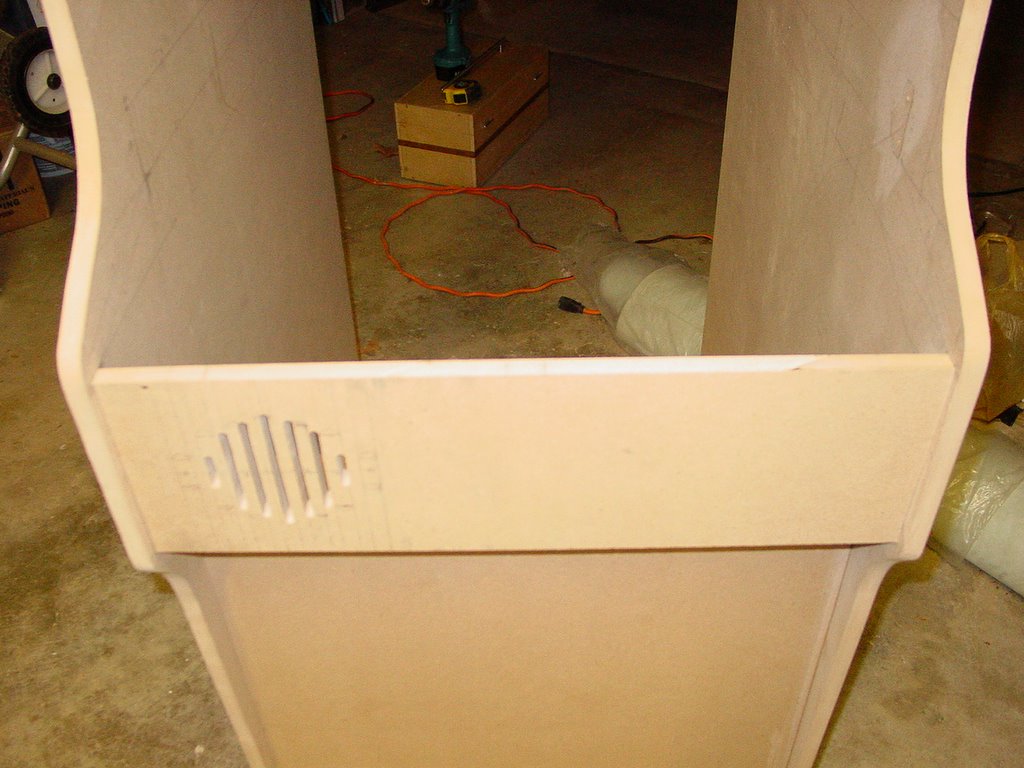 Closed...
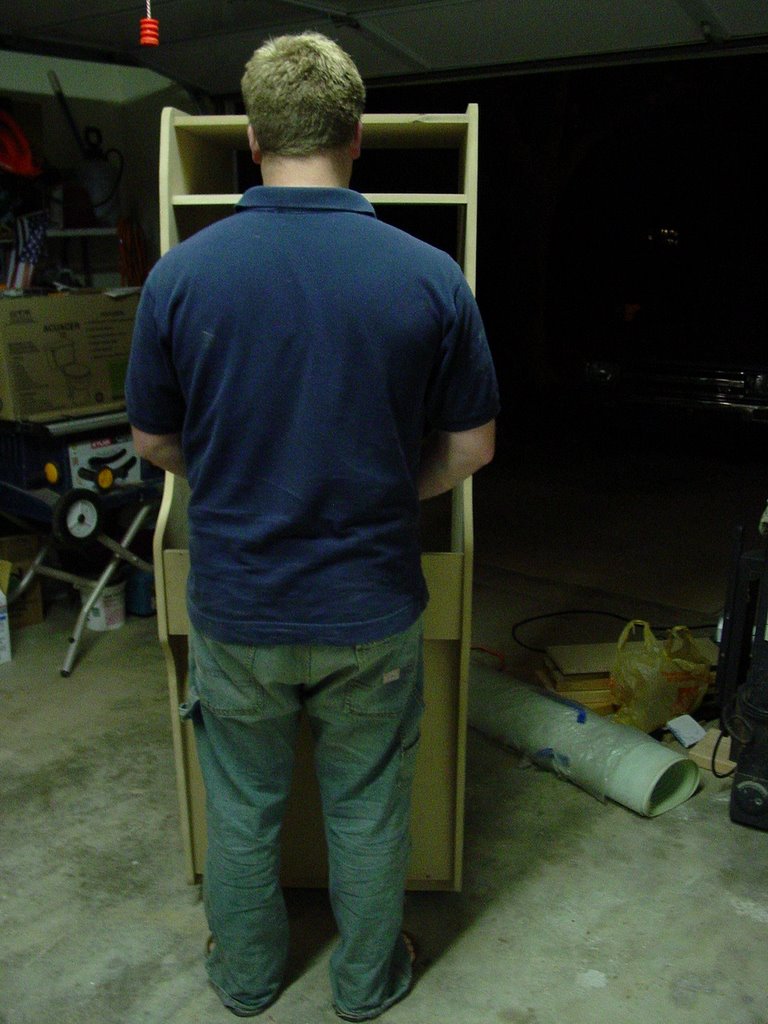 Marc attaining his highest score ever...zero points.
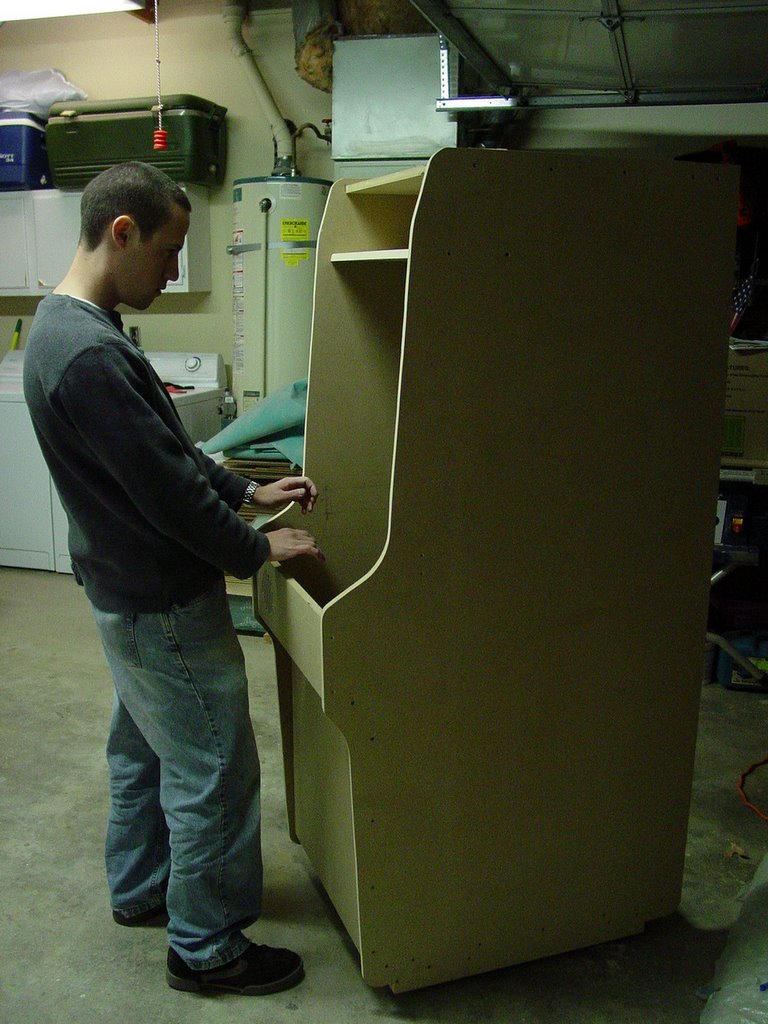 Me, crushing Marc's high score...100 zillion points.
Well, what do you think?
This site will follow the creation of my MAME arcade cabinet. I want to give it the classic look of a Mario Bros game from 1983. Check back often for updates on my progress.
Left side view.Head-on viewRight-side viewOpened...Closed...Marc attaining his highest score ever...zero points.Me, crushing Marc's high score...100 zillion points. First we cut out 5 studs the width of the cabinet from a 10 foot 2x8. I think a 2x6 would have sufficed.
 Here's Marc making the cut.
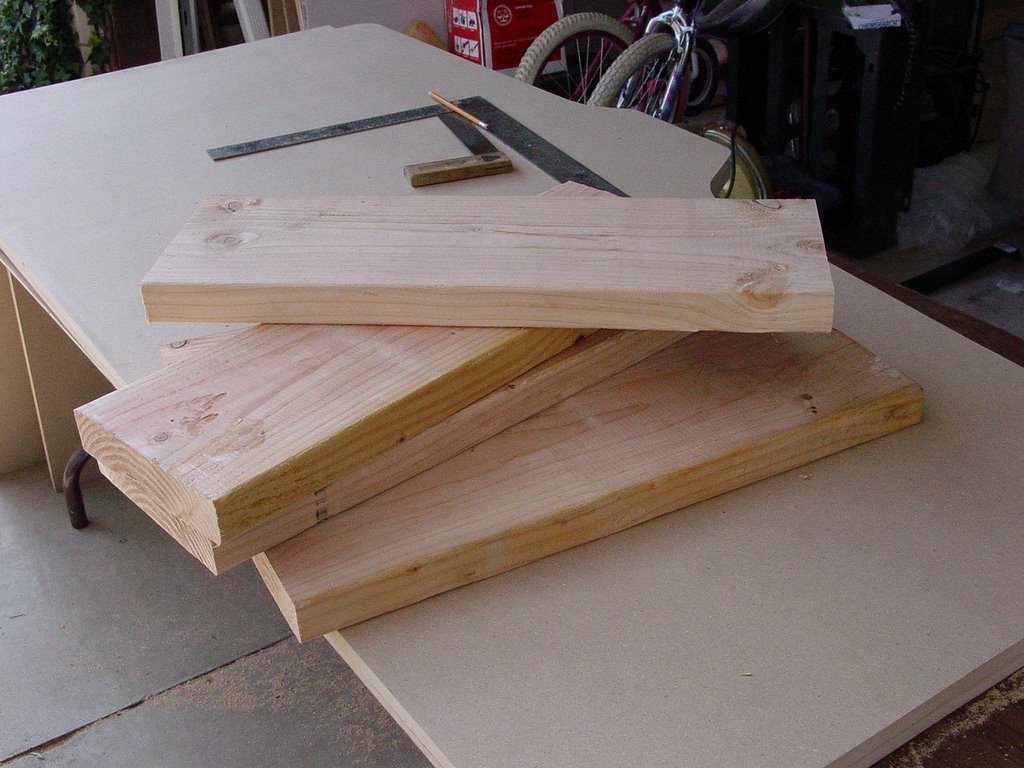 And voila! Not too difficult.
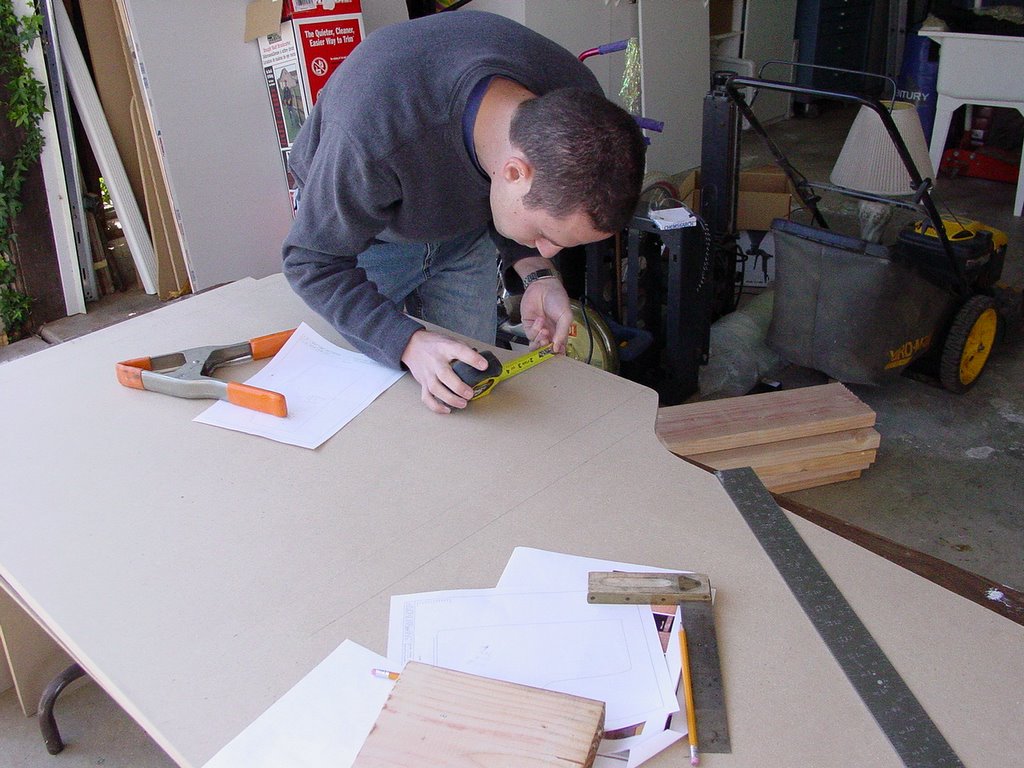 Then we drew lines on the inside of the sides of the cabinet where the front, top and bottom would connect.
 This took quite awhile as we were very precise with our measurements.
 Also, we made some modifications to the original that we had to think through.
 Once the lines were drawn, we marked spots for drilling approximately every 6 inches. We first drilled from the inside (where the lines were), and then drilled from the outside with the countersink bit. That's me connecting the coin door section of the cabinet (no coin door yet). We used 2" coarse drywall screws and wood glue to connect the pieces.
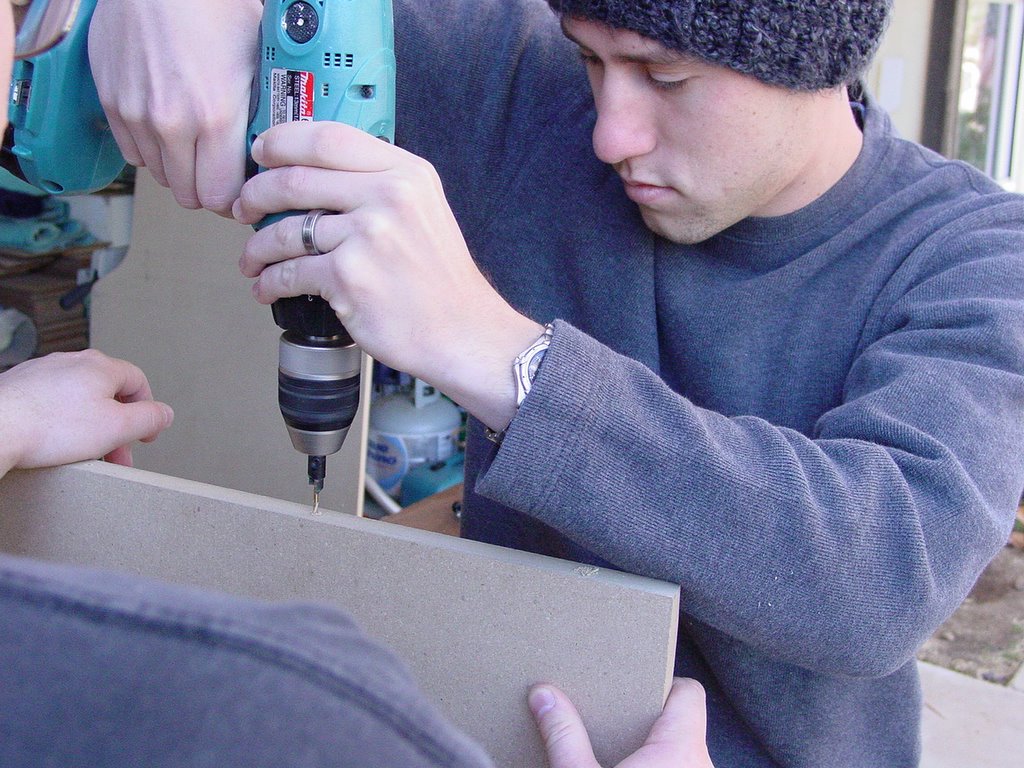 When we drilled from the outside of the cabinet, we had the other piece in place so that a shallow pilot hole would be drilled into the side of that piece. Then we used that shallow hole as a guide and drilled a deeper hole before screwing in the screw
 For the piece that sits under the control panel we only used one screw to attach it to the side panels because it was so small. We then attached it to the coin door section for support. You'll notice that we bored two 1.125" holes in that piece for hidden buttons to be used for coin inserts (simulates putting a coin in the machine).
 Here's an inside look.
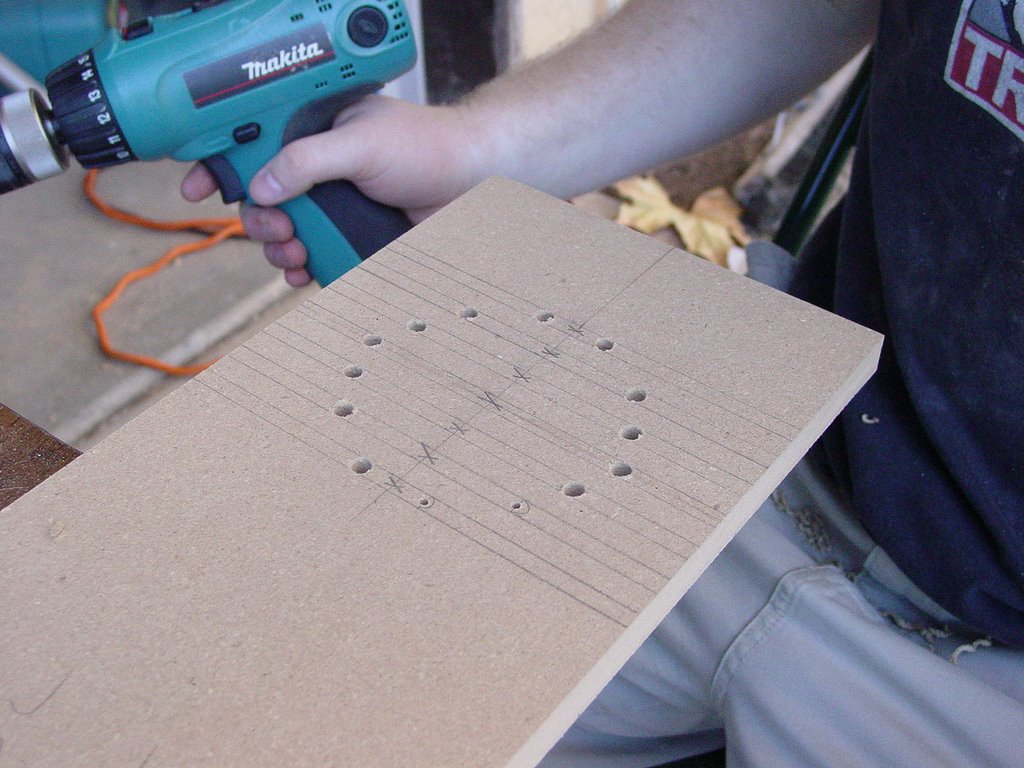 This was difficult. The front of the control panel has a speaker hole in it that I wanted to copy to give the cabinet an original look. We drew the lines (twice, the first time I screwed up the dimensions)...
 Drilled the holes...
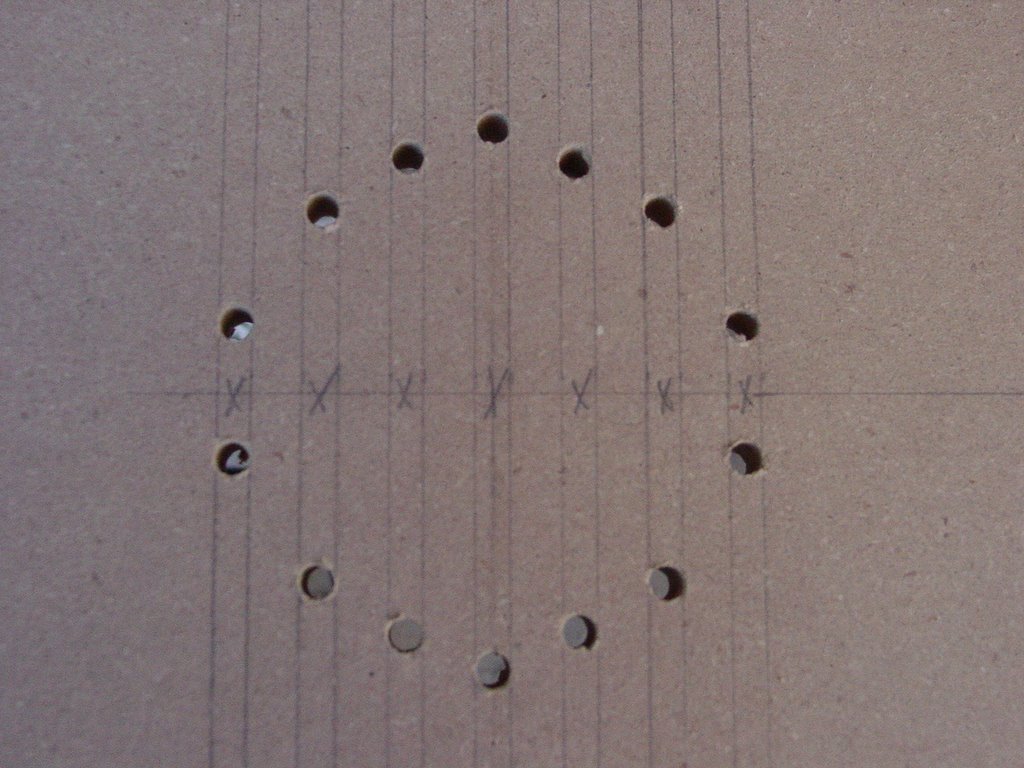 Lookin' good...
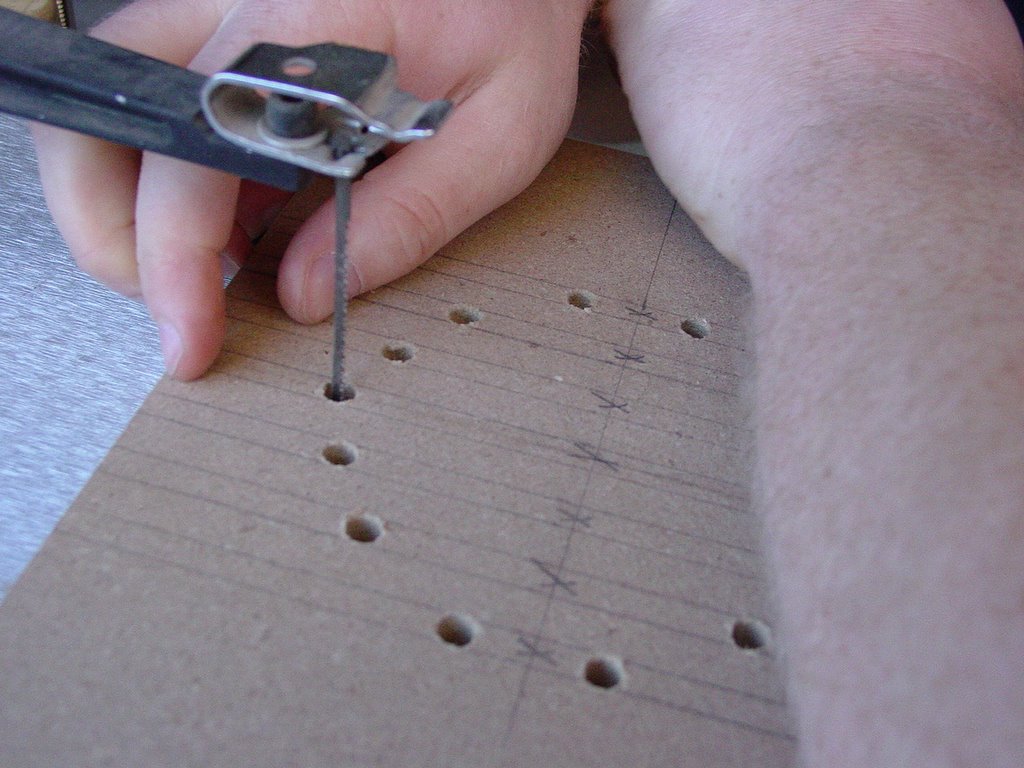 Used a scroll saw to cut out the slots...
 I gave it a shot and did just fine, but Marc did most of this...
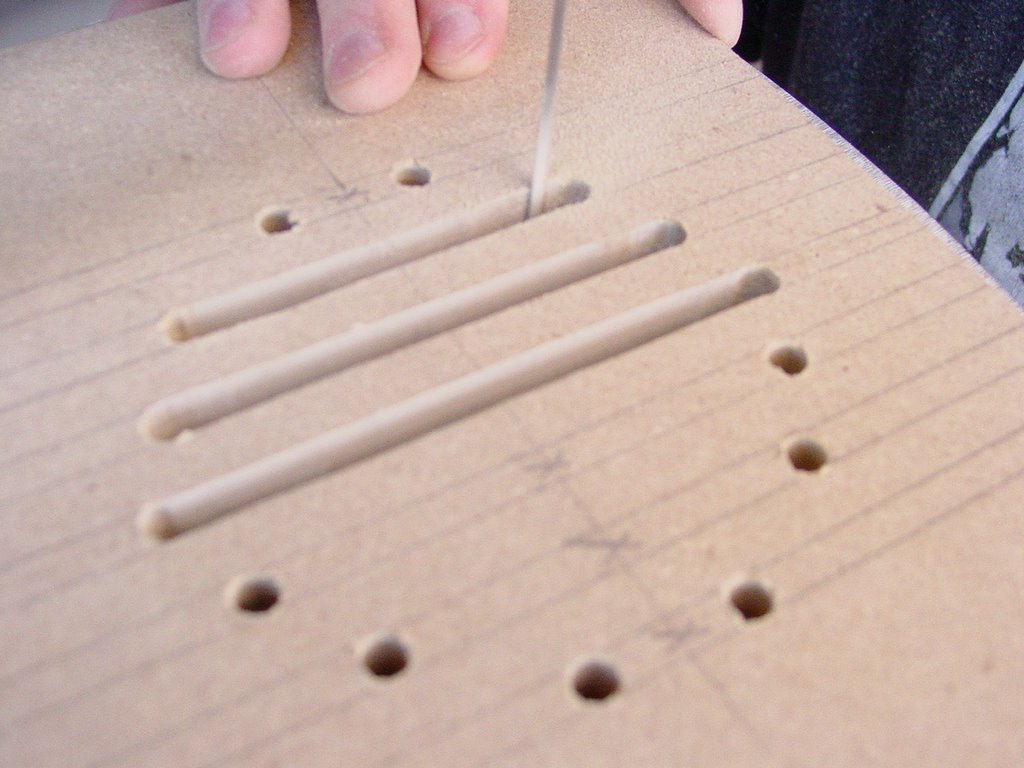 Marc has more experience than I do...
 Wow, looks great!
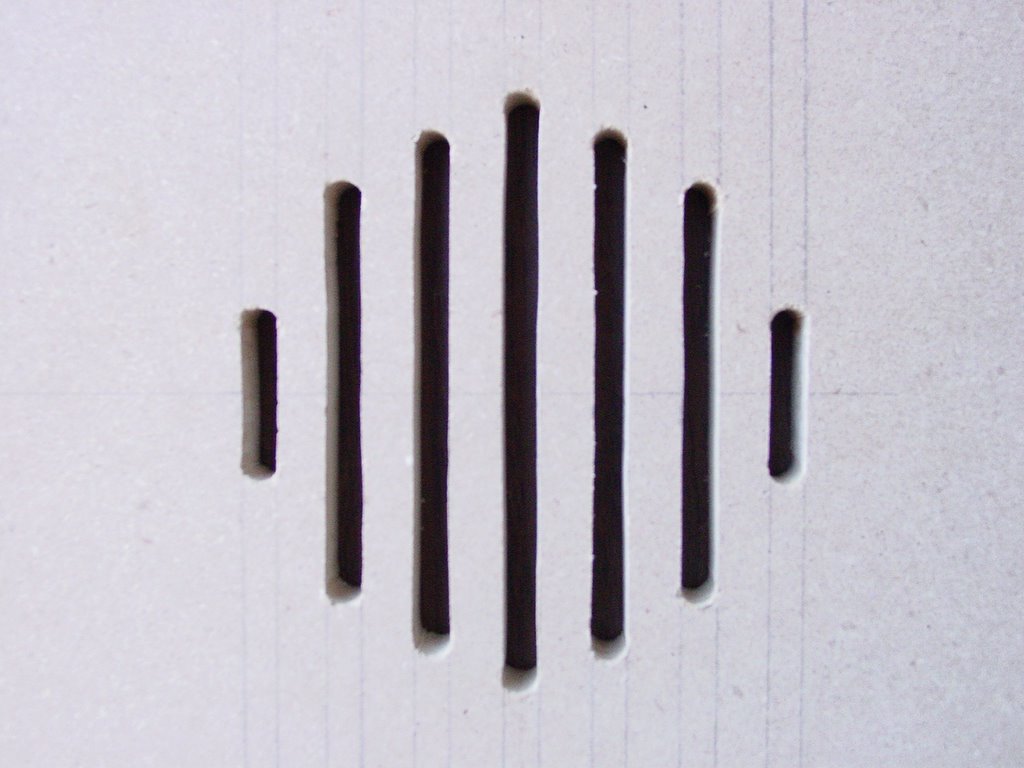 Up close...
 We decided to hinge the front of the control panel so we can install a keyboard tray. It will be tight because we have the buttons from the bottom and from the top. We'll see how that part turns out.
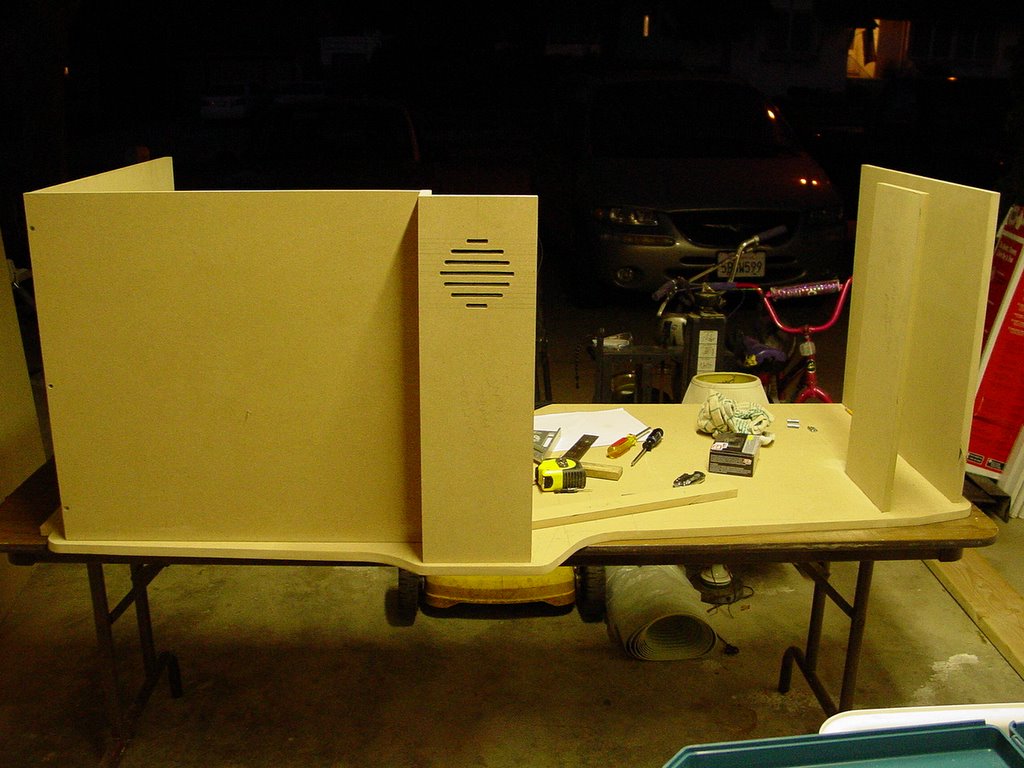 Here's the front of the control panel with the hinges installed. We still need to attach some latches so it doesn't open by itself.
 An inside look at the hinges...
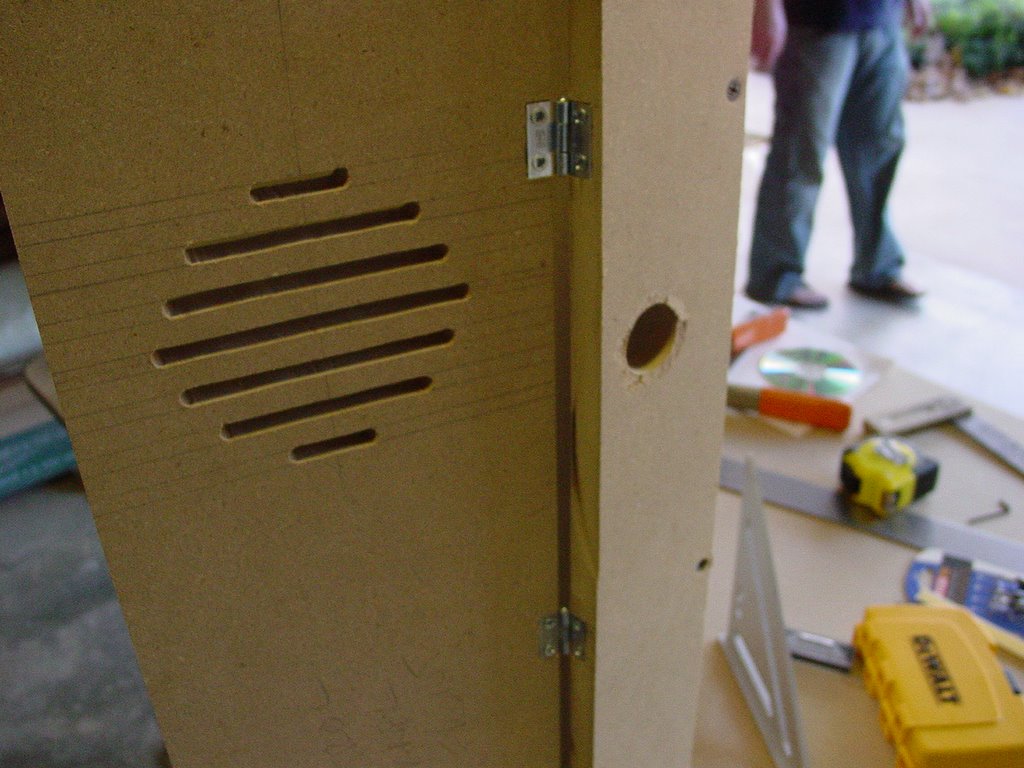 A close up of the hinges...
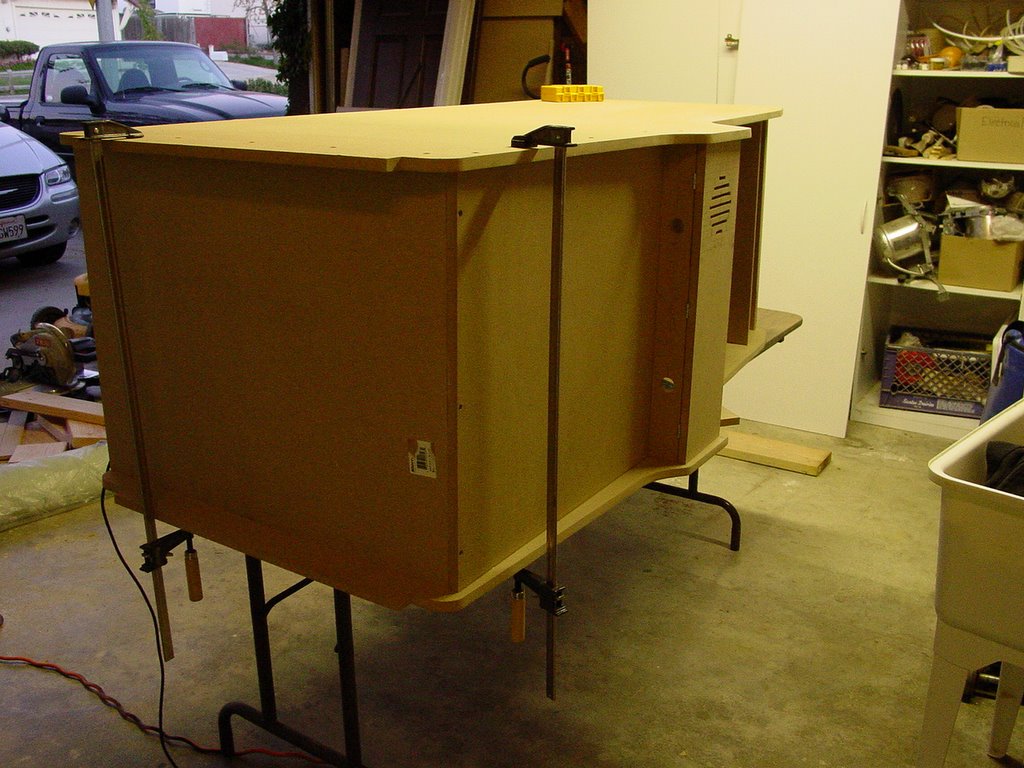 Finally we were ready to attach the other side panel. We lined up the lines we drew, used a level to make sure the lines we drew were accurate, and then used clamps to hold it in place.
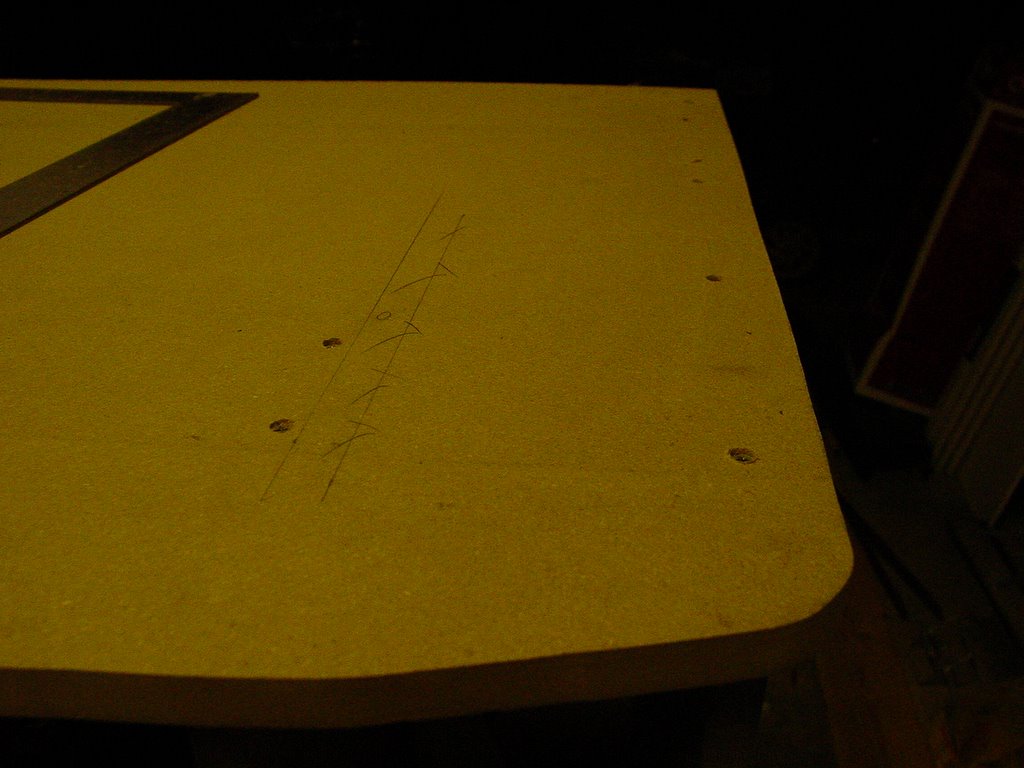 Some pieces we had to hold in place while we drilled and screwed because they tended to tilt a bit. We used a square to make sure everything was straight.
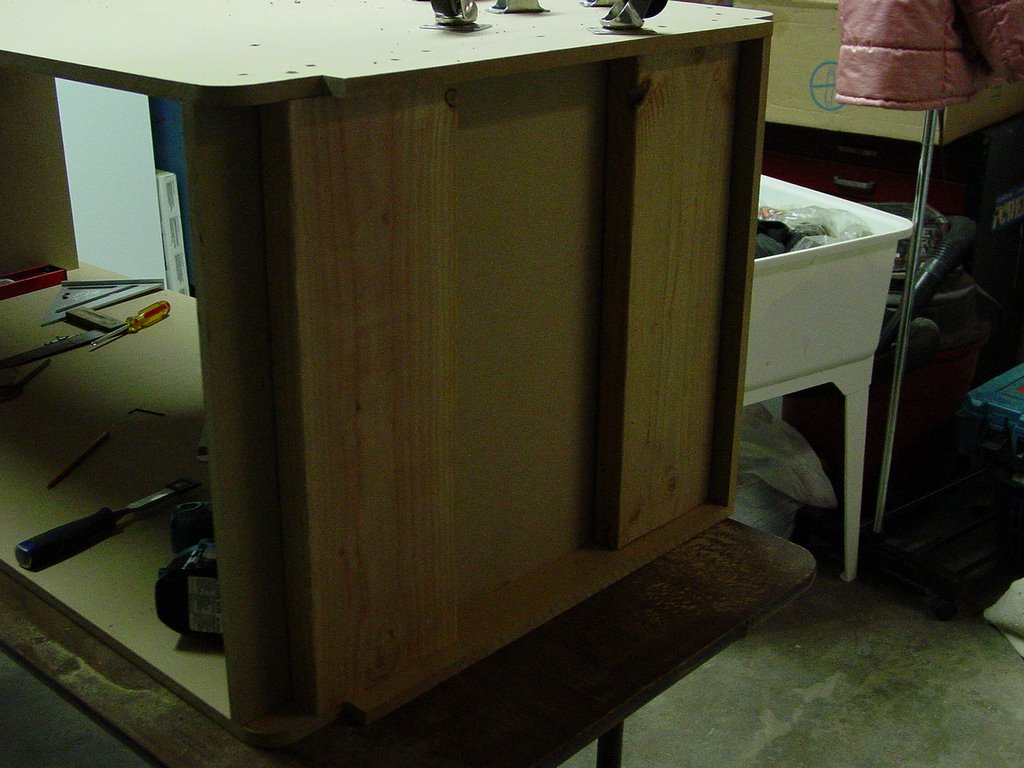 Once that was done, we attached two studs on the outside bottom part of the cabinet because the casters needed the extra clearance.
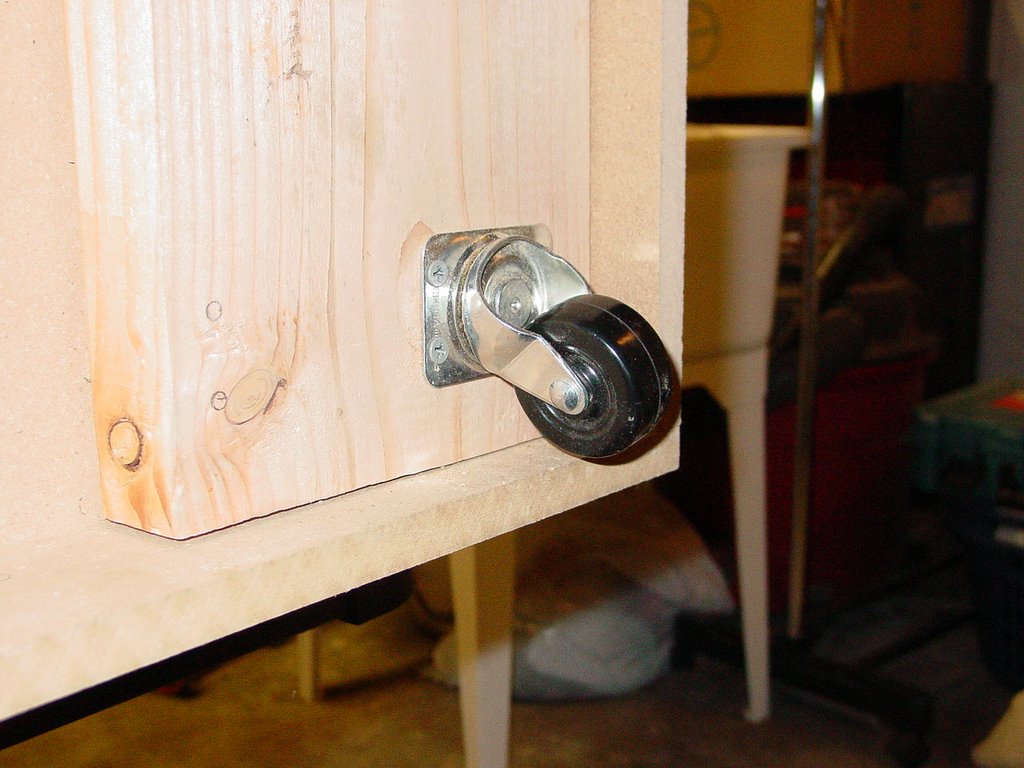 Then we attached the casters, our last step for the weekend. All in all we spend about 10 hours working on it over two days, and were very pleased with the results. I'll show you those results later today.
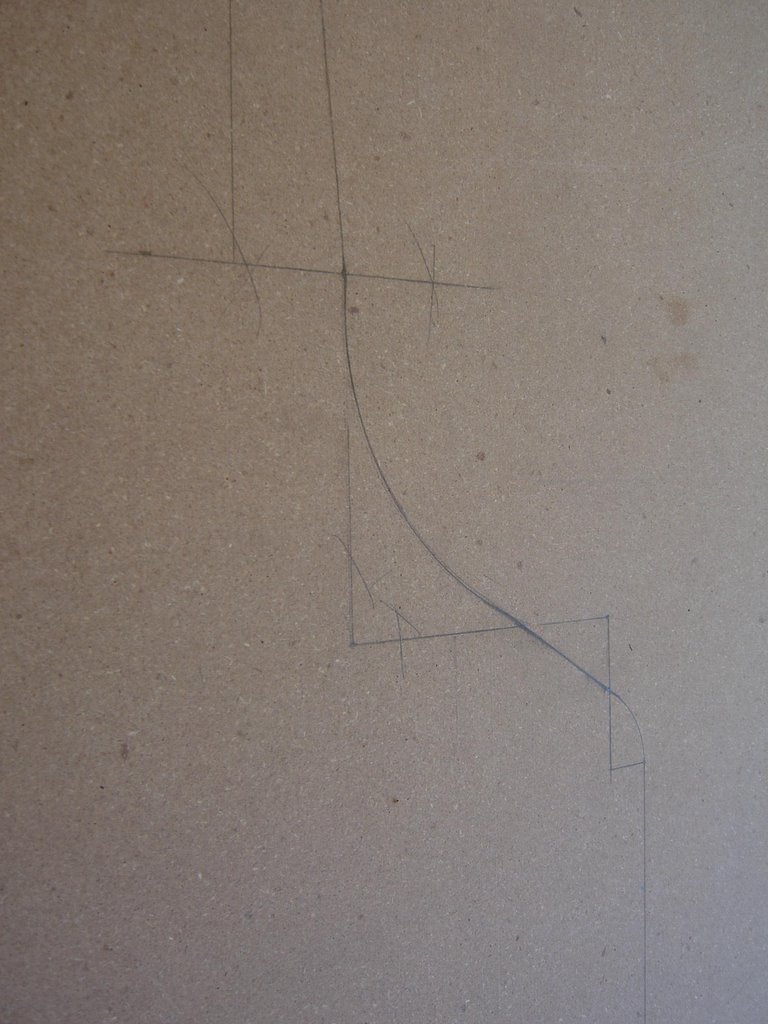
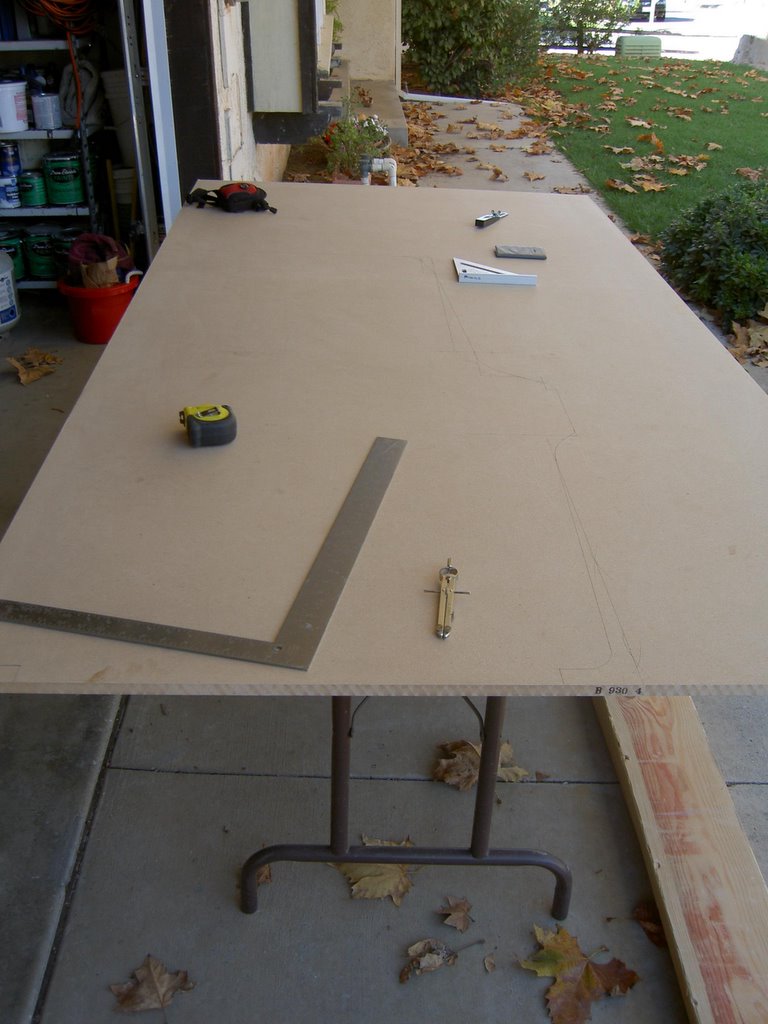 I got the plans for the Mario Bros cabinet (not the wide-body version) off of www.jakobud.com and with a square, t-square, and compass, we were able to get the precise measurements traced. This took a looooooong time, but we wanted perfection, so we were very careful with the measurements.
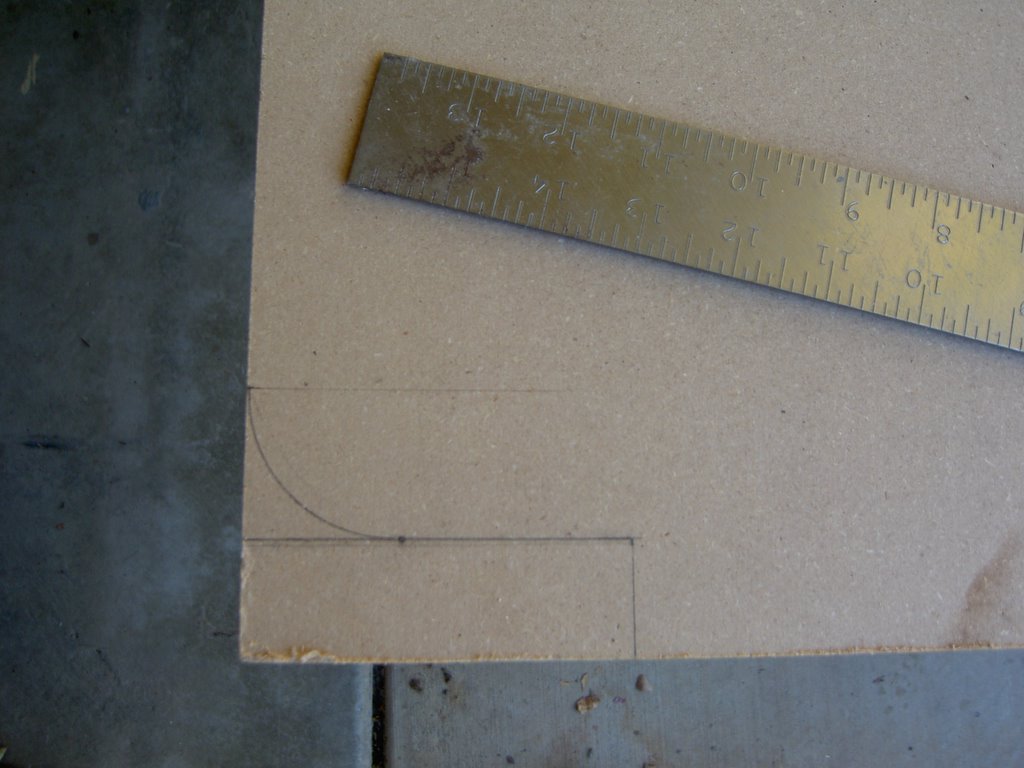

 I didn't trust myself with the jigsaw (after 2 hours of tracing, I didn't want my $22 sheet of MDF to go to waste), so I had marc have at it and he did an excellent job of cutting out the cabinet.
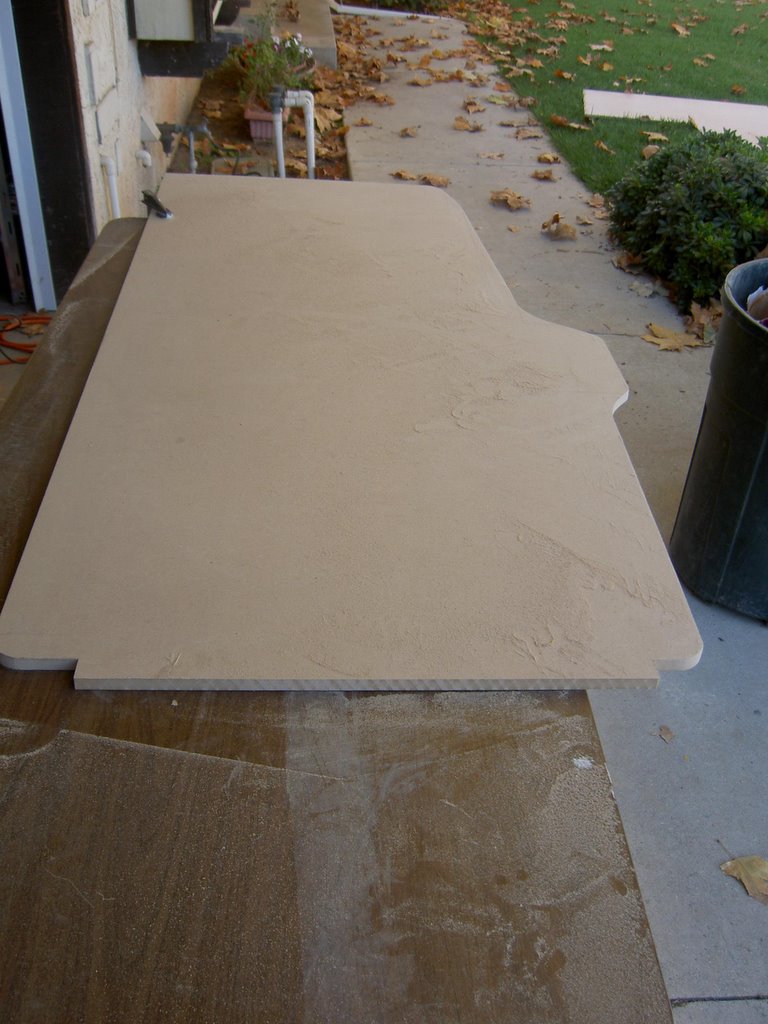
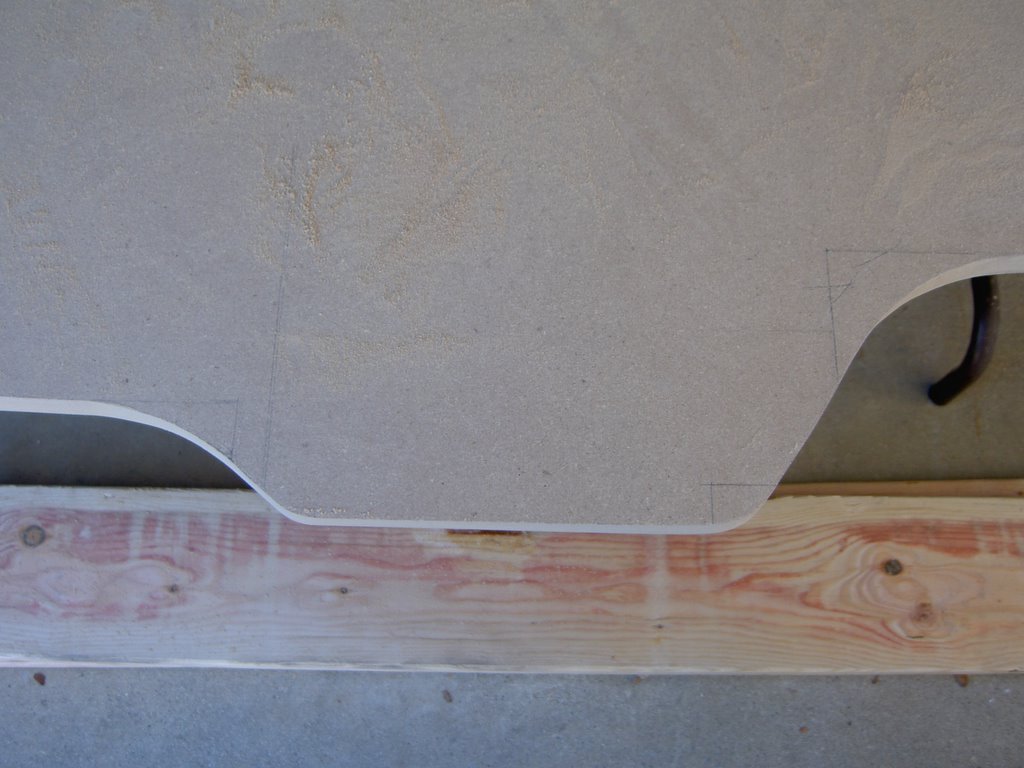 The next step was using the first side of the cabinet to trace the second side. This was obviously so much easier than going by the measurements again, and also more accurate. This took a matter of seconds and we were soon cutting the second piece. After the second piece was cut, we lined the two up and they didn't quite match. This was to be expected, so we clamped the sides together, lined up the back and bottom (the sides we didn't cut), and began sanding the pieces until they sat flush with each other. This was a great idea since it's more important for the sides to be accurate to each other than to a drawing.

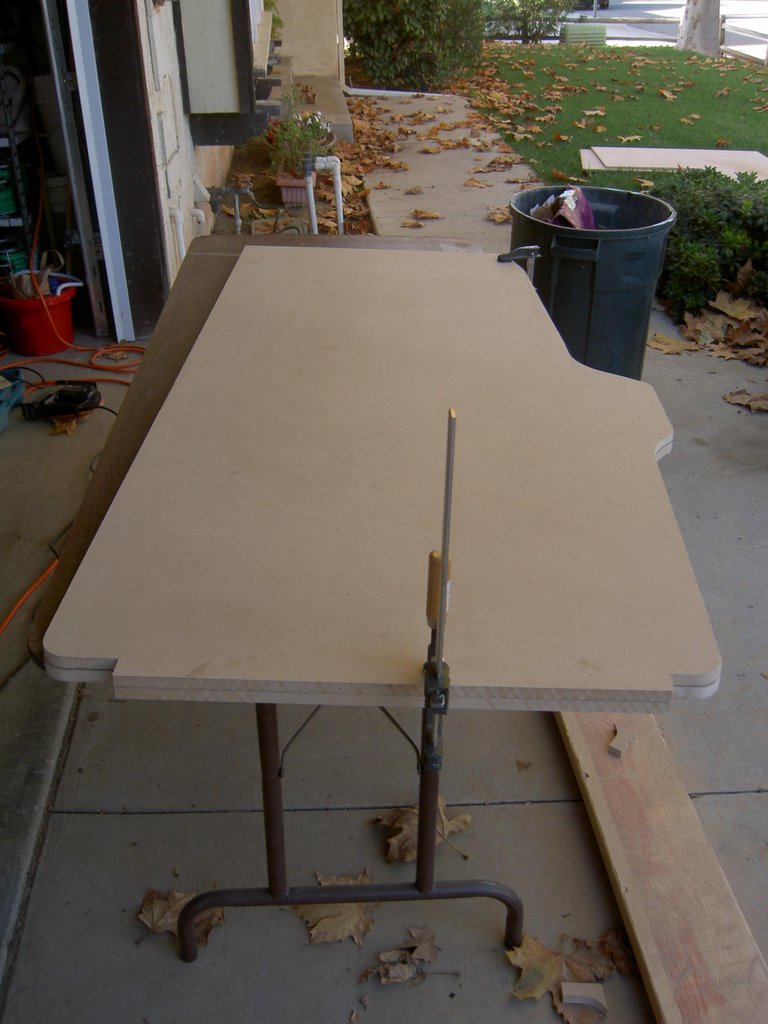
 The back of the cabinet I'm going to worry about later. I may use something lighter for that since it's not as important. So, I might take back one of the sheets of MDF, I only really needed the two. And so, after almost 8 hours of planning, purchasing, tracing, cutting, and cleaning up, we had our cabinet pieces cut out. Seems like a lot of work for little results, but doing it right and being happy with the results was more important to me than finishing it quickly. It may take a few months, but I'm excited to see the final product. The next step is to order more parts since I can't work on it again until Thanksgiving weekend. I'll post my purchases in the meantime.
