
3 sheets of 4'x8'x.75" MDF
2 10ft 2x8s
4 2" casters (2 swivel, 2 fixed) rated at 125 lb each
3-pack of 10-tooth wood cutting jig saw blades
box of 200 2" coarse thread drywall screws
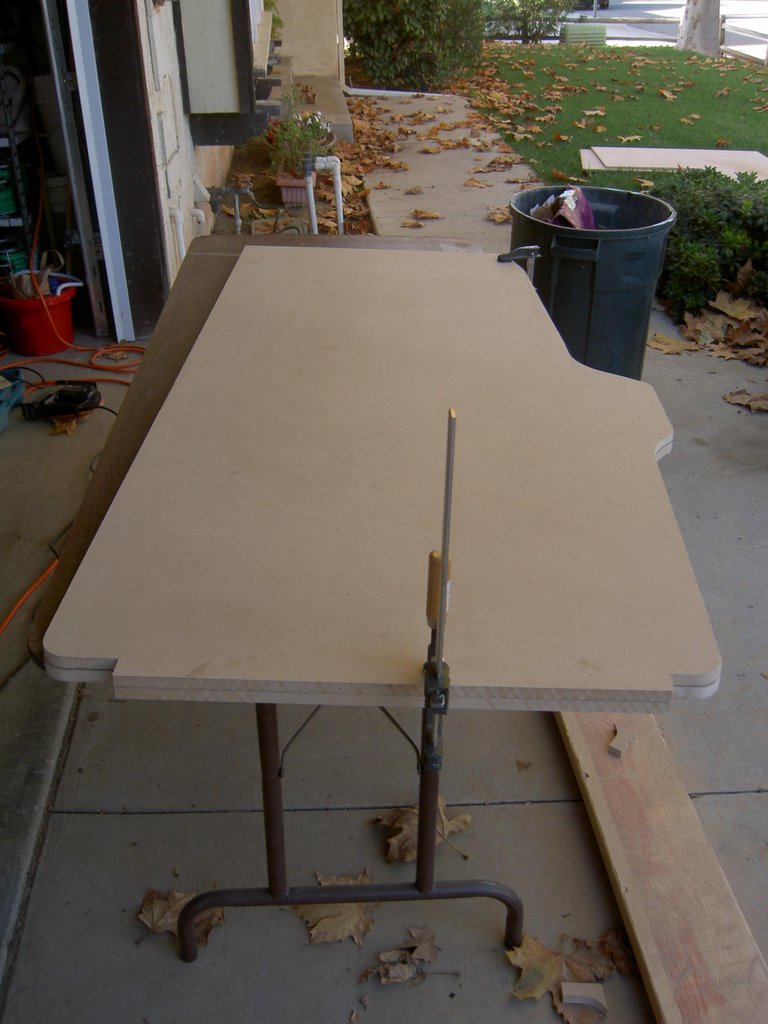
We were going to get the primer as well, but we knew we weren't going to get that far in one day, so we'll get that on the next trip. The total came to $104 even. We got started by setting up a table outside and placing the first sheet of MDF on it for tracing.
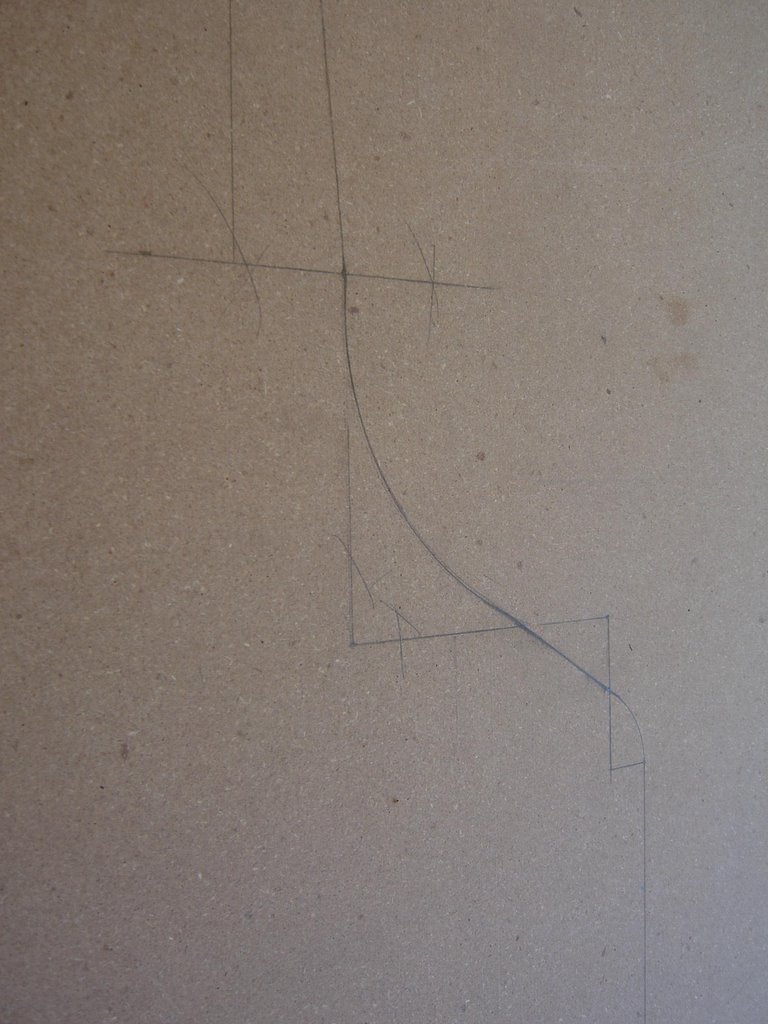
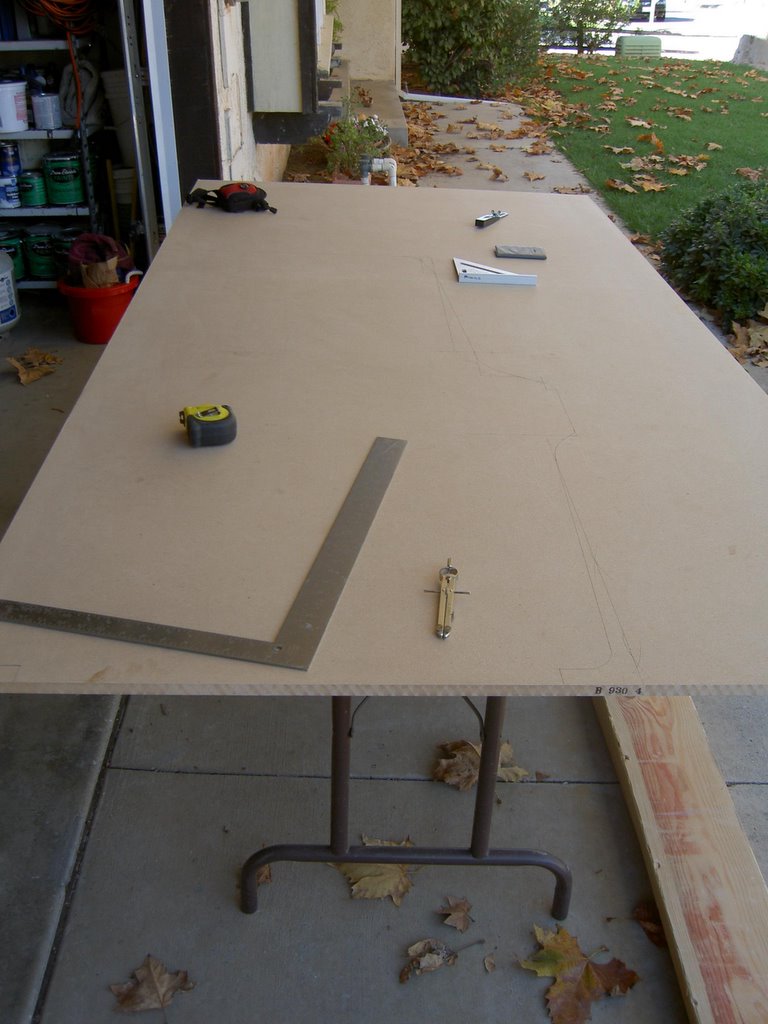 I got the plans for the Mario Bros cabinet (not the wide-body version) off of www.jakobud.com and with a square, t-square, and compass, we were able to get the precise measurements traced. This took a looooooong time, but we wanted perfection, so we were very careful with the measurements.
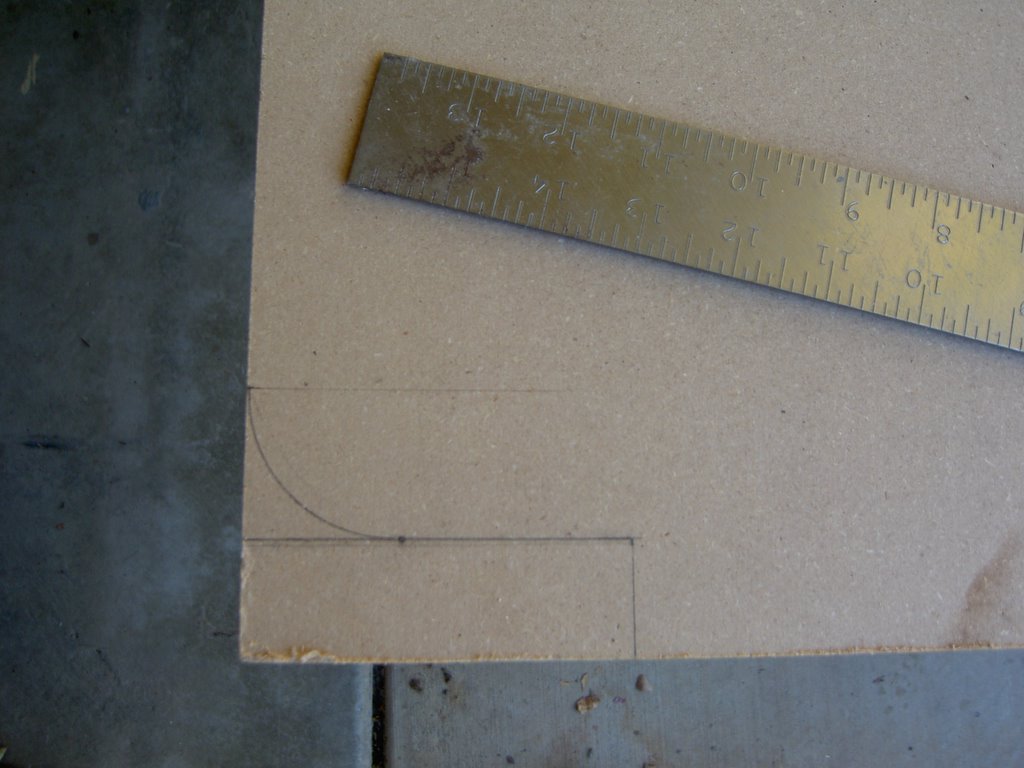

 I didn't trust myself with the jigsaw (after 2 hours of tracing, I didn't want my $22 sheet of MDF to go to waste), so I had marc have at it and he did an excellent job of cutting out the cabinet.
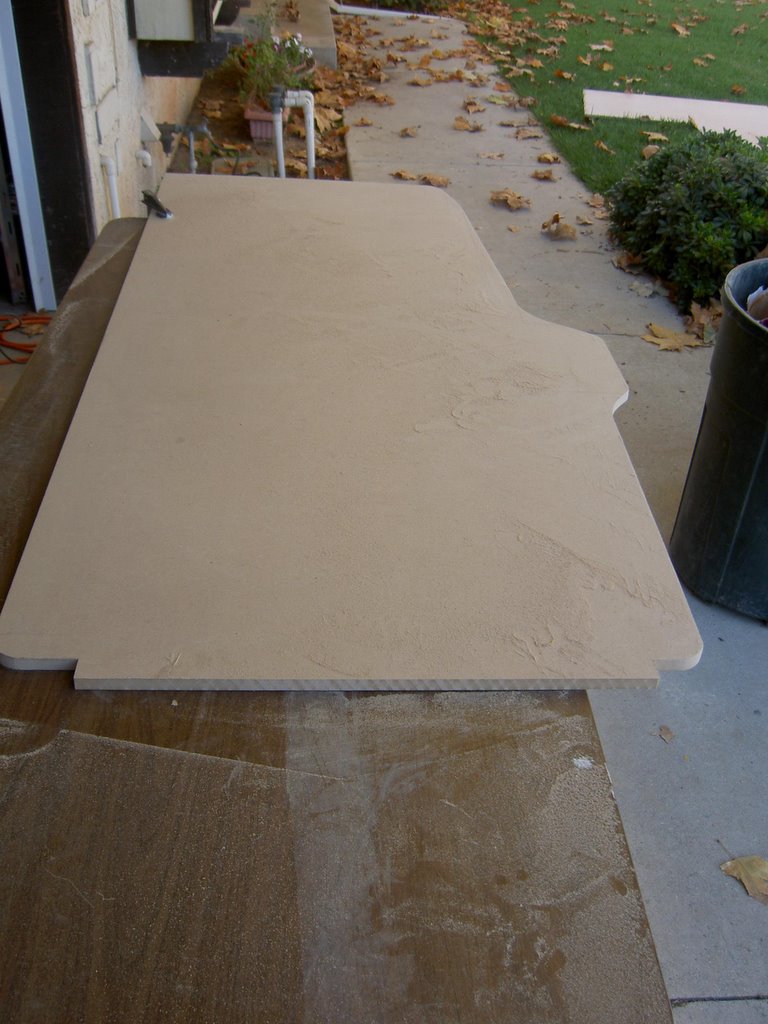
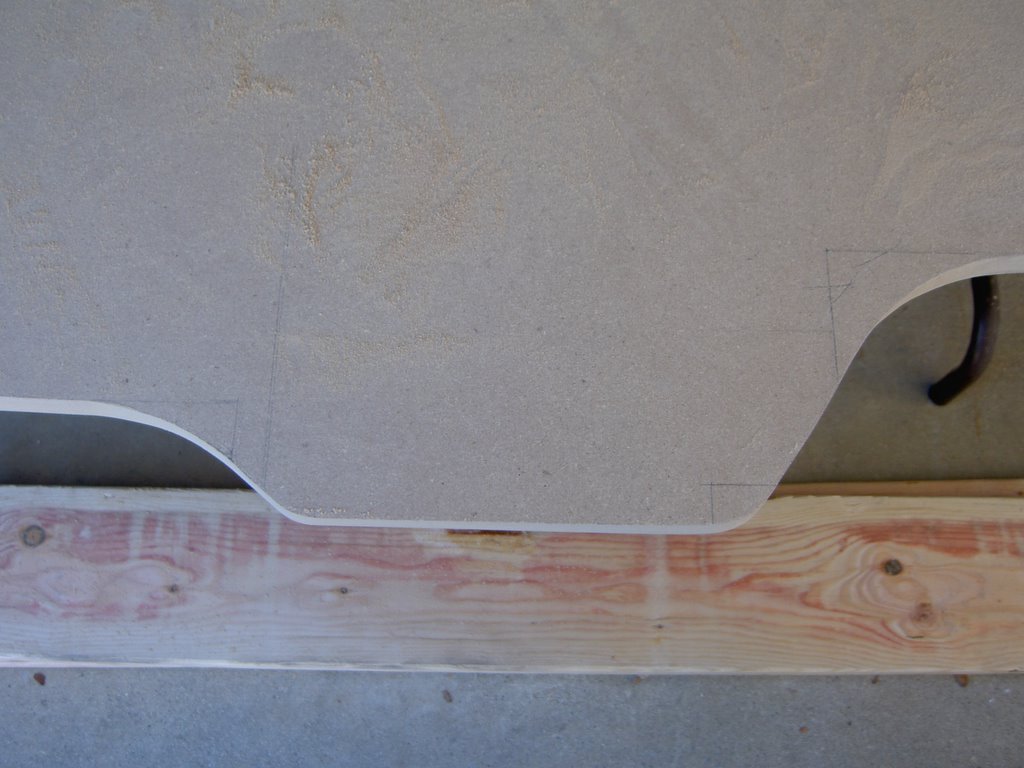 The next step was using the first side of the cabinet to trace the second side. This was obviously so much easier than going by the measurements again, and also more accurate. This took a matter of seconds and we were soon cutting the second piece. After the second piece was cut, we lined the two up and they didn't quite match. This was to be expected, so we clamped the sides together, lined up the back and bottom (the sides we didn't cut), and began sanding the pieces until they sat flush with each other. This was a great idea since it's more important for the sides to be accurate to each other than to a drawing.

The cabinet isn't a very large cabinet, measuring only about 5'6", so witht he scraps from the first 2 sheets of MDF, we were able to cut out the remaining pieces of the cabinet. This included:
Top
Bottom
Coin Door Section
Control Panel Bottom
Control Panel Front
Control Panel Top
Front Rail
Monitor Bottom
Marquee Rest
 The back of the cabinet I'm going to worry about later. I may use something lighter for that since it's not as important. So, I might take back one of the sheets of MDF, I only really needed the two. And so, after almost 8 hours of planning, purchasing, tracing, cutting, and cleaning up, we had our cabinet pieces cut out. Seems like a lot of work for little results, but doing it right and being happy with the results was more important to me than finishing it quickly. It may take a few months, but I'm excited to see the final product. The next step is to order more parts since I can't work on it again until Thanksgiving weekend. I'll post my purchases in the meantime.
2 comments:
Hey all of you out in blogger land, here is a little revision to the size of the MDF used. We actually used 5/8" thick MDF as opposed to 3/4". The plans that Tim got called for 5/8" and at the hardware store we thought we needed 3/4" and accidentally bought 5/8"...uhh...No...we meant to buy 5/8"...yeah. So when you buy your MDF, buy 5/8" like us.
P.S.
You'll need only two sheets of MDF and not three.
Post a Comment