The last bit was putting on the t-molding which looks soooooo nice. This wasn't too difficult either. I just used a rubber mallet to tap it in with a piece of foam padding in between so I didn't scuff up the t-molding. I had a helper keep the t-molding straight because it tends to twist on its own and doesn't like to go in as nicely. Anyway, here are the pictures!
 Here we've got the coin door installed as well as the speaker grill and keyboard tray mounted.
 A close-up of the coin door. This is an original Nintendo coin door off a Donkey Kong machine.
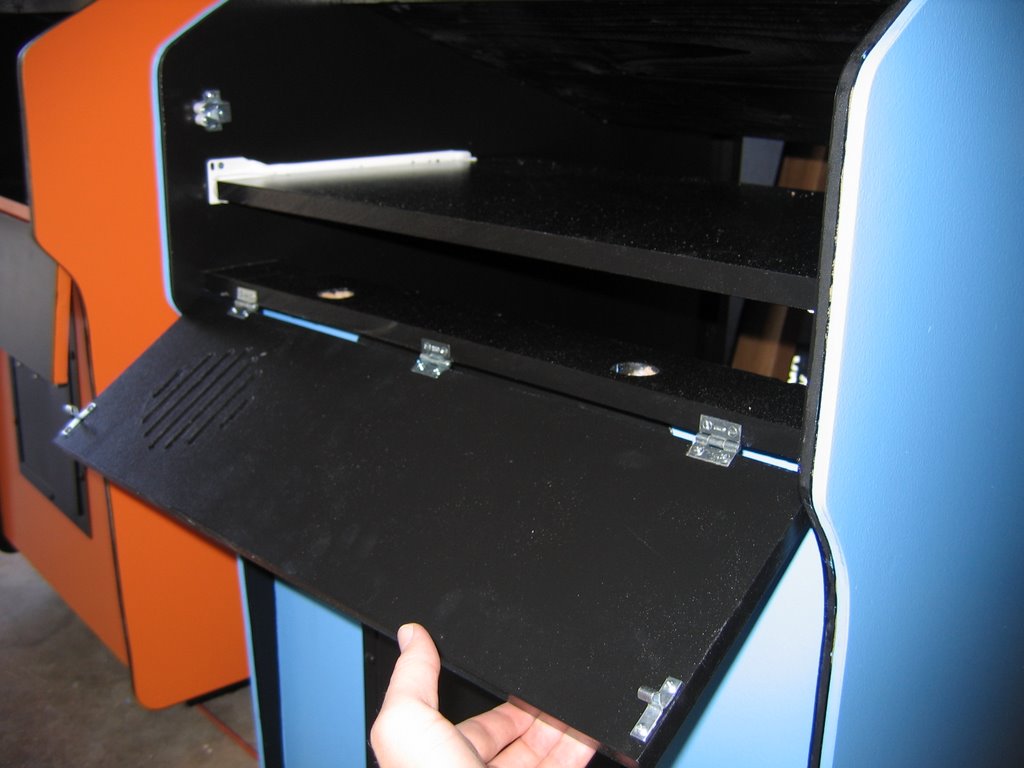 The speaker grill is hinged to allow access to the keyboard tray. This gives easy access to PC functions.
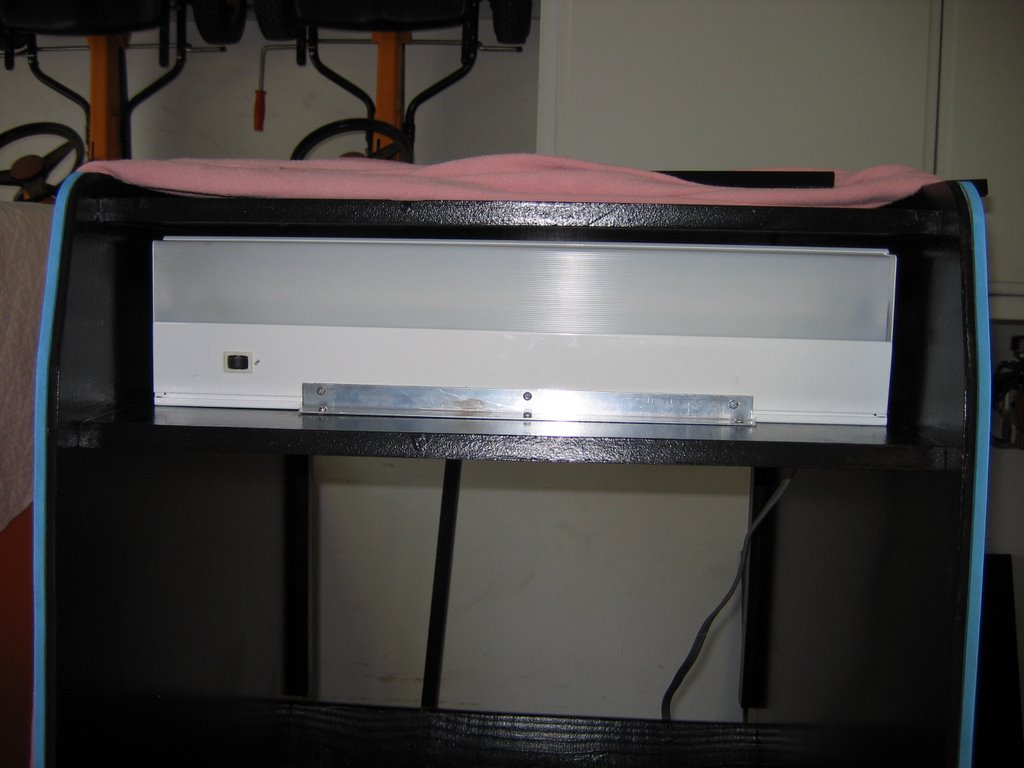 Here we see the marquee light mounted.
 Another angle of the light. There is another bracket in the back holding it in place.
 Here is my brother's coin door. It looks much nicer than mine, although it is not a Nintendo coin door. It is from the same era as the coin mechs are quite similar. The only big difference is the size of the door and that it opens from the right side.
 Full body shot of my brother's cabinet.
 The two of them together. His speaker grill doesn't have the latches on yet (that's why it looks sunken in). Also from this angle you might notice that the front bottom corner of the blue cab is different than the orange cab. My brother's is actually more accurate. I accidentally incorporated the bottom 'box' as part of the sides of the cabinet (it is actually supposed to be set in a little).
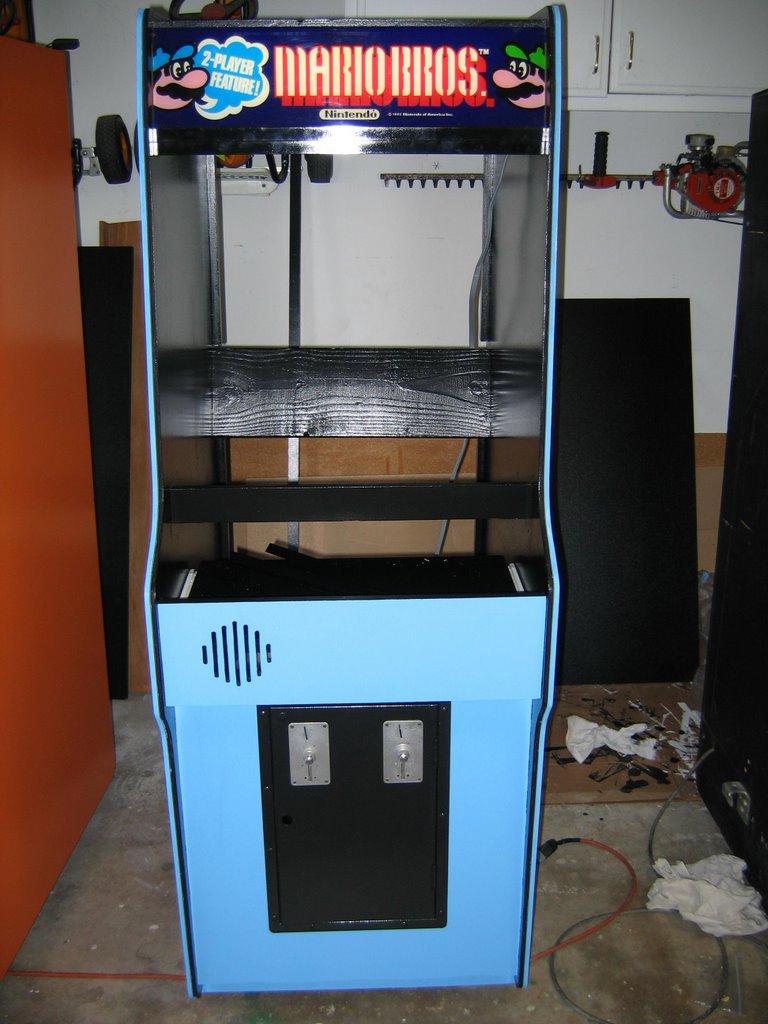 Here the black brackets are installed allowing the marquee to be placed.
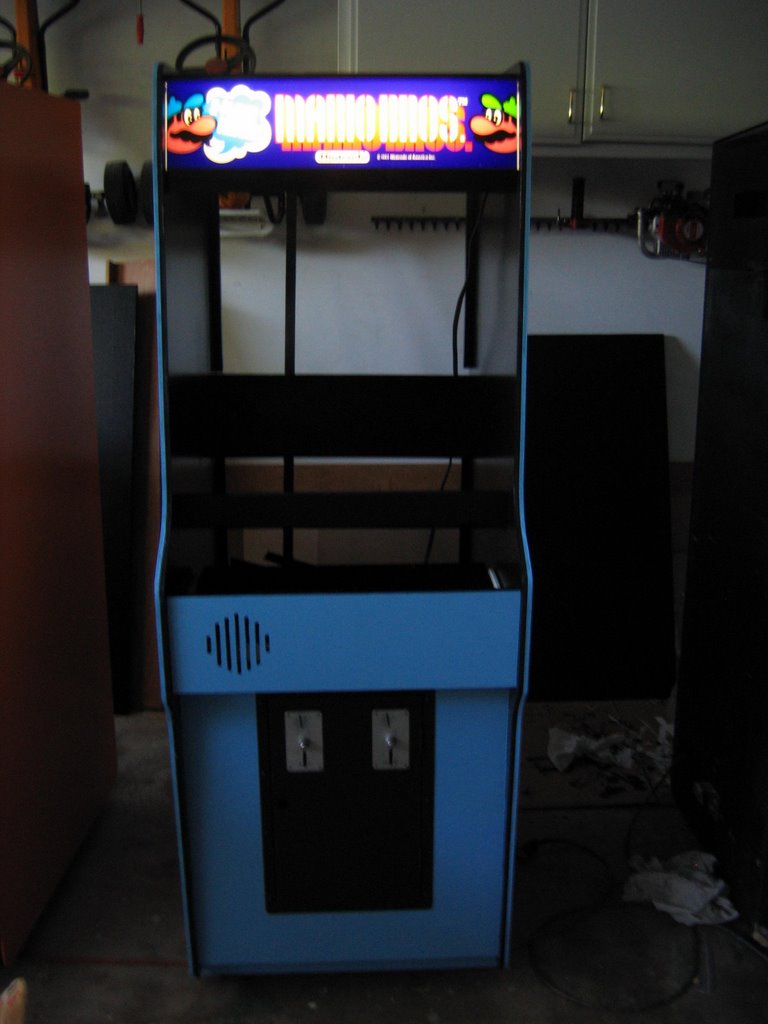 With the lights out and the marquee light on.
 A clearer shot of the marquee light.
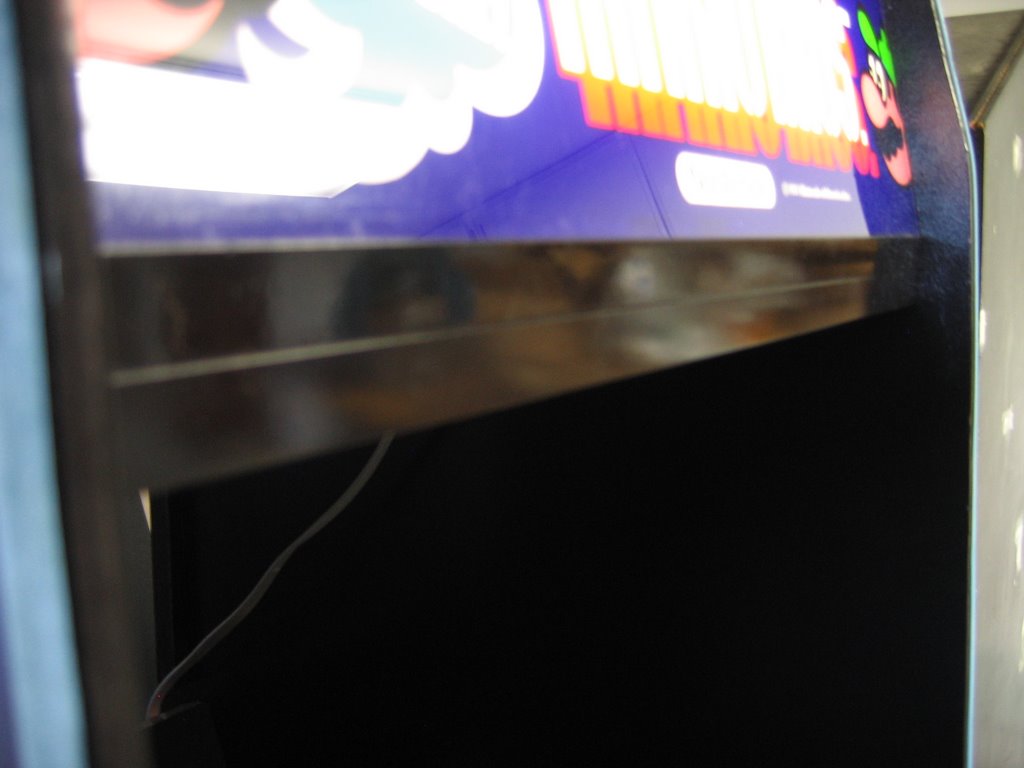 A close-up of the black metal brackets.
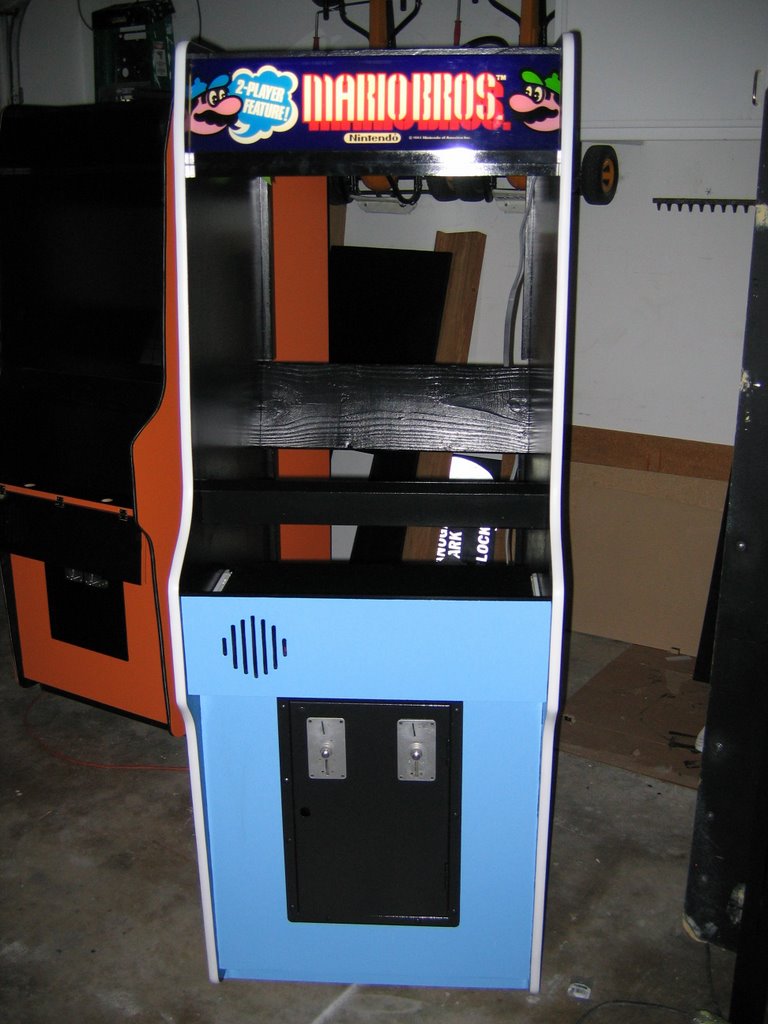 T-molding installed.
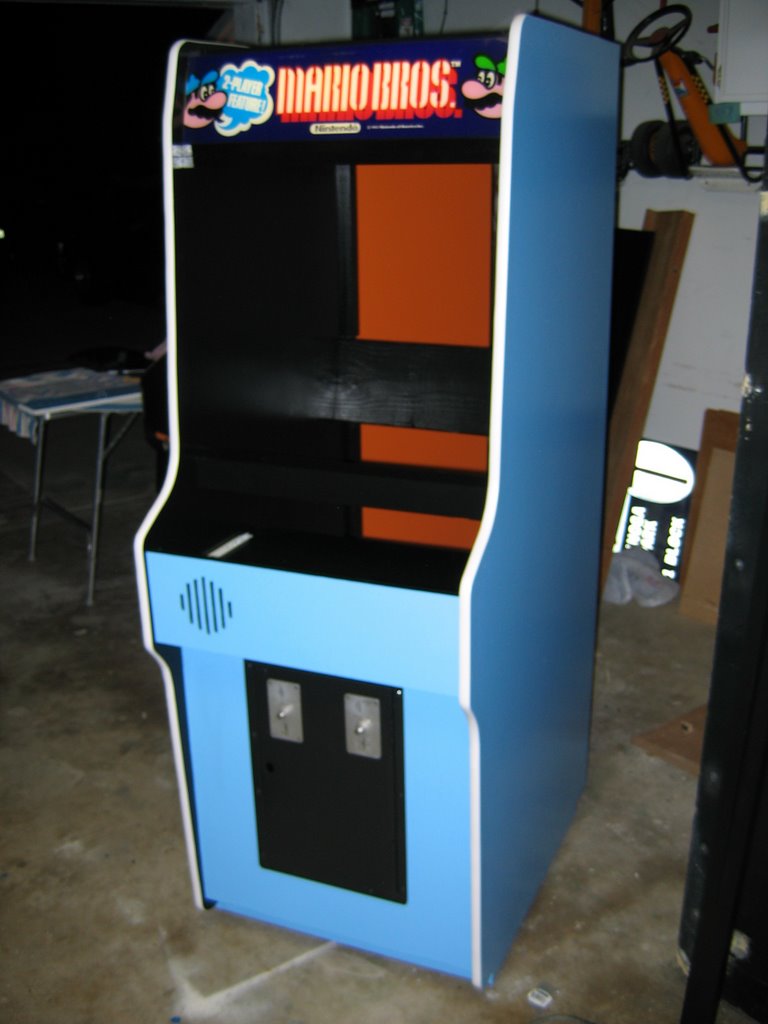 Another t-molding angle.
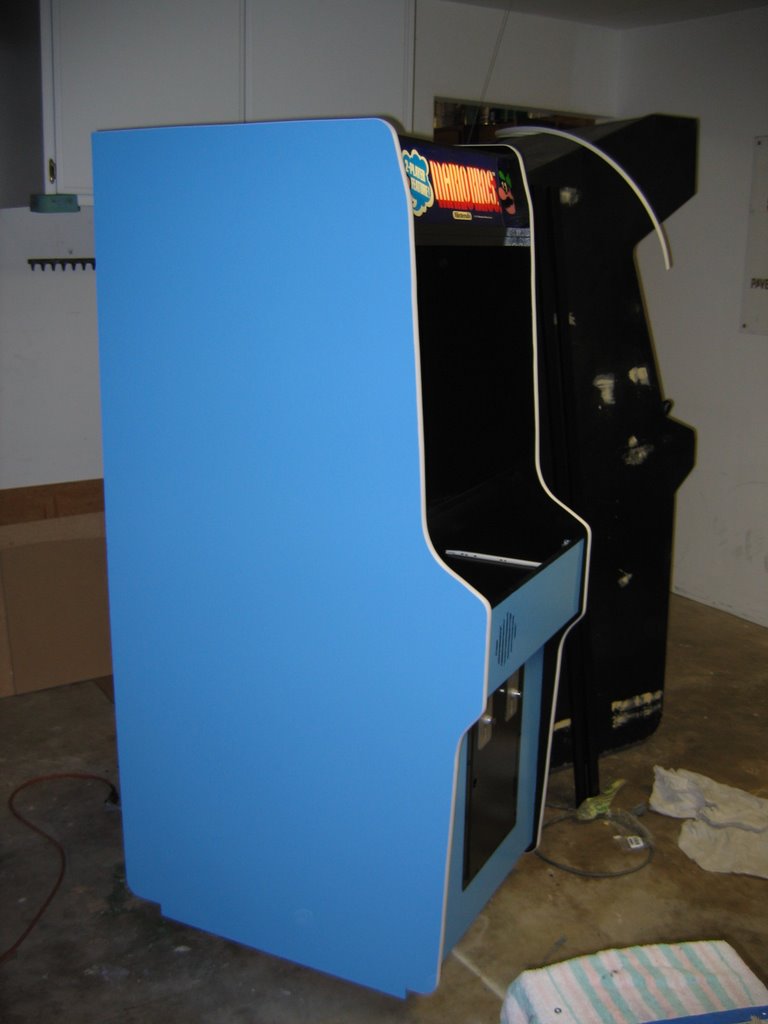 T-molding from the side.
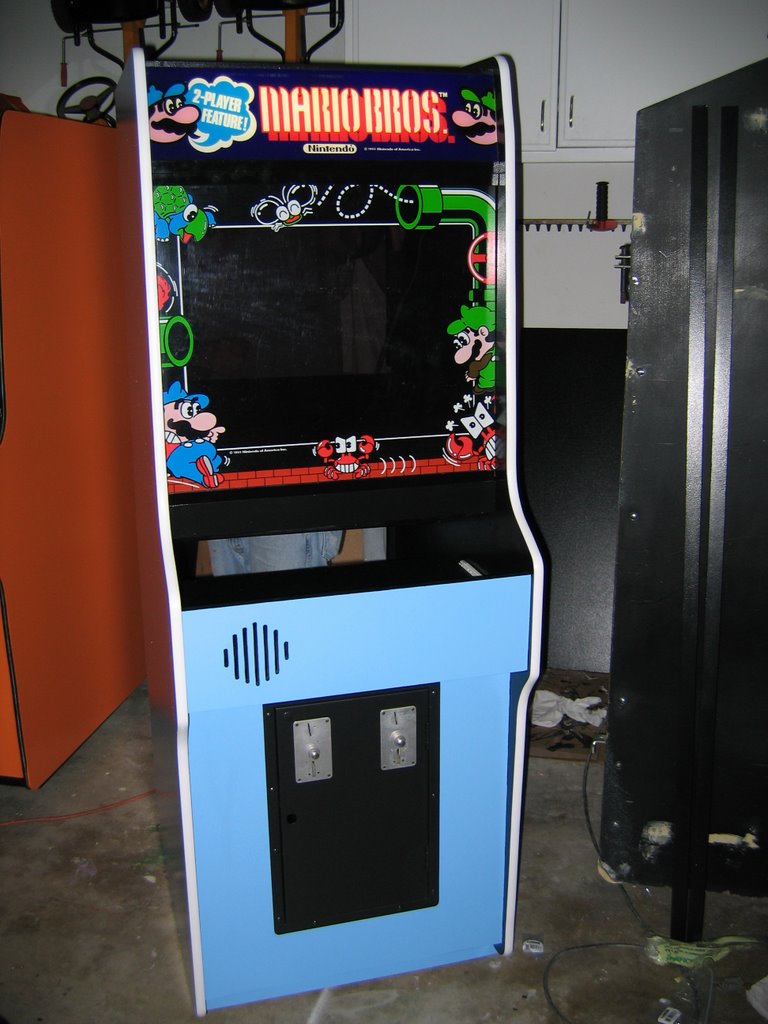 Here's the bezel held in place just for fun.
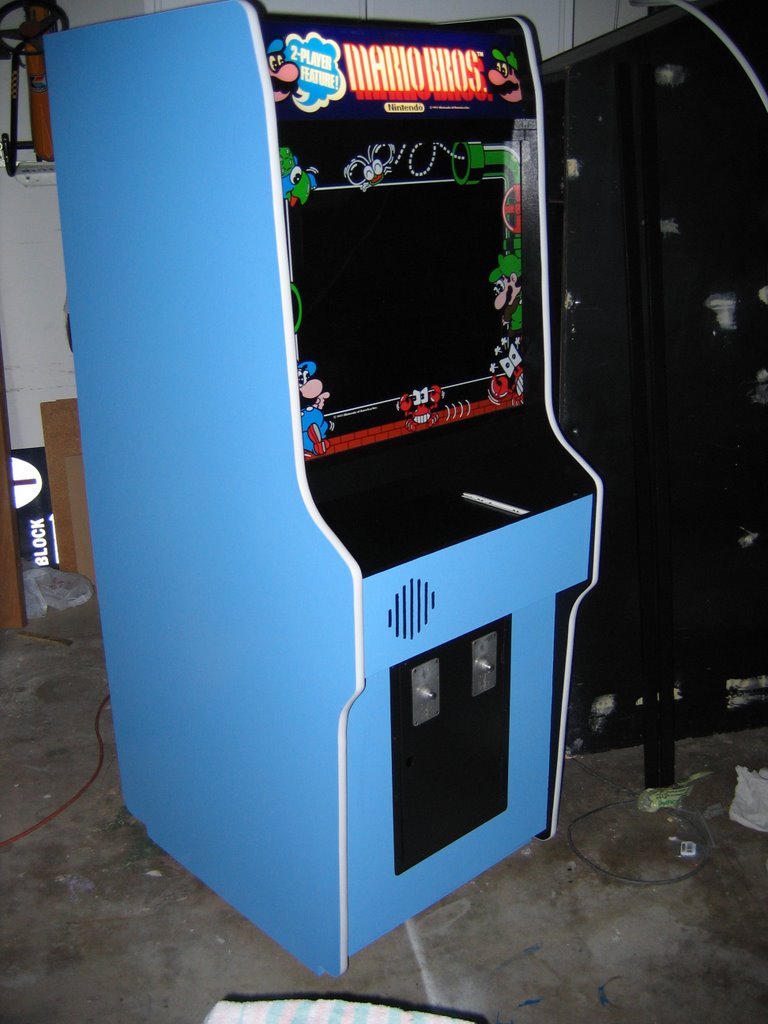 And from an angle.