My brother has made significant progress on his cabinet, so I thought it deserved a pictorial update. His next step will be installing the keyboard tray and applying the side art.

This is taken from the inside of the cabinet. He used small L-brackets like this to secure the bezel from the inside (3 of them, one in the center at the top as shown, and 1 on either side near the top). This differed from my approach as I used thin pieces of wood painted black along the sides. Either way works fine, I just think my way eliminated the gap between the bezel and the cabinet so no light would shine through.

Here's the marquee installed. Great artwork on this cabinet.

Here's the bezel installed.

Here's the marquee with the light on.

And finally, the whole cabinet. Coming along!

 This is taken from the inside of the cabinet. He used small L-brackets like this to secure the bezel from the inside (3 of them, one in the center at the top as shown, and 1 on either side near the top). This differed from my approach as I used thin pieces of wood painted black along the sides. Either way works fine, I just think my way eliminated the gap between the bezel and the cabinet so no light would shine through.
 Here's the marquee installed. Great artwork on this cabinet.
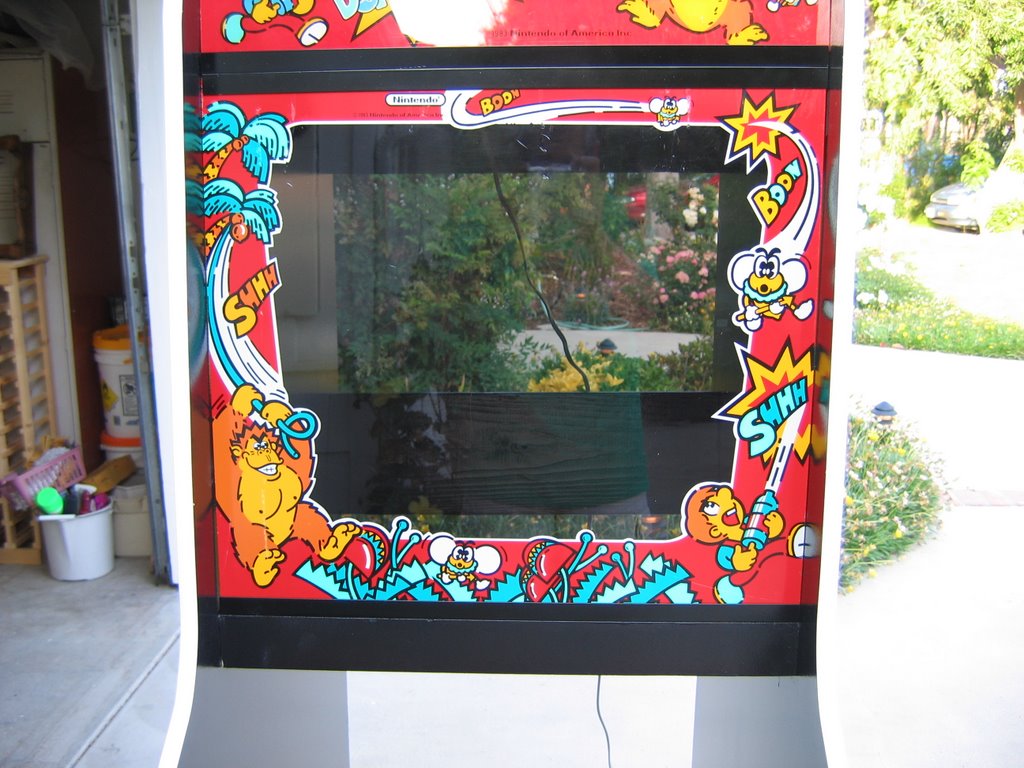 Here's the bezel installed.
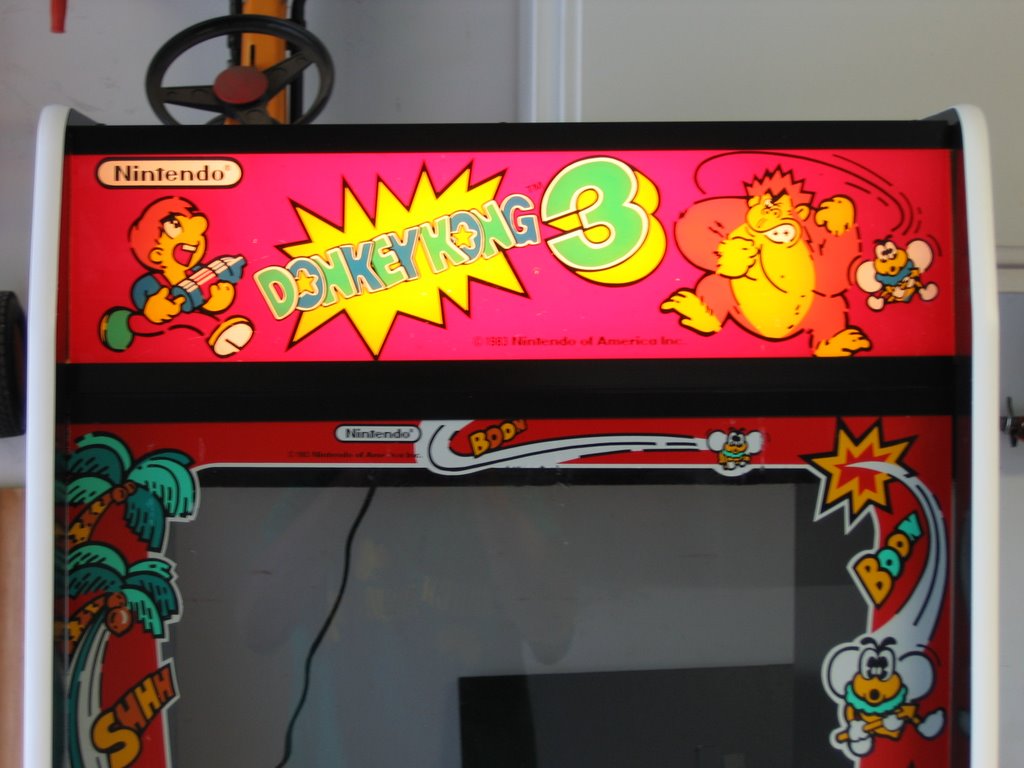 Here's the marquee with the light on.
 And finally, the whole cabinet. Coming along!