
 There she is...
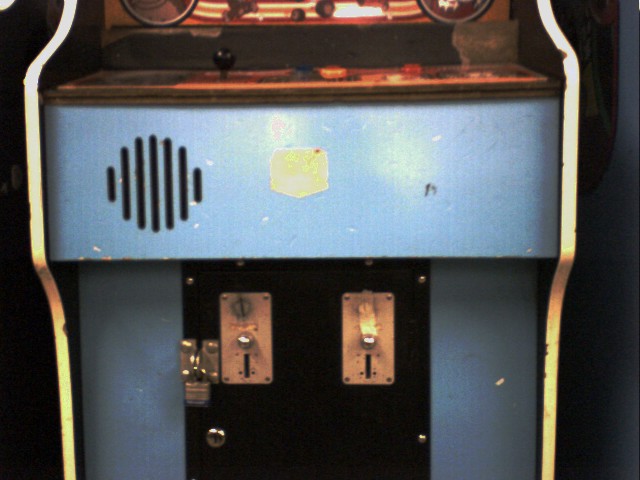 The speaker grill...
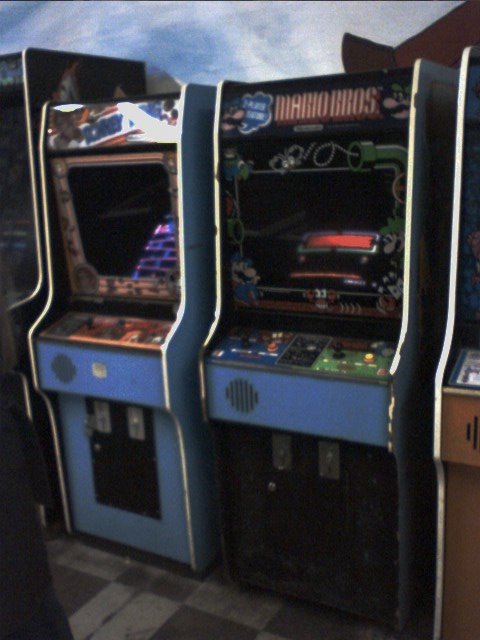 Mario next to DK...
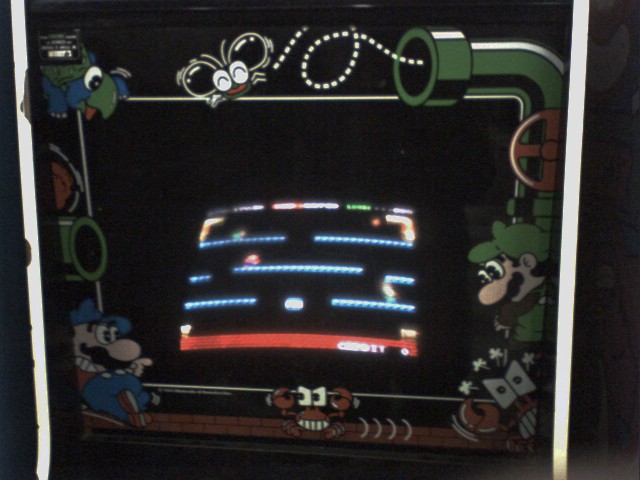 The bezel was the nicest part of this machine, wish I could have it...
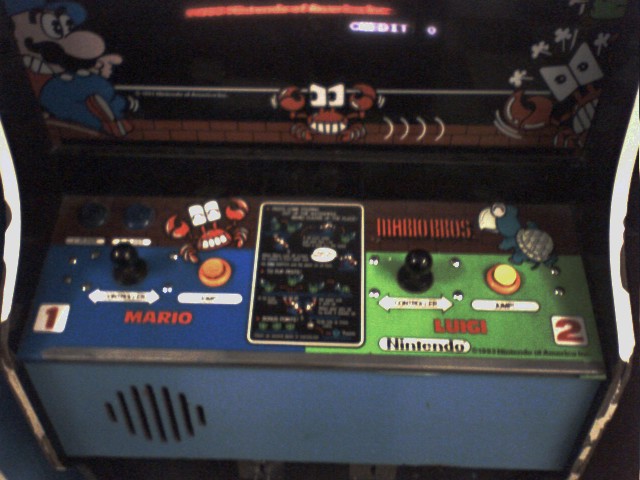 Close up of the control panel...
 This was the best part of the side art...
This site will follow the creation of my MAME arcade cabinet. I want to give it the classic look of a Mario Bros game from 1983. Check back often for updates on my progress.
There she is...The speaker grill...Mario next to DK...The bezel was the nicest part of this machine, wish I could have it...Close up of the control panel...This was the best part of the side art...
 We cut a piece from scraps to fit in the bottom of the back, just gluing it in and securing with clamps while drying. We'll later cut a hole in it for the power cord.
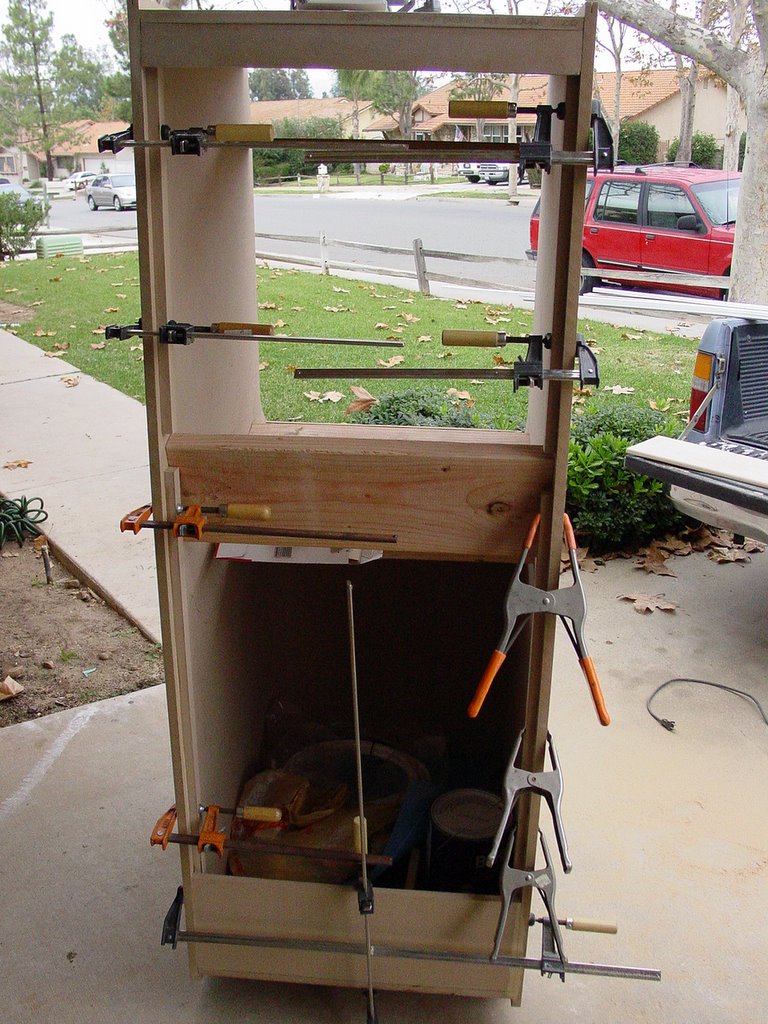 Then we glued in small 1" wide pieces of MDF we cut from scrap for the back door to rest against while in place. The back door will lock at the top and have a lip at the bottom. This way it will be secure on all sides.
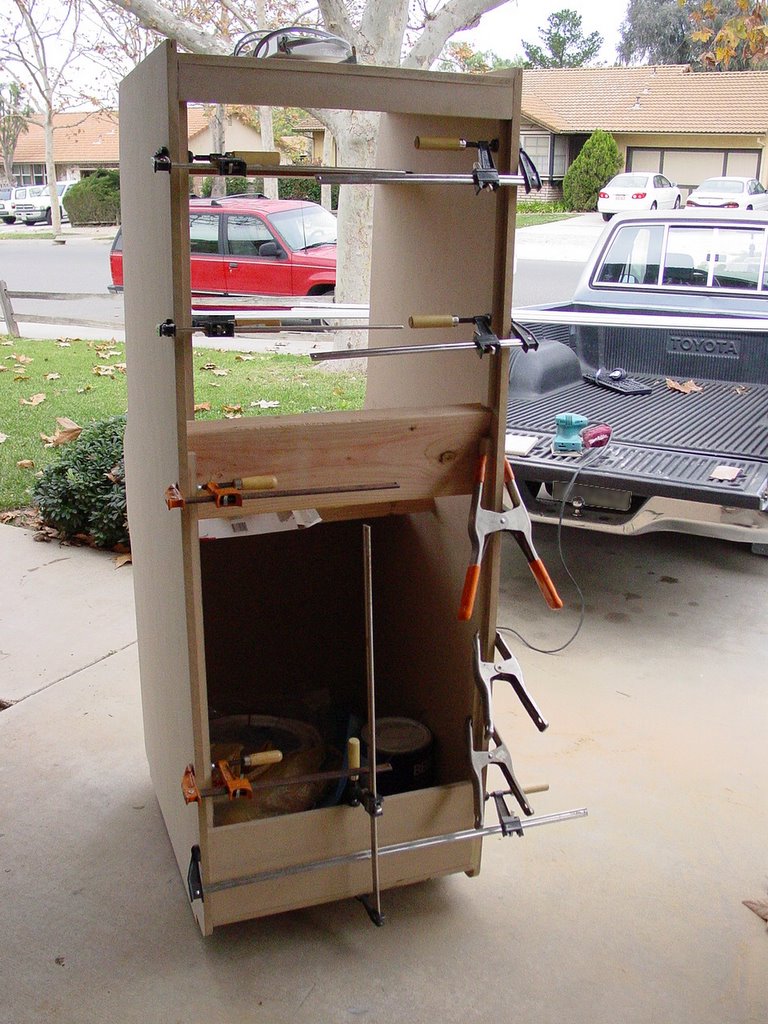 Clamps everywhere!
 A close up of the door rests.
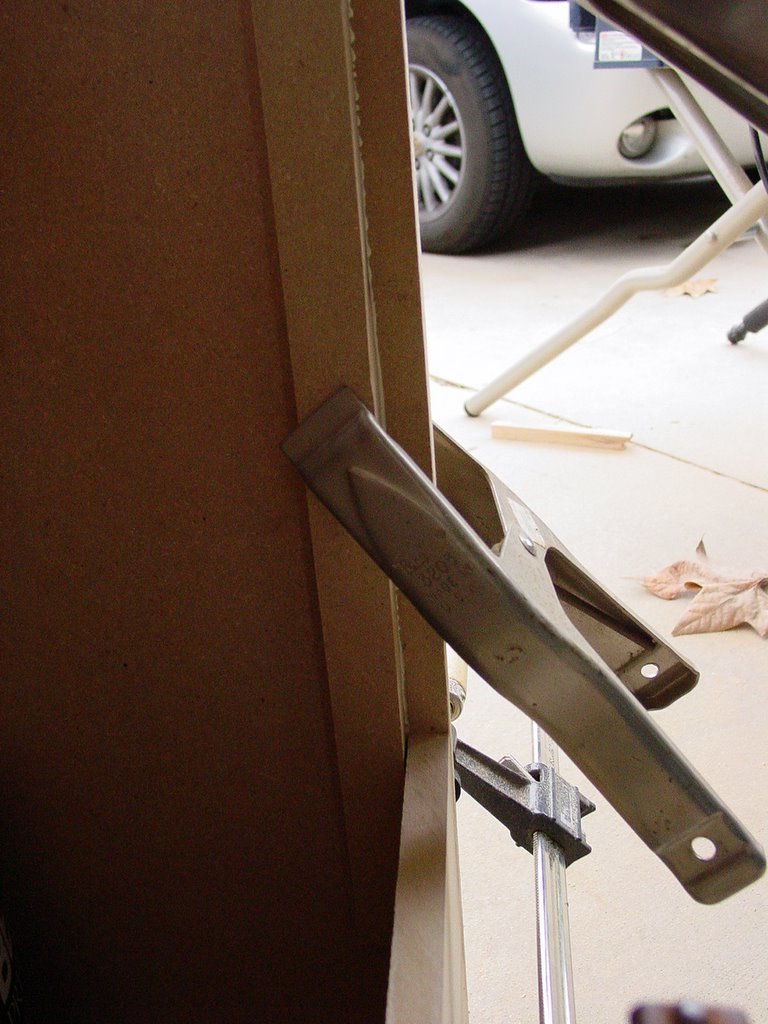 There's a 5/8" gap between the rest and the back, so the door will be flush with the back of the cabinet.
 First stud in place...
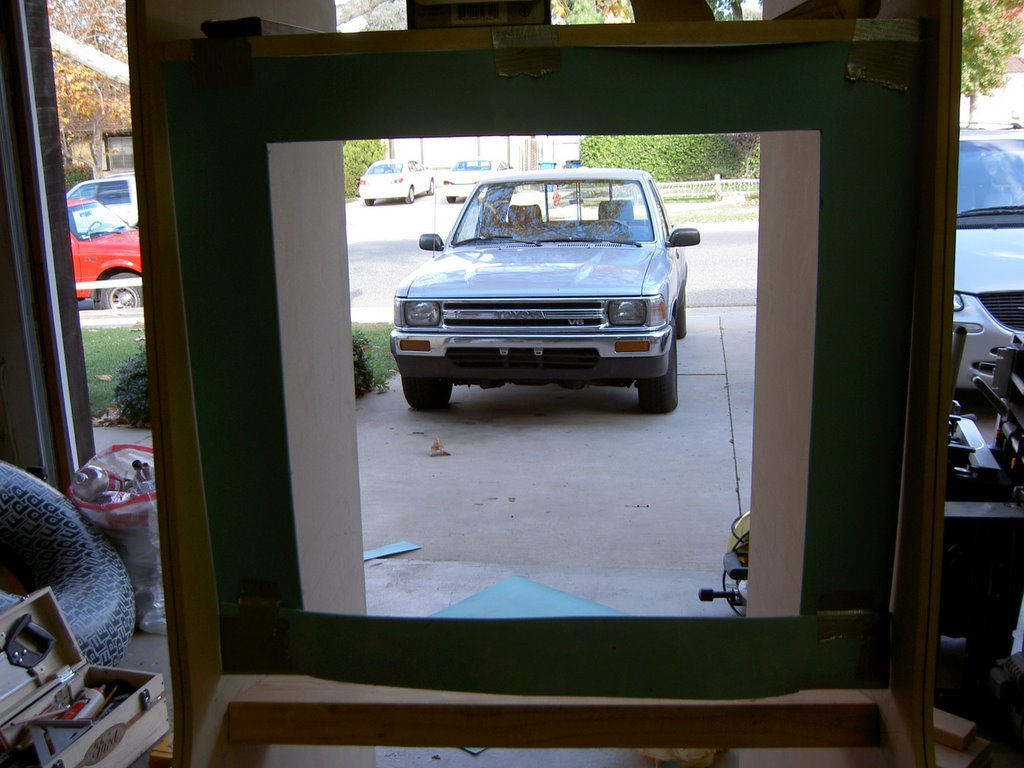 Look at those realistic graphics! No, that's just Rick's truck. The bezel you see is just a piece of foam we cut to the dimensions of the Mario Bros. bezel we will be using. This helped us determine where to position the TV. I suggest doing this (with whatever is handy, cardboard, paper, etc.) if you are using a bezel with artwork or you may be unhappy with the viewing area.
 Looks good to me.
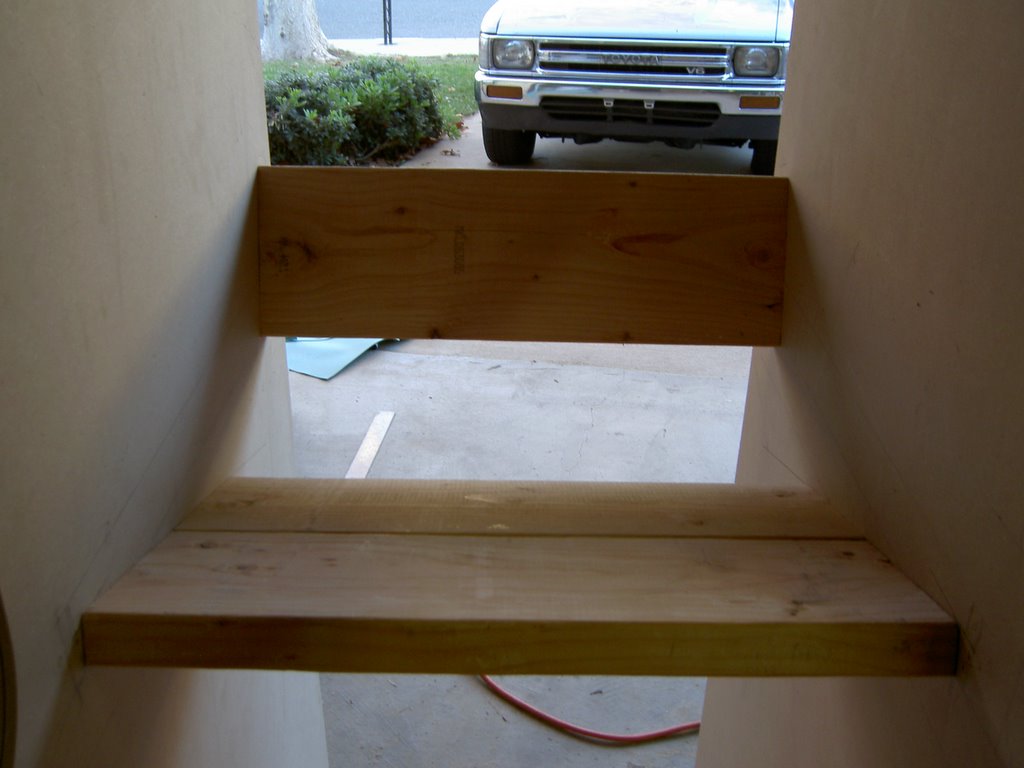 Here we have the second TV shelf stud in place as well as the stud that holds the TV in the back. Actually, those TV shelf studs are the TV shelf as we decided there was no point in putting another piece of MDF on top of the studs. The studs hold the weight of the TV just fine, so we left it at that.
 Here we used wood glue to glue this piece in the back. The removable back will lock into this piece. It was just a scrap we had left over, but I'm glad we used such a small piece of MDF because the TV can be taken out of the back without hitting the top. This will be nice because we don't have to worry about making the bezel easily removable.
 Here Marc is sanding some spots to make the wood filler flush with the cabinet. You see that the TV fits nicely and behind the speaker grill you see a keyboard tray we installed.
 The hidden keyboard tray will allow for easy PC access, but doesn't take away from the arcade feel (since it's hidden).
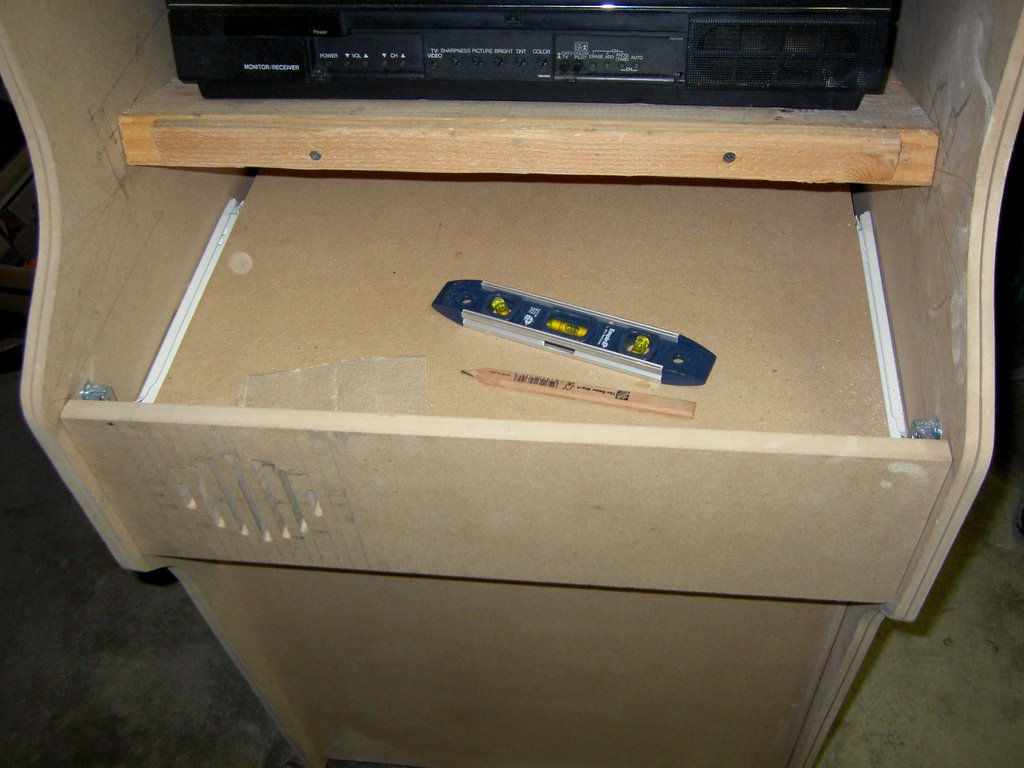 Another look...
 Here we attached a little shim to the slanted TV shelf stud so that we could screw into it. There's a small piece of MDF that the bezel rests on and the control panel attaches to. Since that piece is so small, it will split if screwed into from the sides (we already experienced that). So we need to attach it by screwing it into the TV shelf.
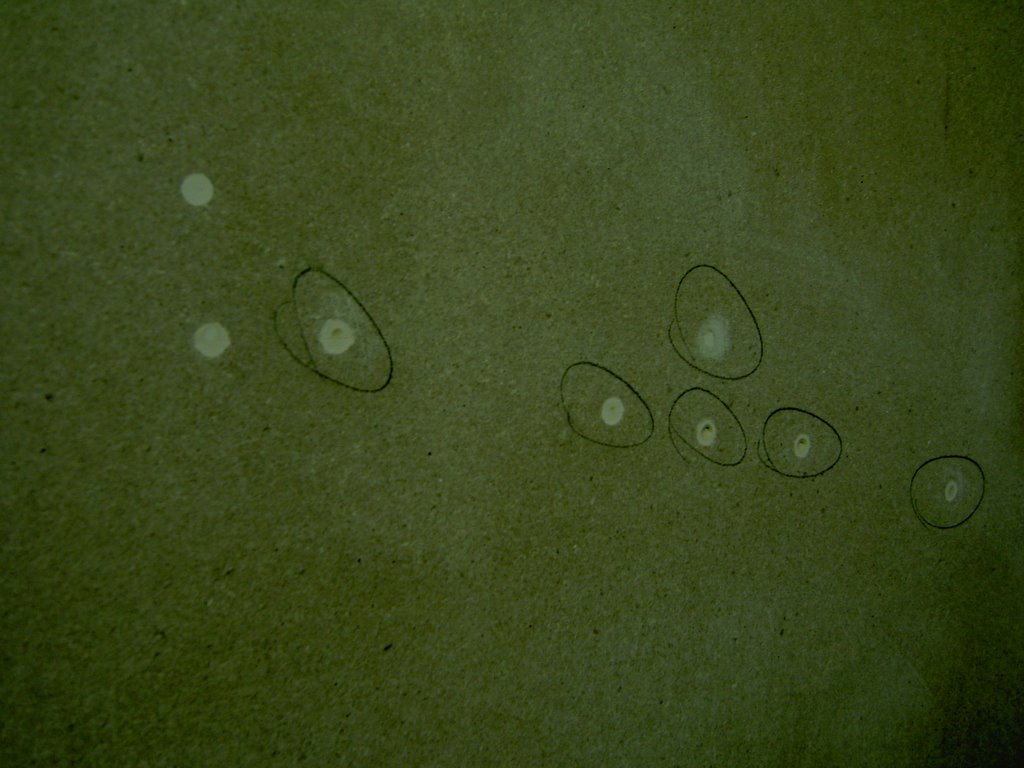 Here you see that the Elmer's wood filler (which claims 'no shrinking!') actually did shrink when drying in some of the deeper holes. We circled the holes that weren't flush with the cabinet and will have to apply another layer. Many of the holes needed a second layer.
 Here's a view from behind as we finish up for the night. That piece of MDF on the bottom is not secured yet. We haven't figured out how to notch it so that the removable piece will stay put. We will definitely be priming next weekend though, so stay tuned as we hope to get this finished by the end of the year.
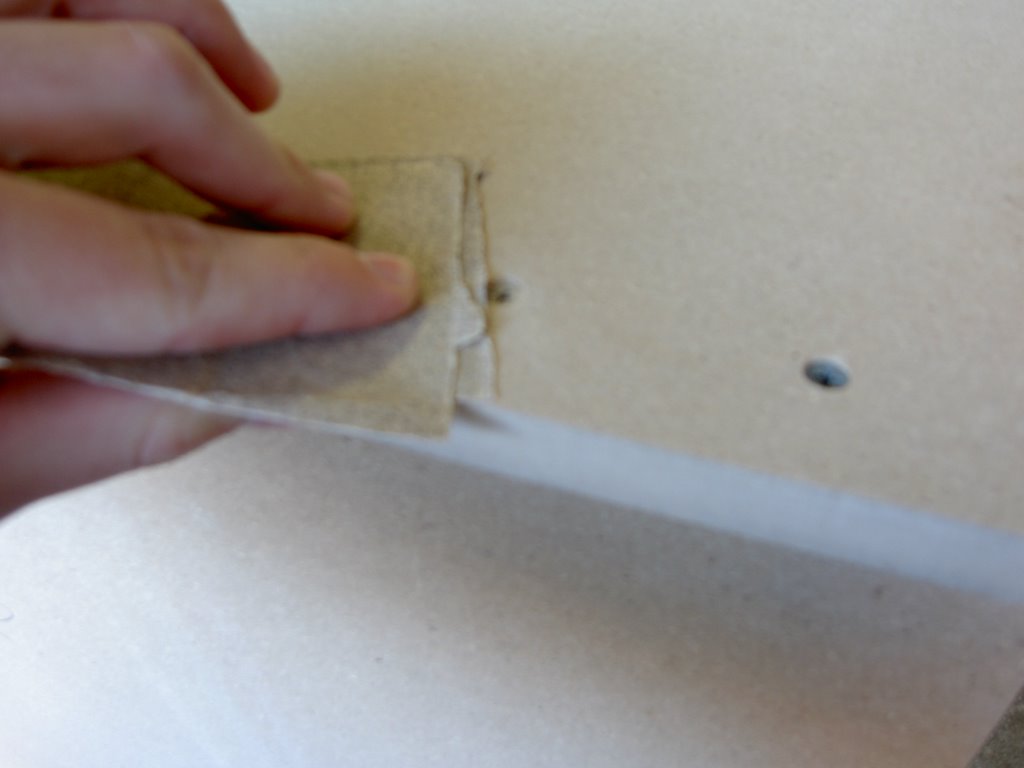 First, we sanded down the screw holes to smooth them out, preparing them for the wood filler.
 But, first we needed to do the routing for the t-molding. I got the slot cutter and assembly from MLCS Woodworking. It was $16 and shipping was free. I was told this was the best place to find it. After adjusting the router and testing the cut on some sample pieces, we were satisfied and laid the cabinet on its side and made the cut.
 I had never used a router before, but it was pretty easy to use.
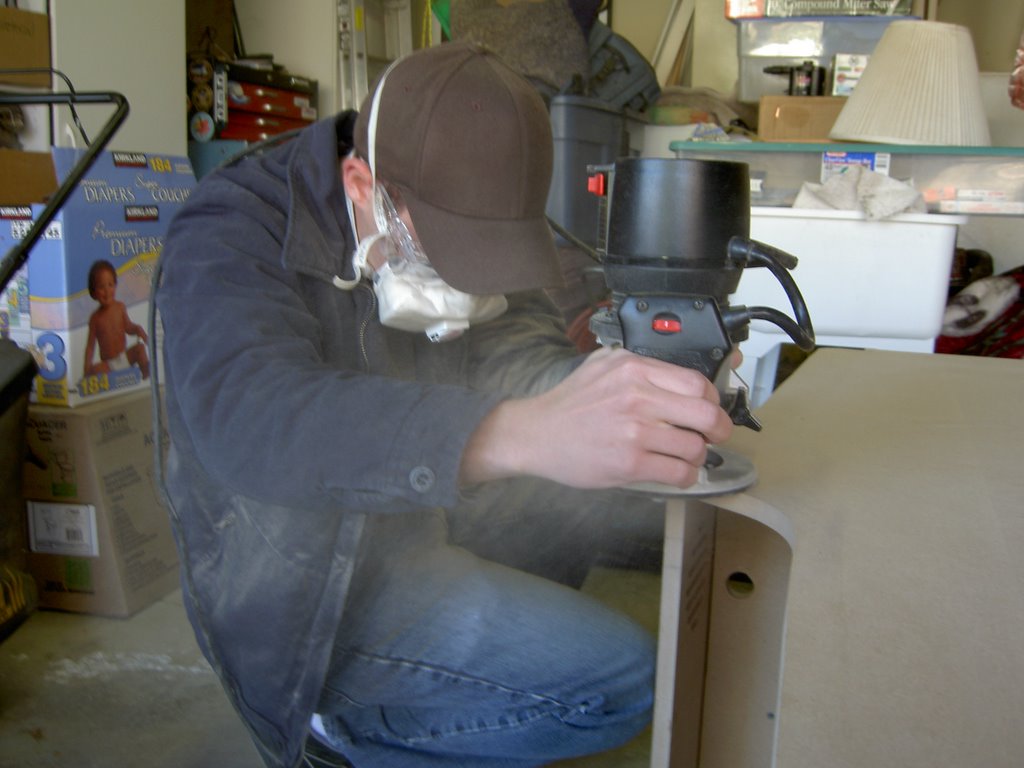 I should have taken my jacket off before I covered myself in sawdust though.
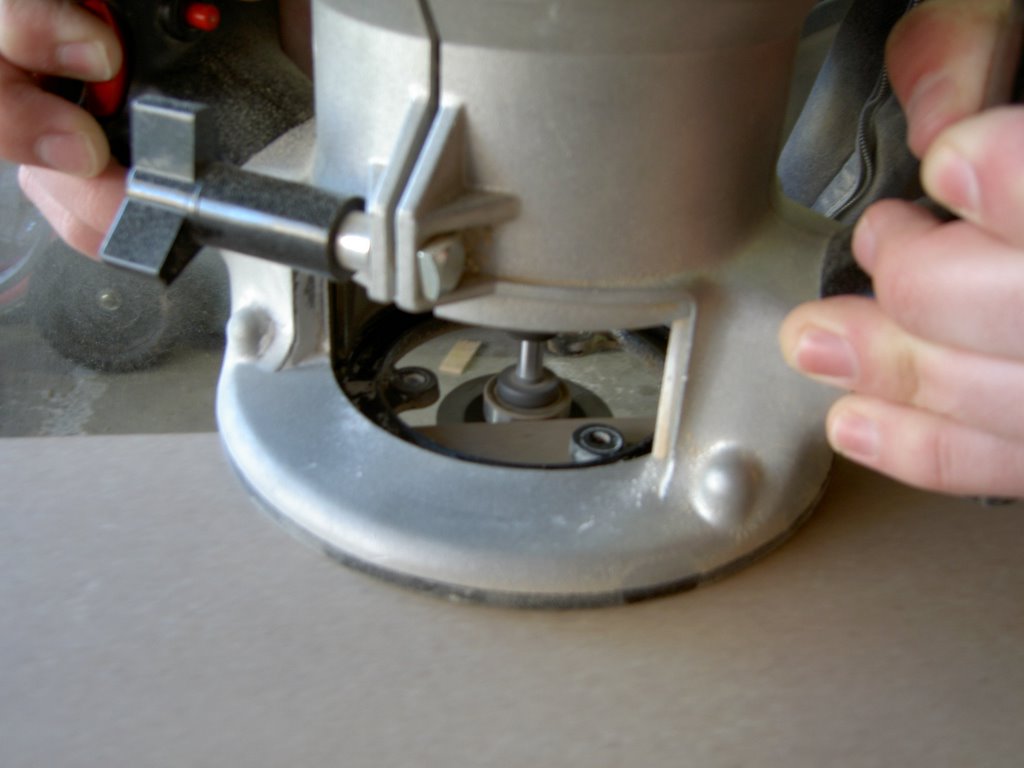 The router basically runs itself, I just needed to keep it level.
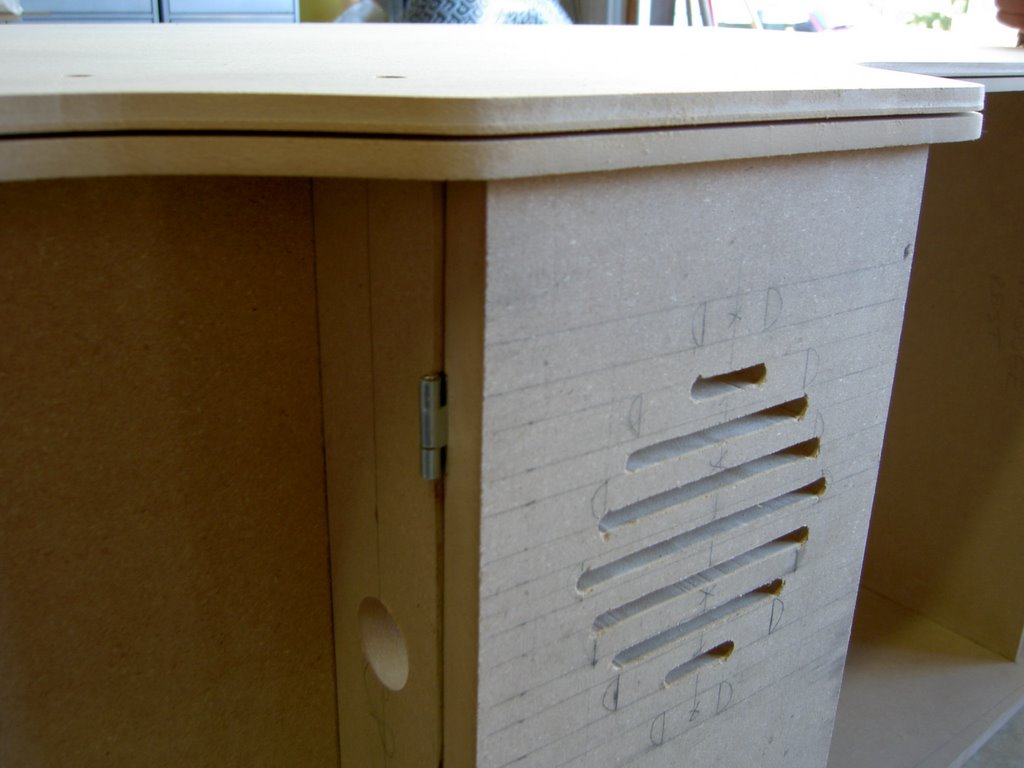 Looked good...
 We fit our 5/8" sample from t-molding.com and it was perfect.
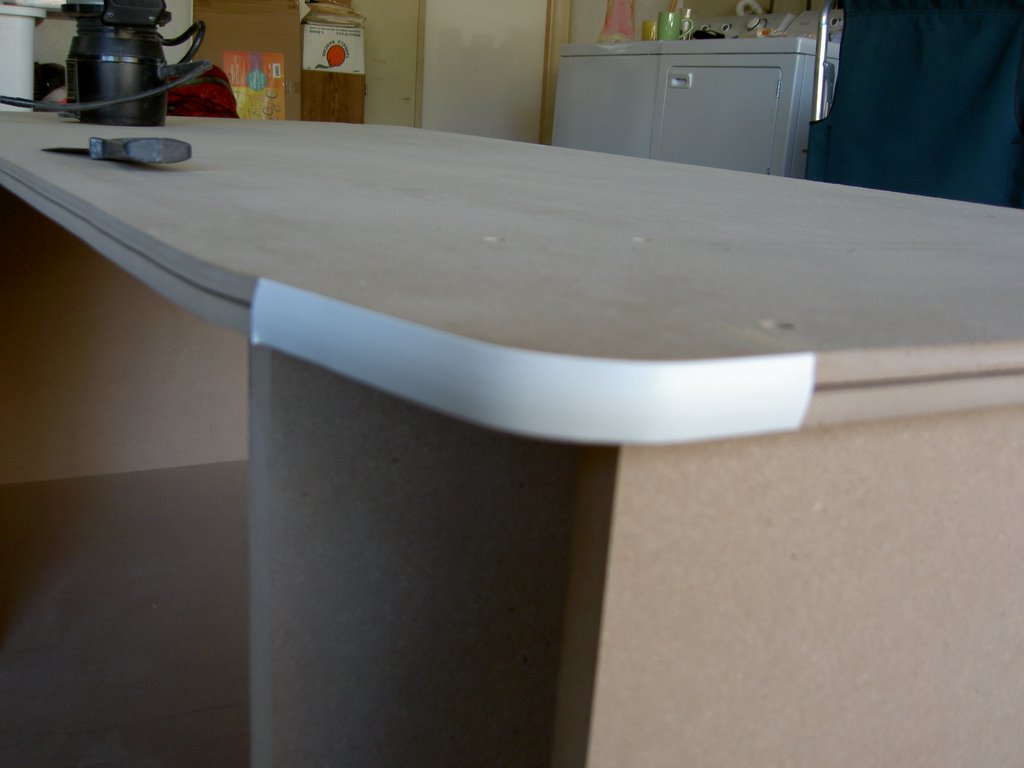 We tested it in a couple different locations, still looks good.
 I made one little mistake where I didn't keep the router level. You can see in the picture that right around that corner the slot is thicker. However, this is a minor mistake and the t-molding will hold there just fine.
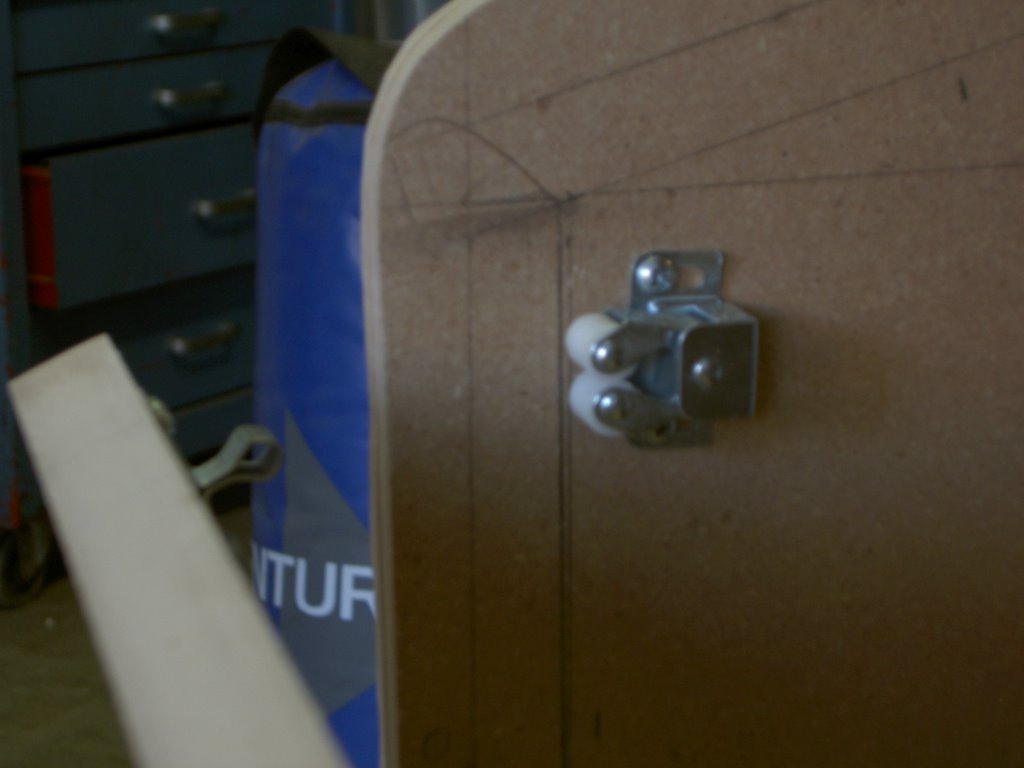 Our next step was to attach these little cupboard latches to the speaker grill piece which opens to allow for a keyboard drawer.
 The latches hold really well, so the piece will never open unintentionally. We'll use the same latches to hold the control panel in place since it will also swing up for access to the wiring.
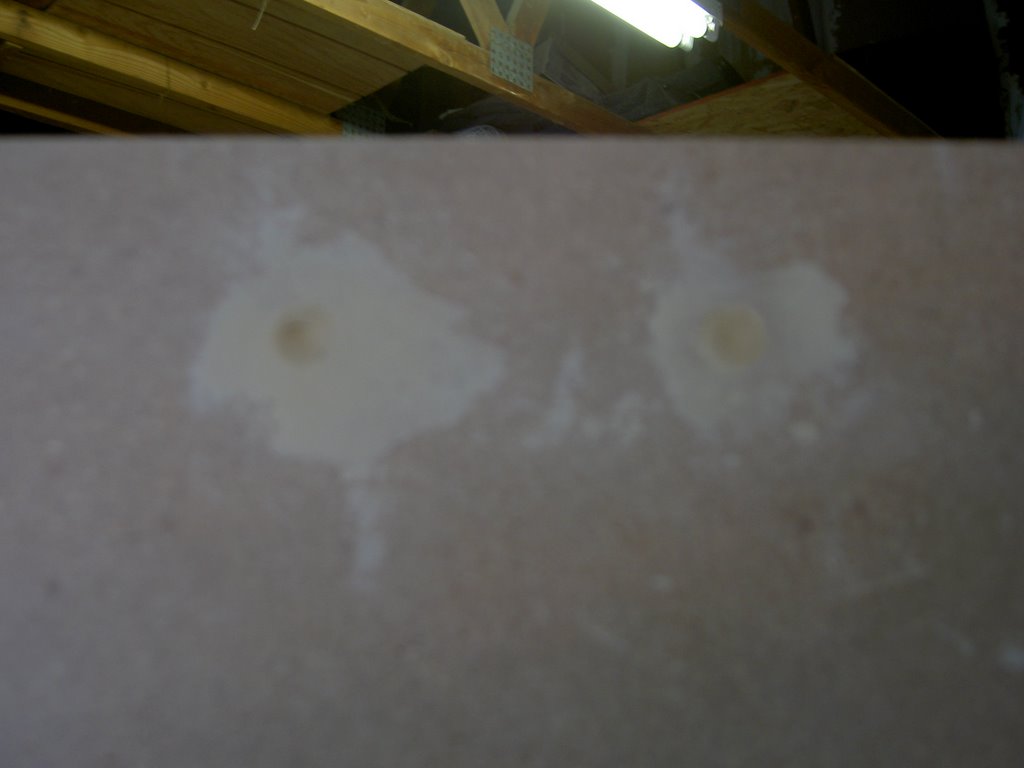 Last, we filled our screw holes with wood filler. We'll have to apply again because the holes aren't flush with the wood. Plus we will make a couple more holes when we attach the monitor shelf. Hopefully we can begin priming next week, but there's still the monitor shelf and the keyboard drawer to do, so we'll see. I have everything I need to complete this except the artwork and the blue paint, so hopefully this project will be wrapped up within the month!